If you have image features (embeddings) generated by a featurizer outside of Vision Copilot, you can import these features in CSV format into the Import catalog. You can use the imported features to create the visualization jobs.
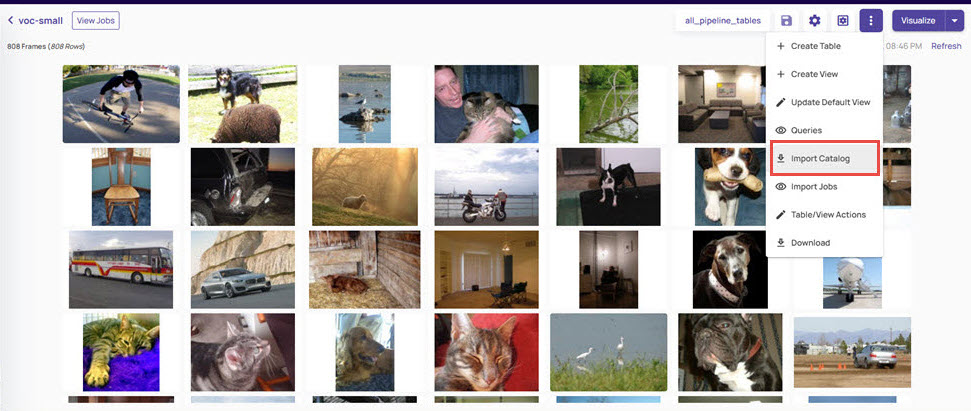
On the catalog page, click the three-dots button and select Import Catalog.
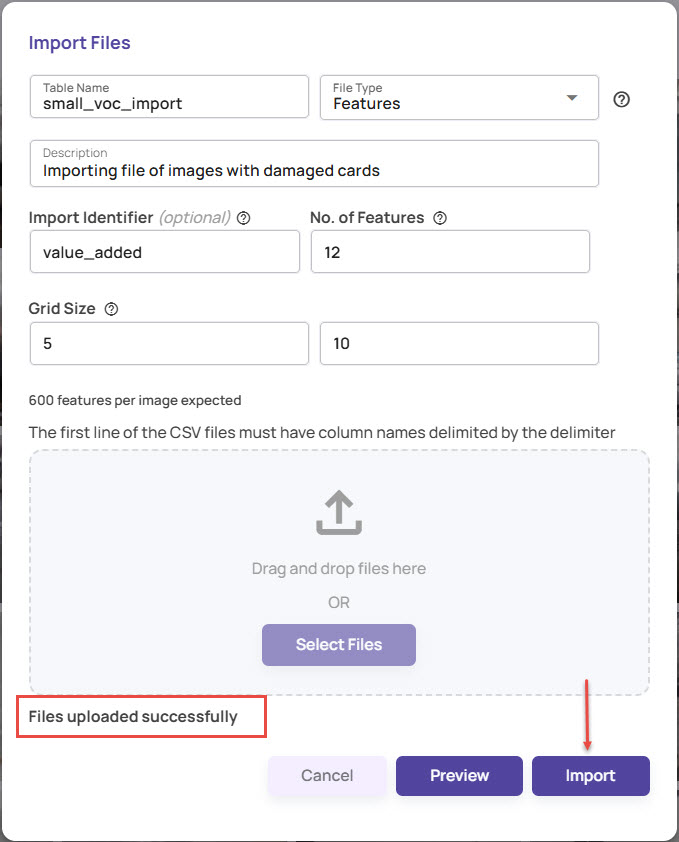
In the Import Files screen, enter a Table Name.
The table name can contain alphanumeric characters and underscores and must start with a letter.Select File Type as Features.
Click the question icon adjacent to the field to understand the import feature specifications.
.jpg)
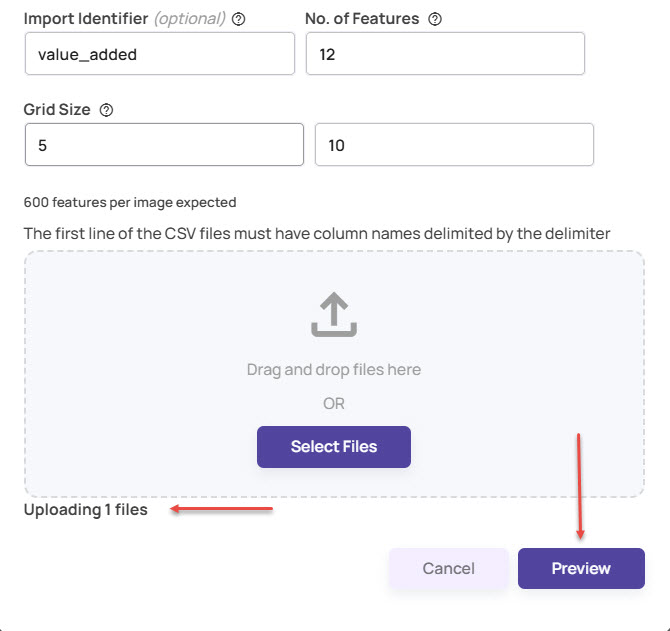
Enter the Import Identifier: This is optional.
The identifier value will be added to each row of the imported table and can be used to identify the related set of rows across two separate imports.Enter a value for No. of features. This field represents the feature dimension per image or image patch, depending on the type of featurizer.
If the features are at a patch level, enter a value from 1 to 100 for Grid Size. The grid size represents the dimensions of the patches. For example, if a featurizer divides the image into 10×5 patches and generates 100 features per patch, then the No. Of features field must be 100, and the grid size must be 10x5.
Click Select Files to browse to the folder location.
You can also drag and drop the images to this location.
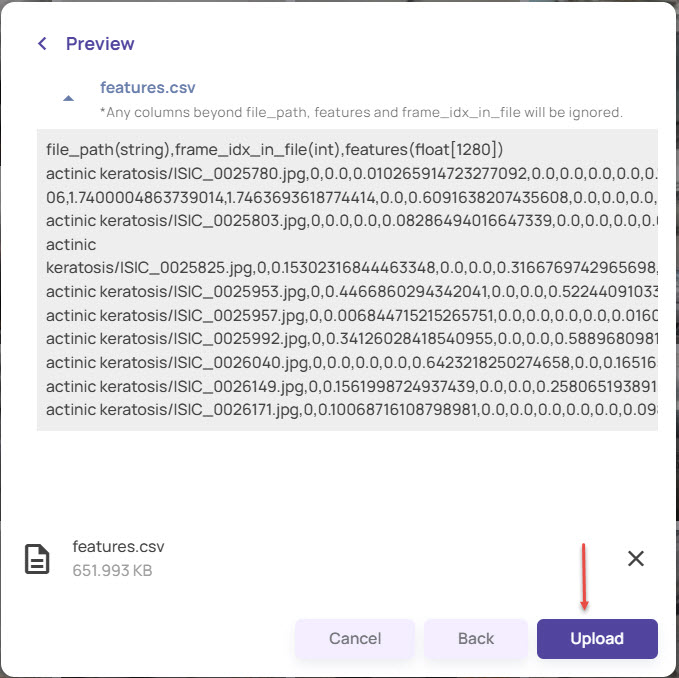
Click Preview to view the import view.
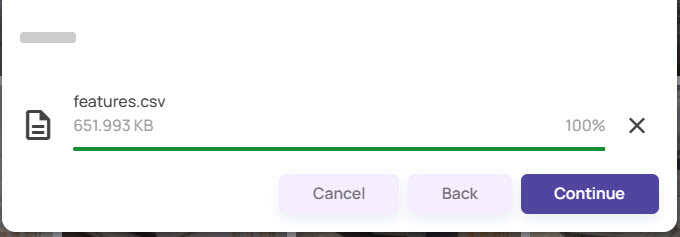
Once you have checked the preview, click Upload to upload the file for import.
Once the upload is complete, click Continue to Import.
Click the Import button to import the file.