Upon successful login, you will be directed to the ‘Datasets’ page. The following common controls are available on all pages.
System theme
Once you log in, the default screen view is set to Auto (System theme). It implies that the view of the screens will be based on the theme set on your system. You can switch to light or dark mode as you prefer.
Organization name
The organization's name appears at the center of the top bar. Click the name to update with a different organization name, if needed. This operation is allowed for users with the OrganizationAdmin role only.
.jpg)
You can hover over the field to view the complete name of the organization.
Profile Options
Once successfully logged in, the top-right corner indicates the display name of the logged-in user.
Click the drop-down arrow on the name and click Profile to explore the Account information.
.jpg)
Account: Displays your account information like the username, e-mail address, and your first and last names as registered while creating your account.
Password: Enables you to change your password, if needed.
Authenticator: Follow the steps to setup two factor authentication.
Federated Identity: Displays your login ID based on the e-mail address, such as Google or GitHub, that you have used during sign-up.
Sessions: Maintains a record of the sessions created when you log in. Your most recent login sessions remain active for 180 days. You can click the Log out all sessions button if needed.
Applications: Provides details of your access rights to various usages on the application.
Log: Lists the account log details.
Left Navigation Panel Options
On the home screen, the left navigation has two sections of icons.
Feature-specific icons
This set of icons represents features under Vision Copilot and Vision Command, enabling you to navigate to the various options under each feature.
The icons under Vision Copilot represent the application's features.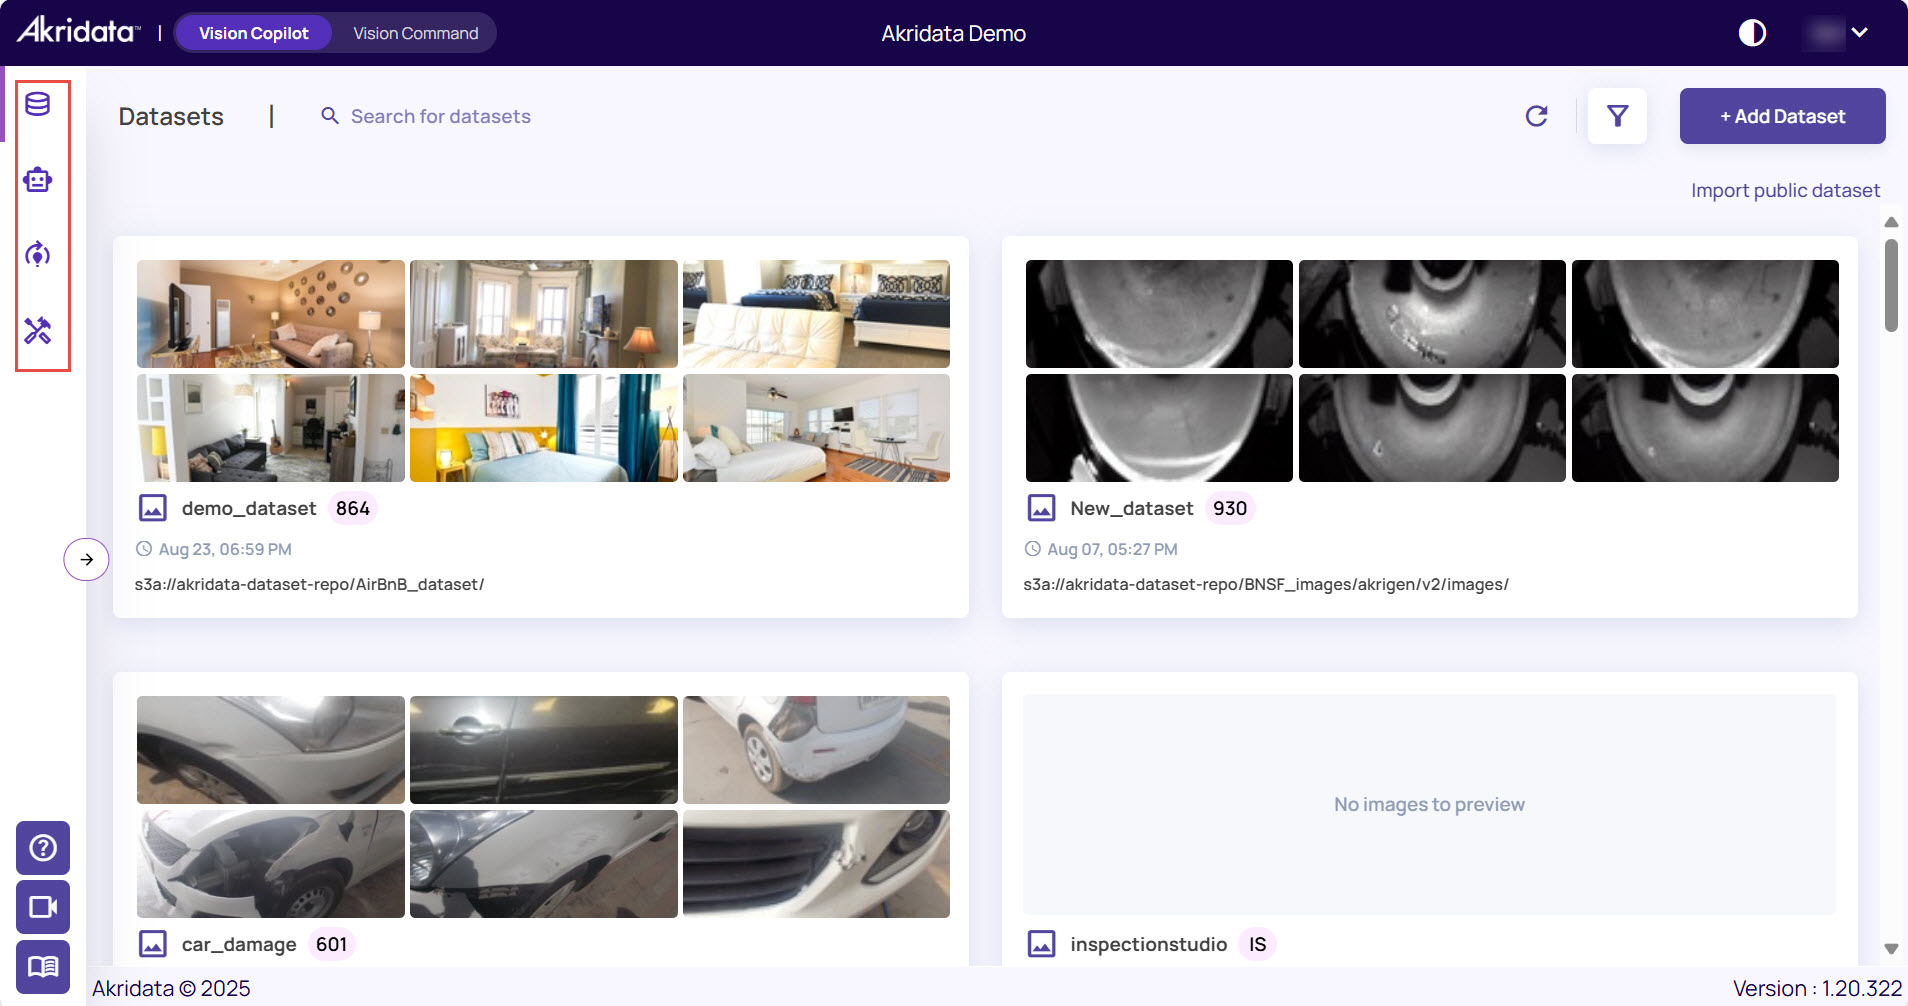
Similarly, the icons under Vision Command represent the functions, enabling you to perform better analysis of the data.
![]()
Additional support
This set of icons at the bottom left of the navigation panel provides additional support for the product.
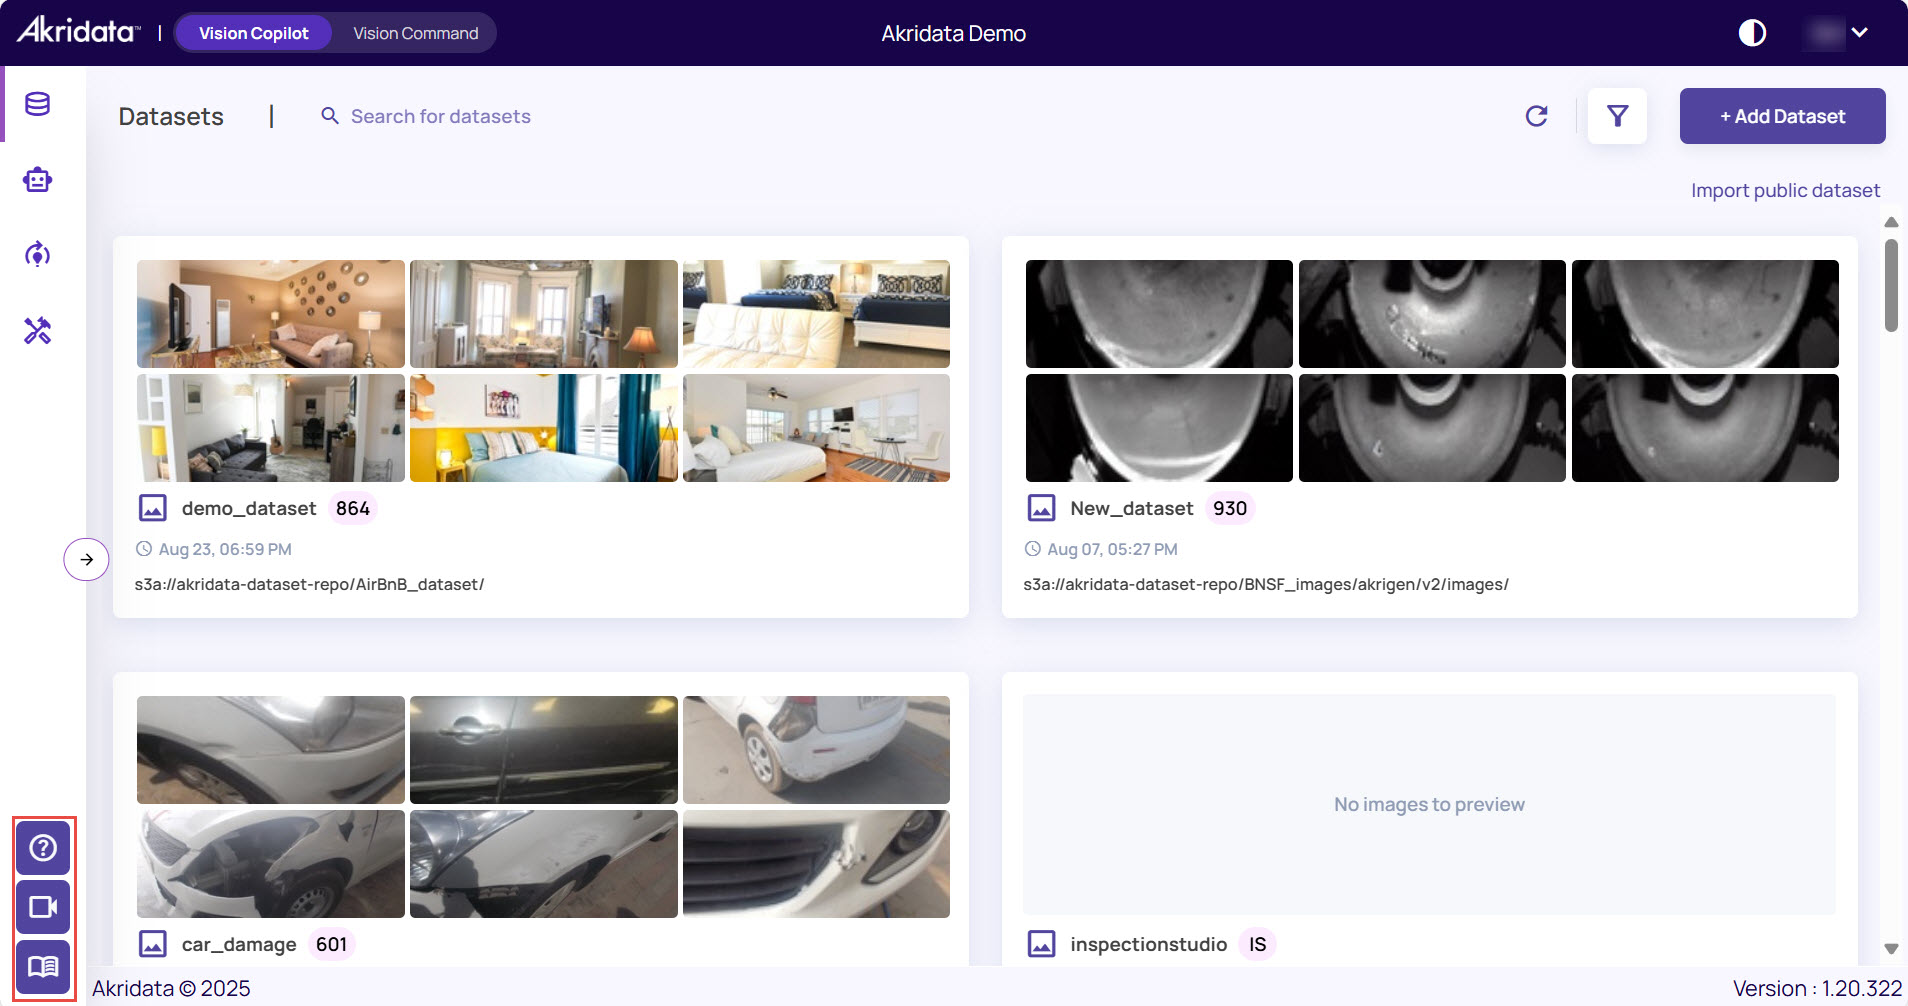
Support Ticket: Click to create a support ticket.
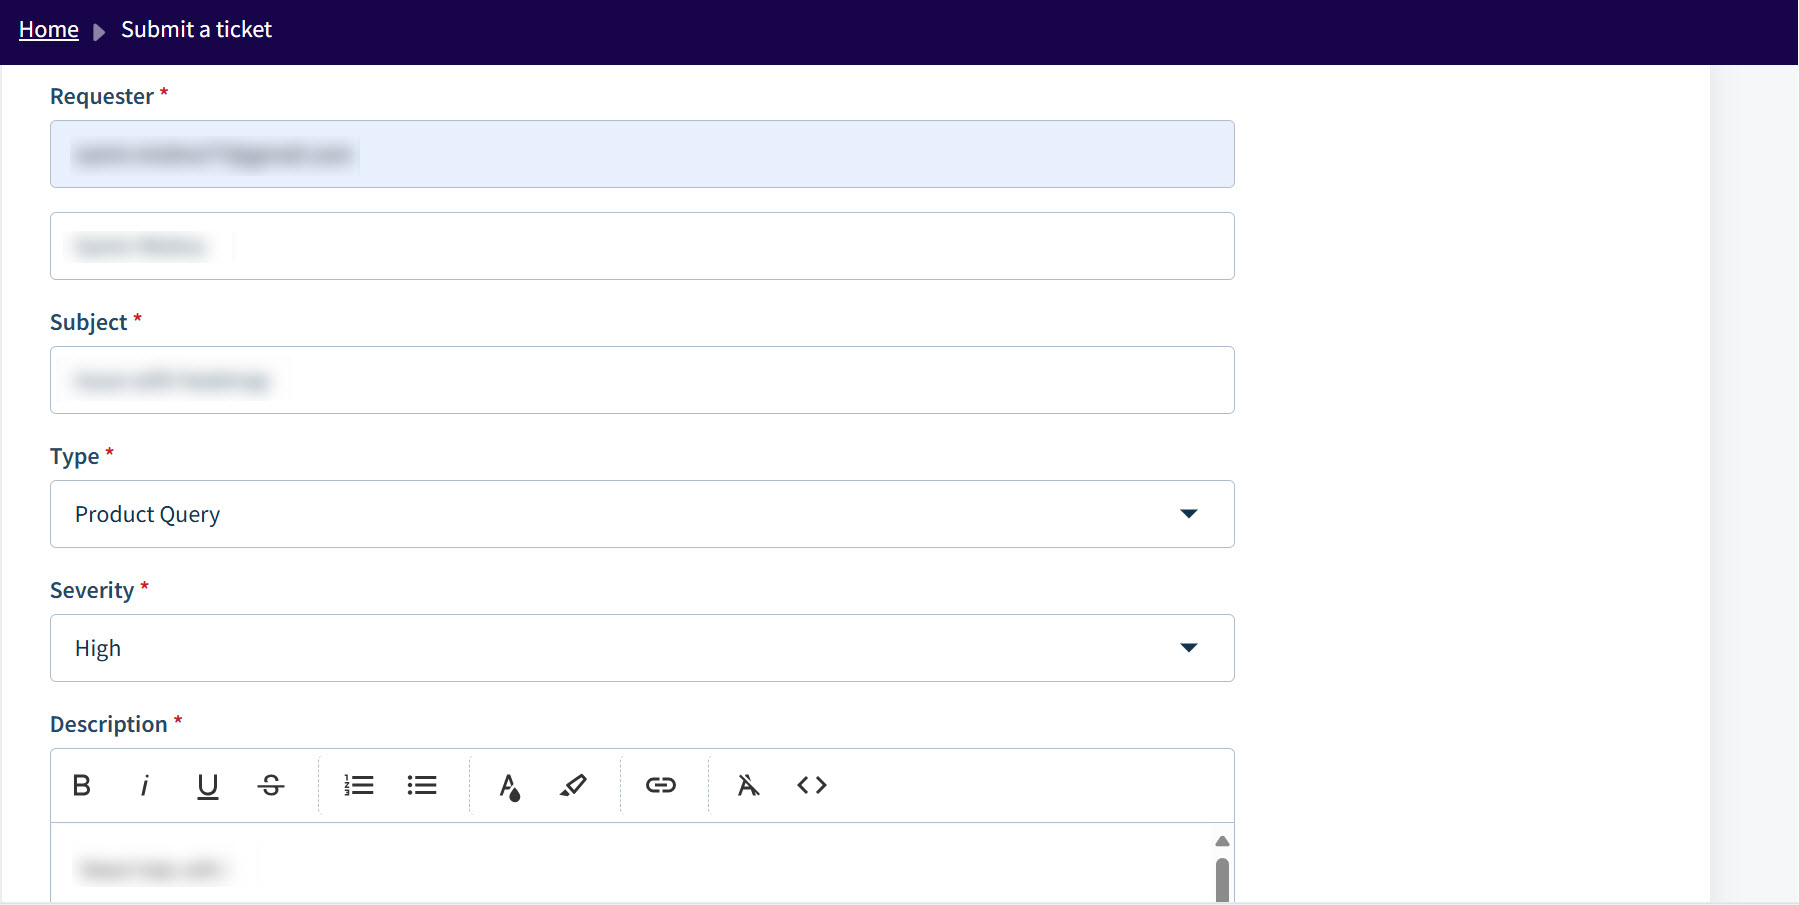
Click the Submit a ticket option to register a ticket with the issue details.
Fill in the required details, such as the request email and name, select the issue type, select Severity, and describe the issue in detail.
Attach any reference documents or screenshots as needed, then click Submit to create a support ticket.
Videos: Click the video icon to view the set of videos explaining the steps to performing different activities in Akridata.
Knowledge Base: The book icon represents access to the knowledge base articles. You can search for the topics based on your keywords to find relevant help in the form of articles.
Dataset page
The default Dataset page displays two primary actions:
Add Dataset: Create a manual upload dataset by uploading images or videos, or register a dataset by connecting to a cloud storage bucket on AWS S3, Azure Blob Store, or Google Cloud Storage.
Import public dataset: Import one of the pre-registered datasets into your account and start exploring!
