This page describes the actions available on a catalog view. Refer to the Introduction to catalog view. You can also refer to this guide for an example of creating a view for the classification dataset.
Create View
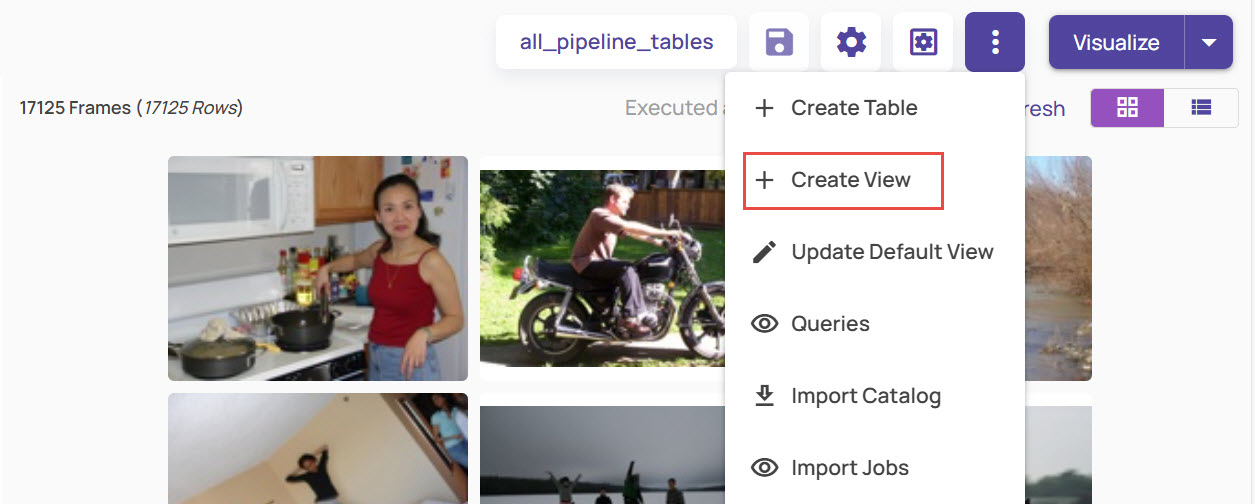
To initiate the view creation wizard, on the catalog page, click the 3-dot button on top right, and click Create View.

Fill in basic details like View Name and View Description.
.jpg)
A view requires at least two tables and a join condition.
Enable the option Include files only if present in all tables.
This ensures that the resulting view is created using only the files available in all the selected tables.Click Select Leftmost Table and select a table or a view from the list presented.
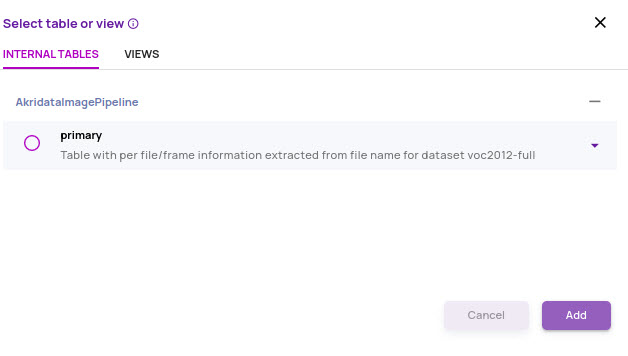
Click the Add button.
Edit the Alias Name for the table, if required.
The alias name is prefixed to each table column to ensure the view has unique column names, even if the same column name appears in multiple tables..png)
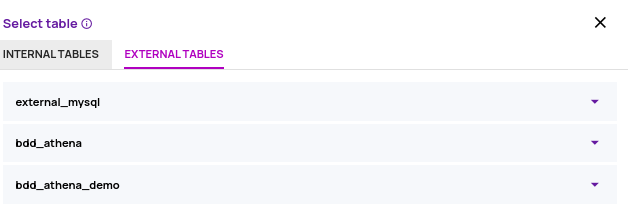
Click the + (plus) button to select an additional table.
.png)
Select tables from the list of available internal or external tables.
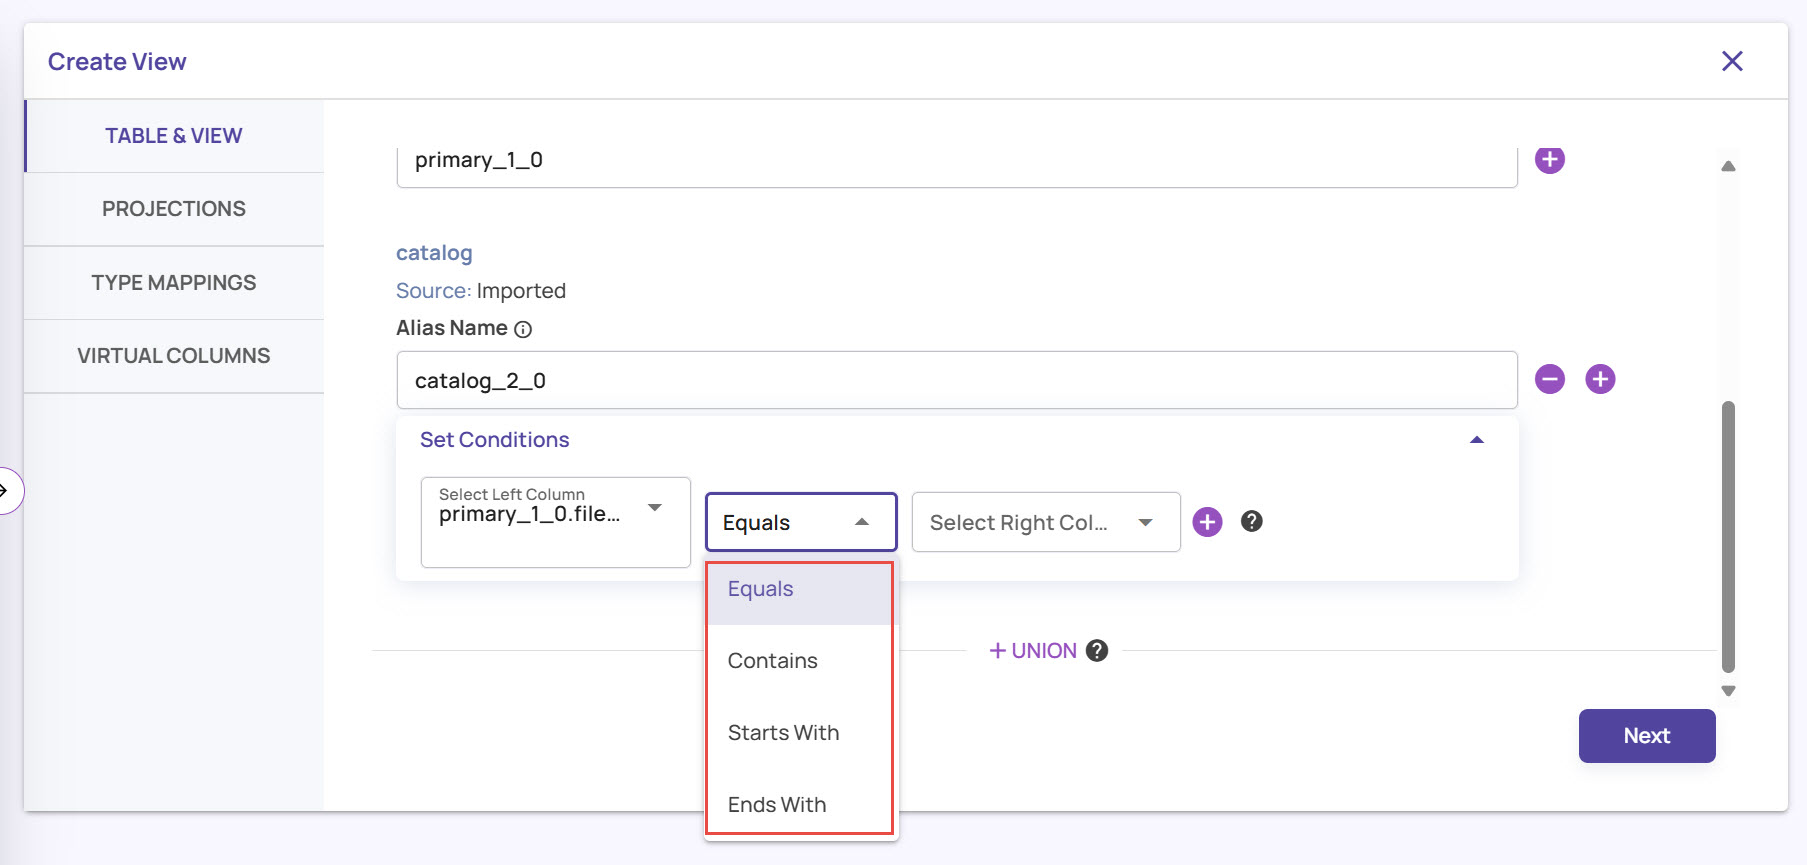
Click Set Conditions and specify the columns from both tables to be used as a join condition.
Click the Next button.
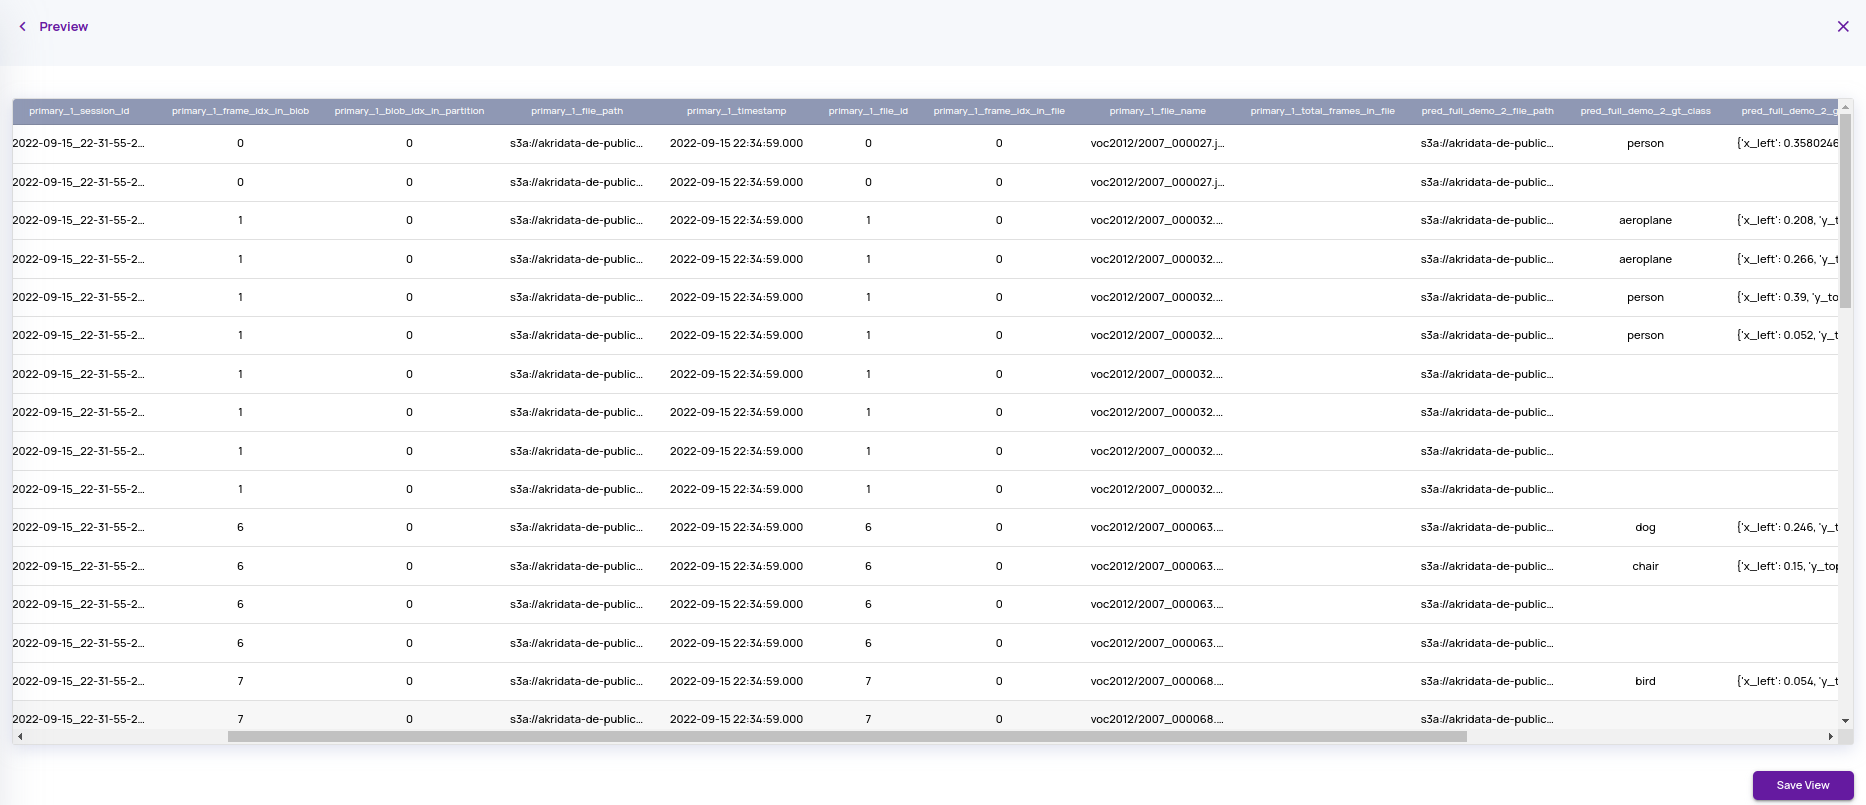
For basic view creation, continue by clicking Next on the 'TYPE MAPPINGS' step. Click Preview on the 'VIRTUAL COLUMNS' step..png)
The Preview screen appears as shown below, displaying the column details. Click Save View.
Other view actions
To view other view actions, on the catalog page, click the three-dots icon and select Tables/View Actions.
.jpg)
In the Settings window, under the Views section, click the three-dots icon next to a view.
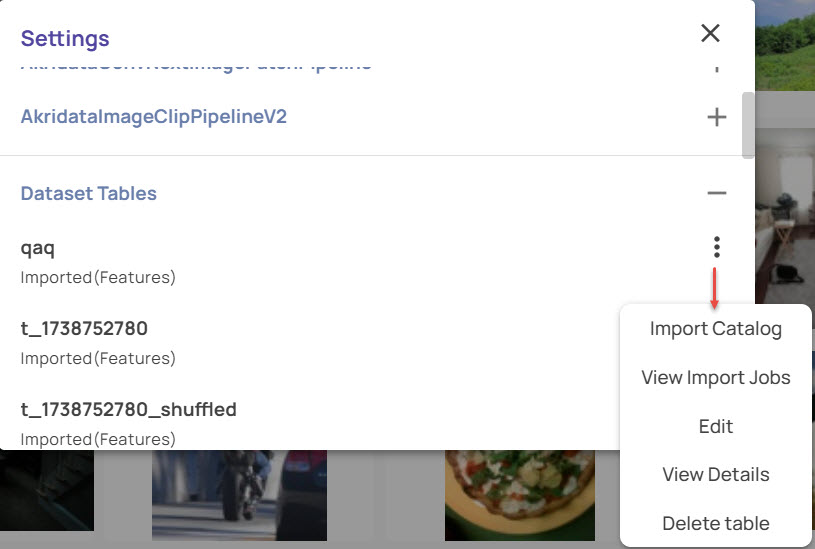
Dataset table actions
Import Catalog: You can import files for the assigned File Type into the table.
Optionally, you can also select the Task Type as Object Detection, Classification, or Segmentation. If you had already imported the files by using an identifier, next time you import the catalog, you can choose from the existing import identifier or enter a new identifier.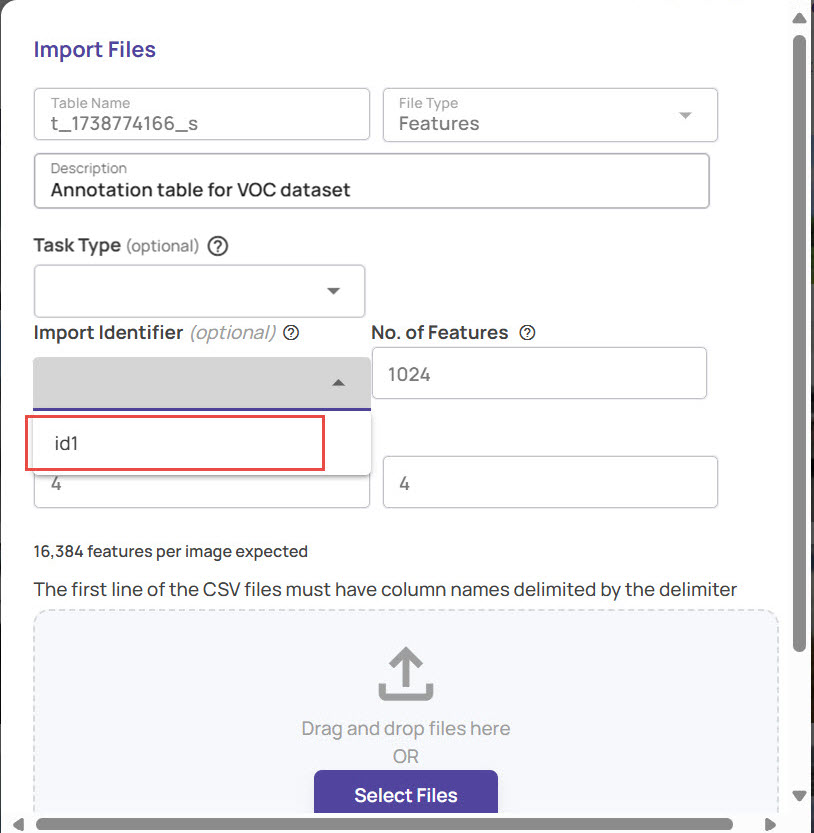
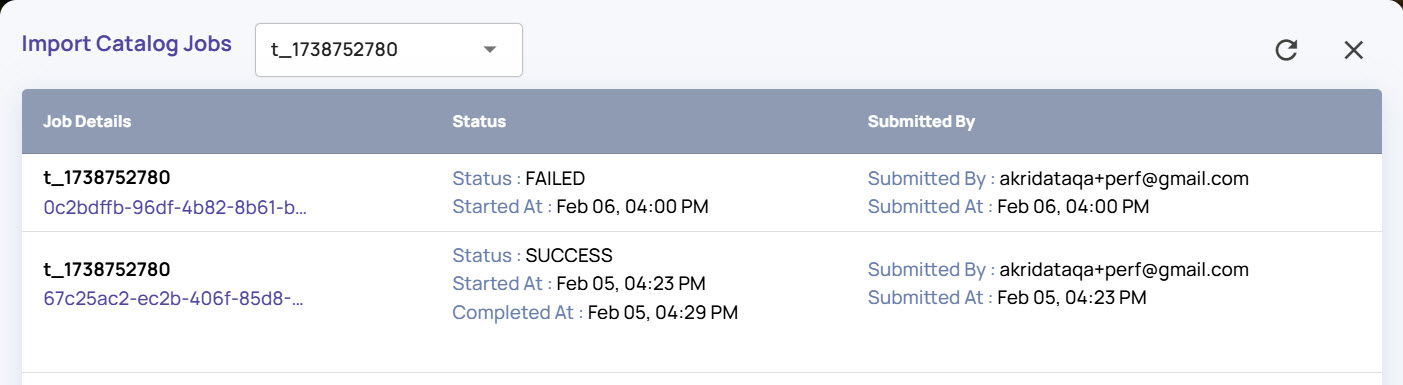
View Import Jobs: Click this option to view the imported jobs, status of import, and other details.
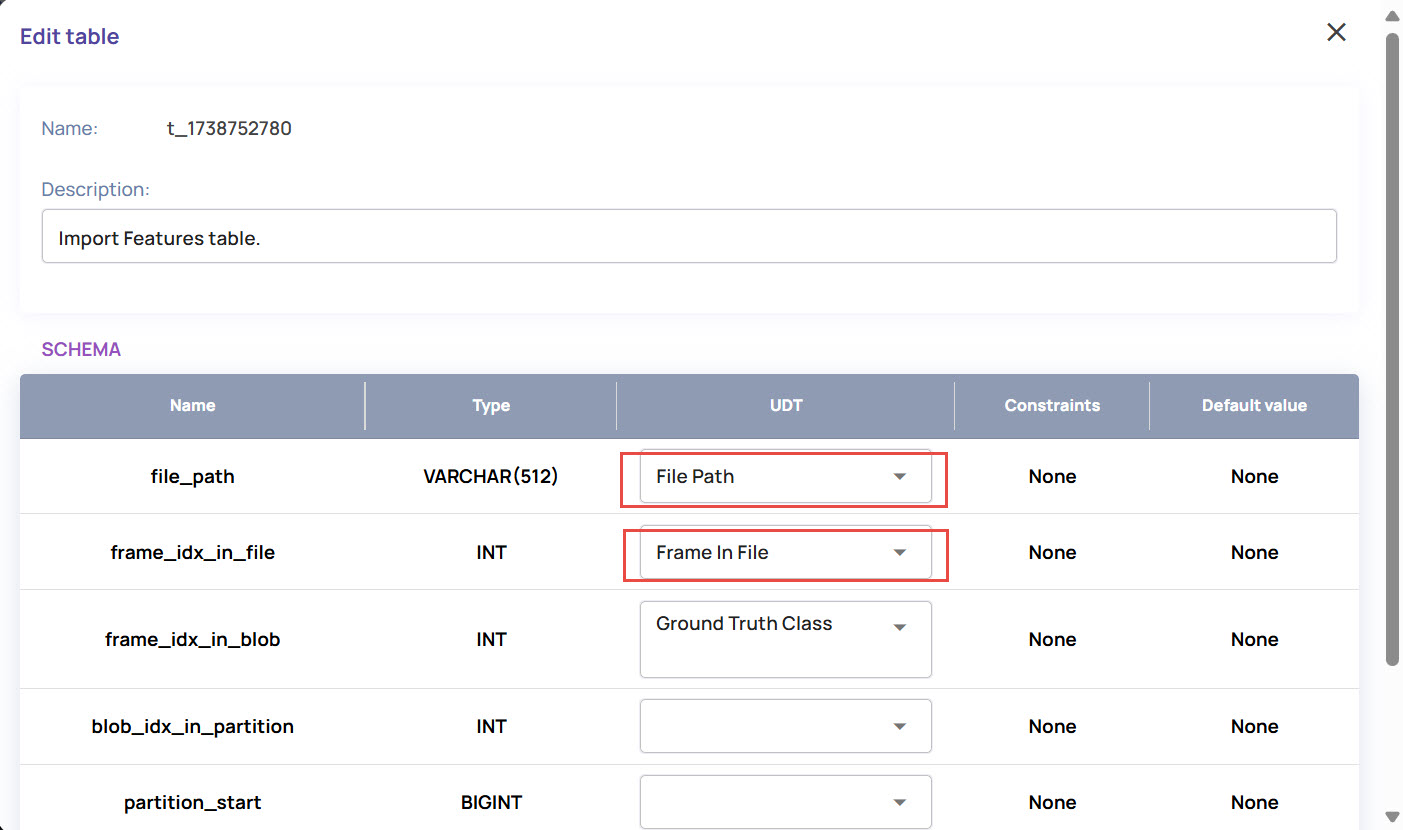
Edit: Click this option to open the Edit Table window. You can edit the Description of the view and assign UDTs to each property name of the table.
Delete: To delete a view. Deletion of the view does not impact the contents of the tables that were part of the view.
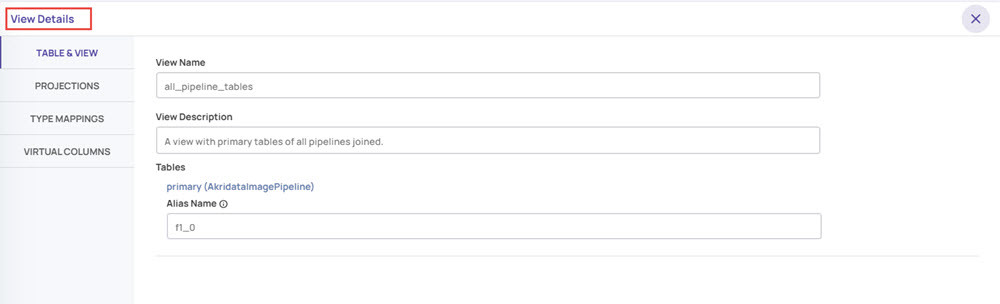
Show Details: Shows the view details with the tables and join conditions used to create the view.
Union View
A view is a way to join tables on a common column.
For example, if an image has five ground truths and six predictions imported into two tables, namely gt_tbl and pred_tbl. You must join these tables with a pipeline primary table to visualize the ground truths and predictions. A view with (primary JOIN gt_tbl JOIN pred_tbl) will result in a view with 5x6 = 30 rows, which is not the intent here. Union View allows you to generate a view resulting in 5+6 = 11 rows as intended. A Union View will enable you to specify a view (primary JOIN gt_tbl) UNION ALL (primary JOIN pred_tbl). In this view, you can append the rows of the first JOIN to the rows from the second JOIN. Let’s see how to create a Union View.
On the catalog page, click the 3-dots icon on the top-right corner and click Create View.
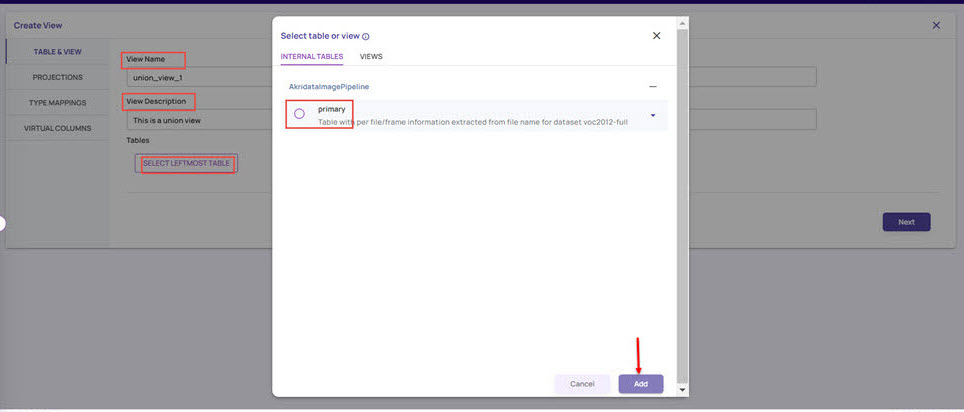
Enter the View Name and Description.
Click SELECT LEFTMOST TABLE to select the internal tables or views.
In the Internal table or views window, select the table and click the Add button.
In the Create View screen, enter the Alias and click the + (plus) button.
Select a table for the ground truth.
Select a table for the ground truth in the Select table window, and click the Add button.
Enter the Alias Name.
Under Set Conditions, select the left and right columns for the ground truth.
Select UNION to add another set of tables on which you want to create a Union View.
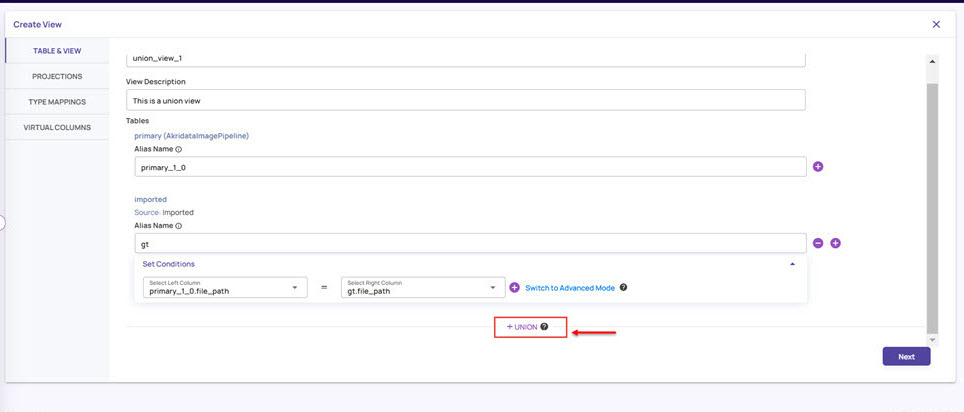
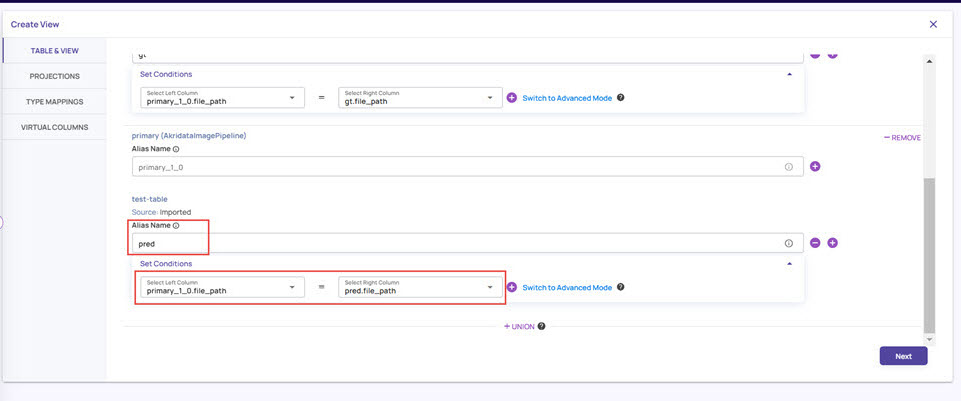
In the above screen, clicking the + (plus) button next to the Alias Name adds another set of ground truth conditions to the selected table, which is optional. You need to join another set of tables with prediction conditions for the primary LEFTMOST TABLE using the UNION option.Select a table for the predictions.
In the Select table window, select a table for the predictions, and click the Add button.
The LEFT MOST TABLE for this remains the same as you had selected previously.Enter the Alias Name.
Under Set Conditions, select the left and right columns for the predictions.
Click Next.
Click Preview to generate a preview of the Union View.
Click Save View.

You can view the saved Union View by clicking the three-dots icon on the catalog page and navigating to Table/View Actions > Settings > Views.