Each dataset has a catalog consisting of one or more tables that store metadata associated with objects in the dataset. The catalog data resides in the following category of tables.
Internal tables - Tables that are auto-created and populated as part of data ingestion through the execution of pipelines.
Imported tables - Tables created and populated when users import external catalog information by uploading files in a supported format(like CSV or COCO).
SaaS mode: The catalog file must be imported on the web portal UI. The details on the structure of the CSV file are described here.
Local mode(deprecated): CSV file must be imported using the 'adectl import' command. Catalog import on the web portal UI import is not supported. The details on the structure of the CSV file are described here.
External tables - Tables in an external catalog database are registered on the External catalog page. This is available only in SaaS mode. The details on the fields that must be present in external tables are described here.
Watch the following video for an overview of the catalog page.
To open a catalog and view the catalog-related functionalities:
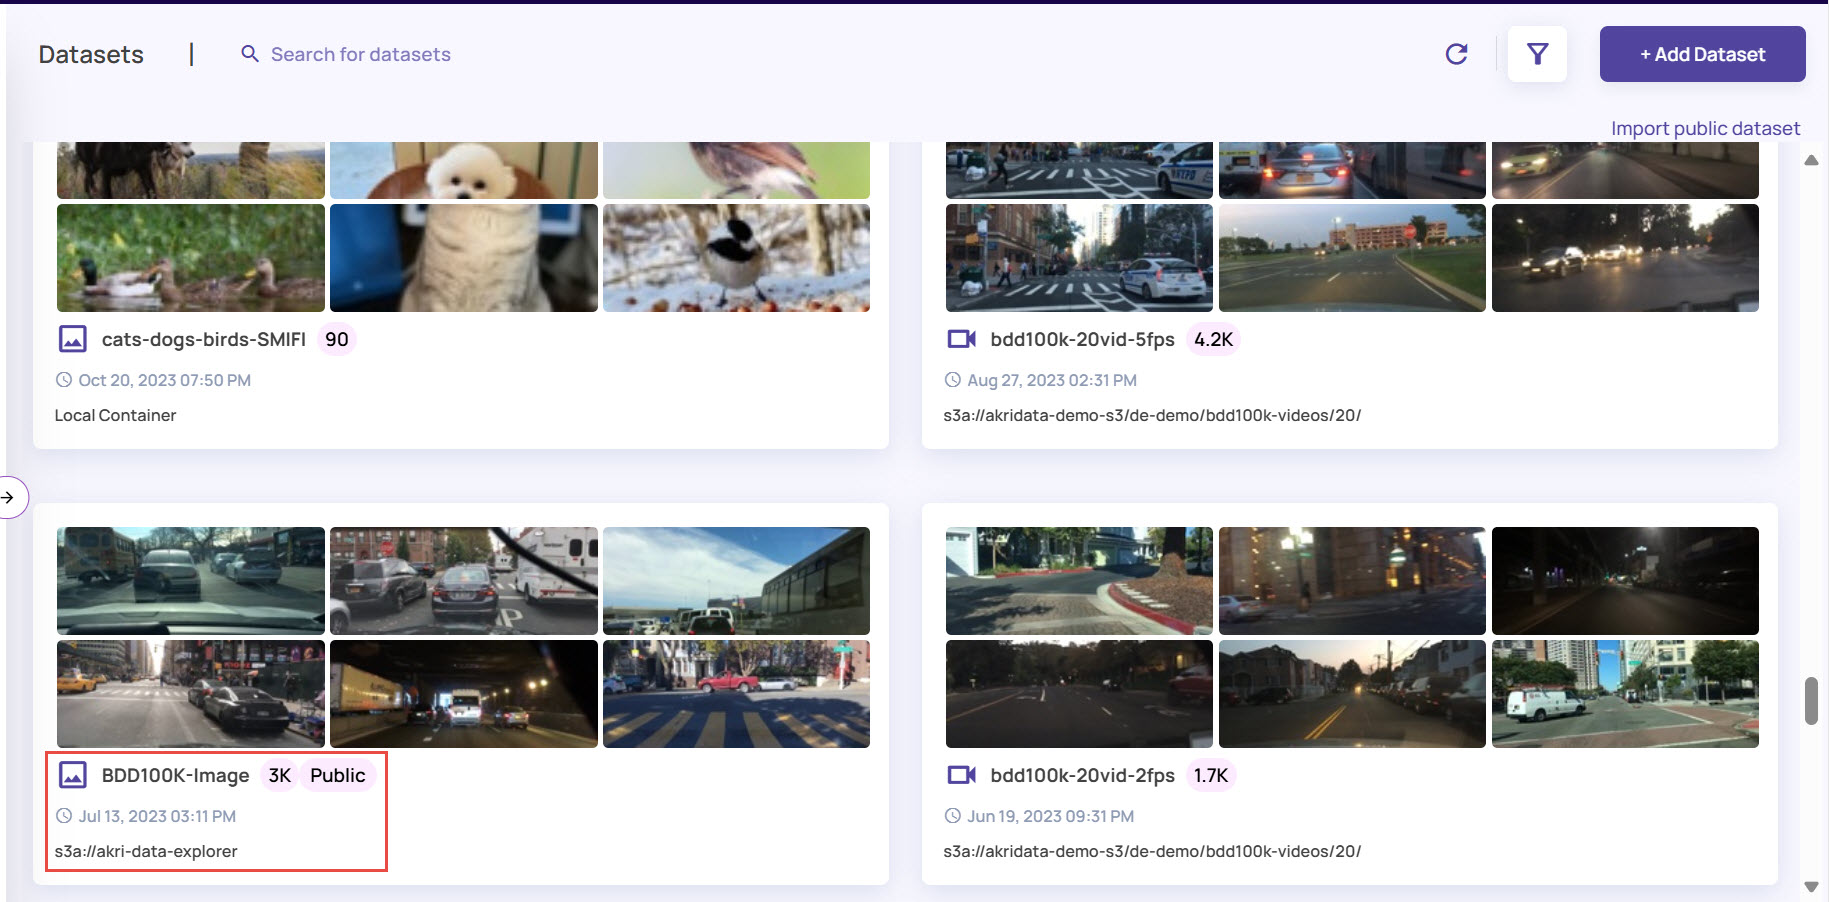
Navigate to Data > Datasets.
.jpg)
Locate the required dataset and click anywhere on the dataset card.
Under the General tab, click the Catalog button, which appears on the right side of the page.
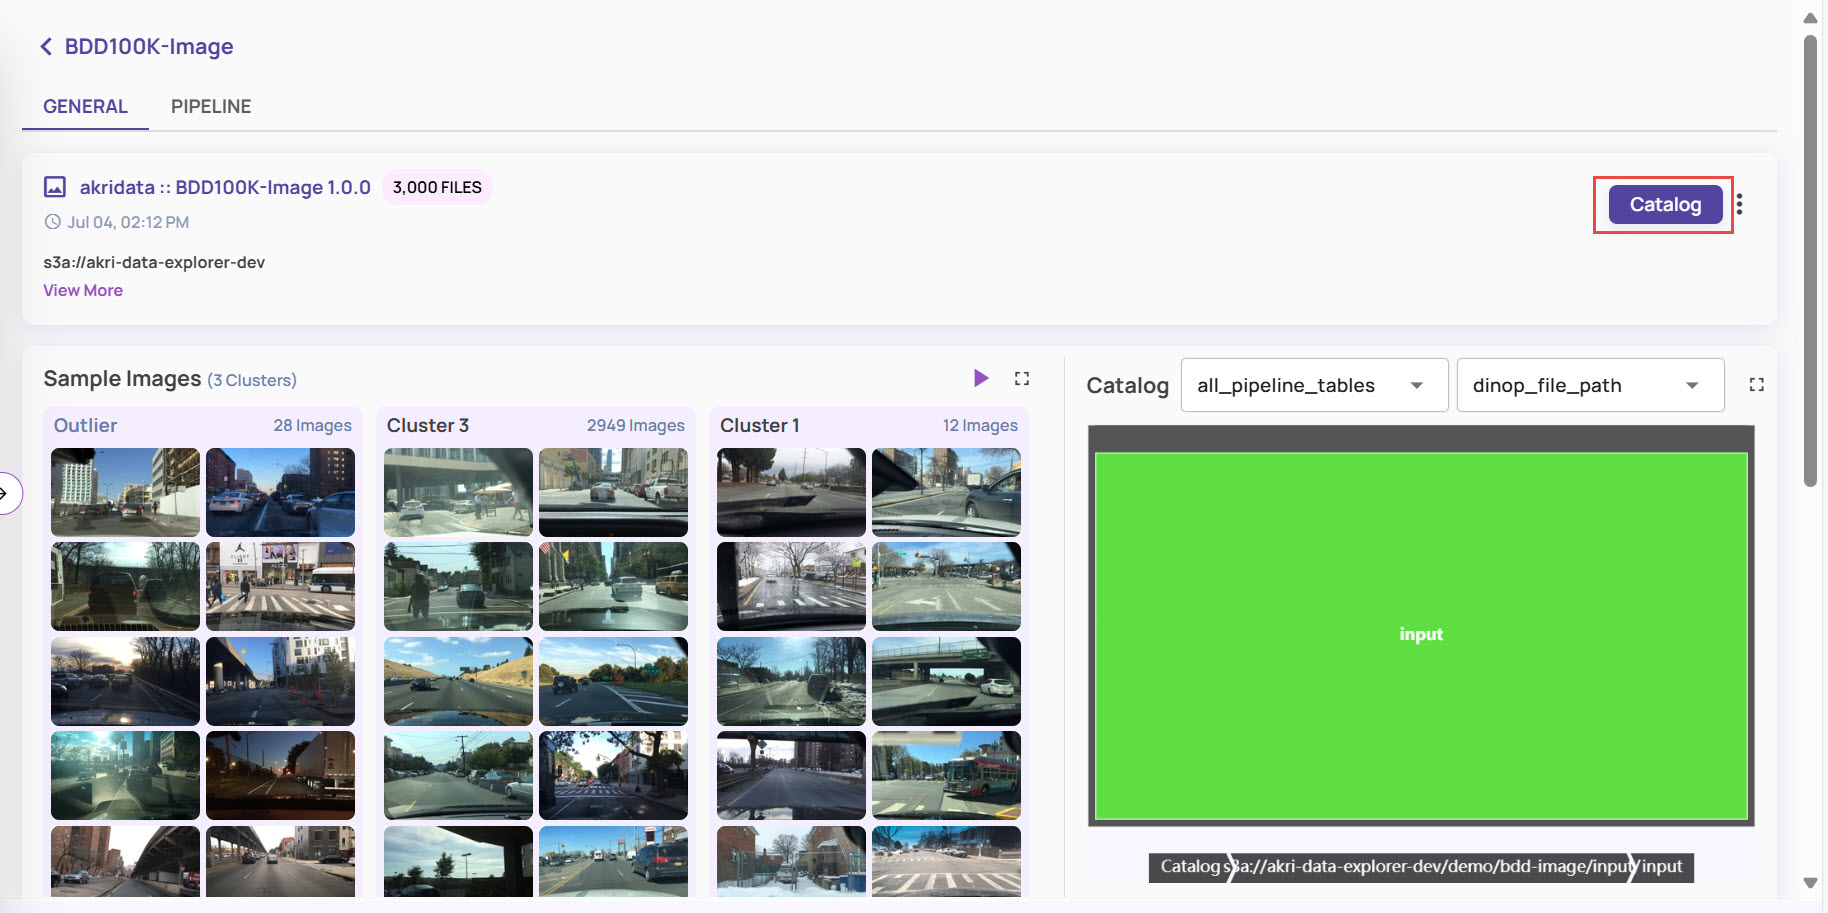
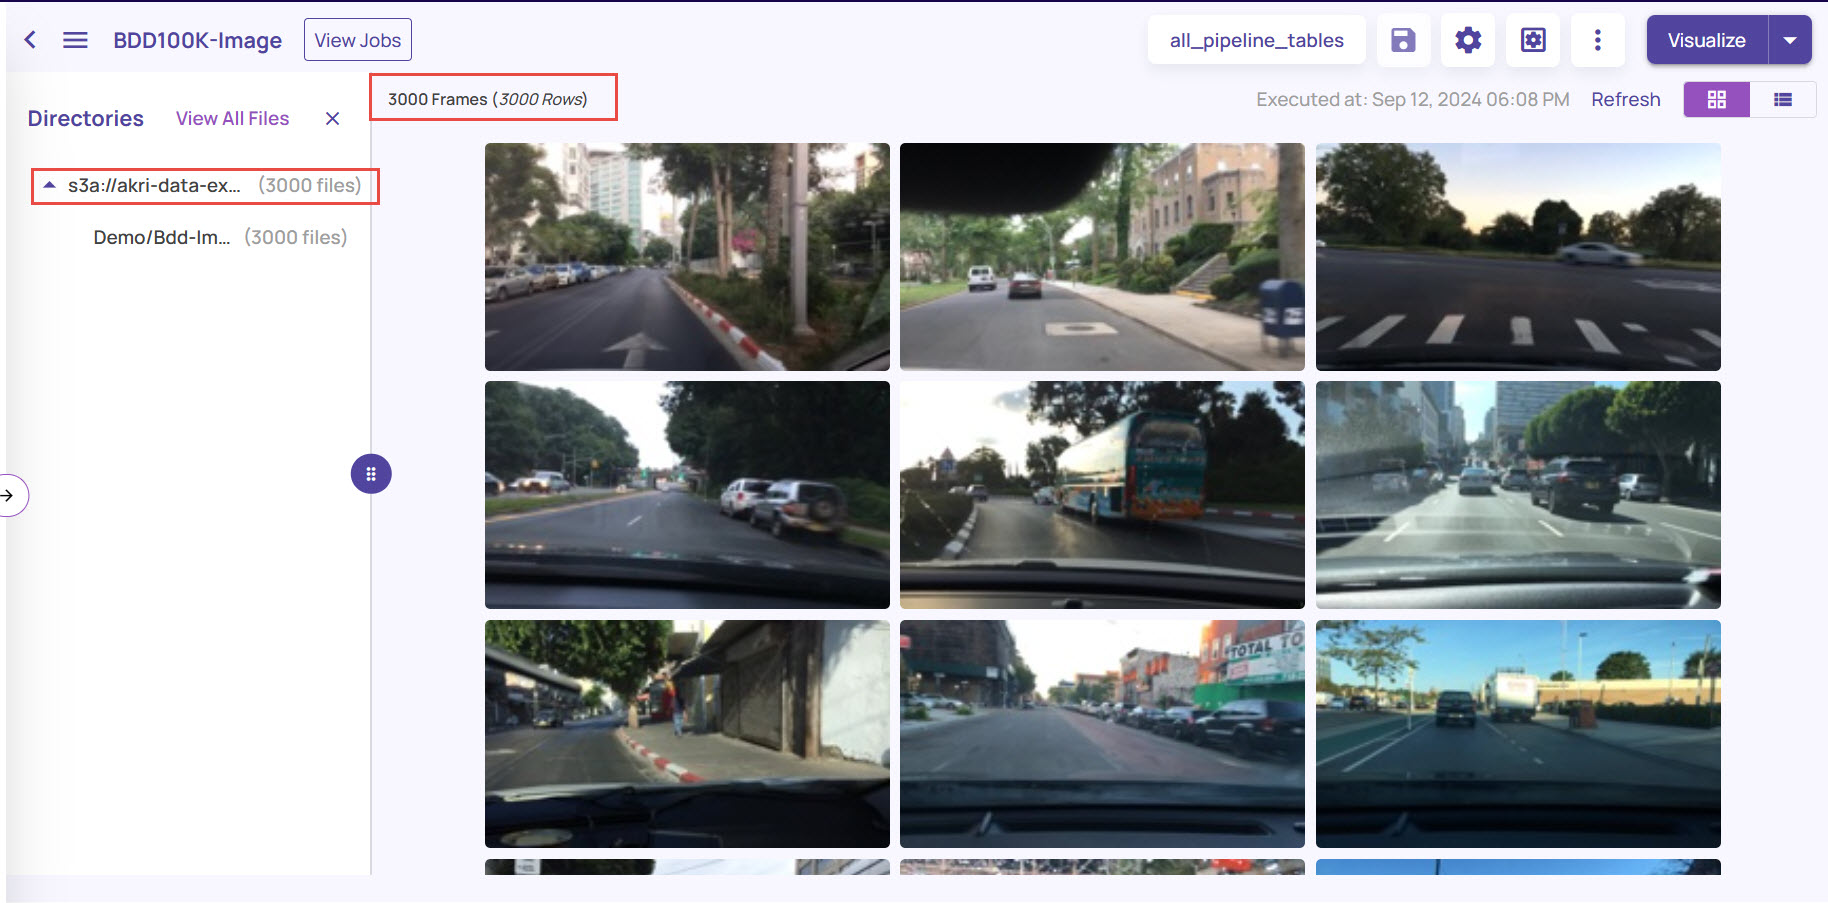
The catalog page for the selected dataset opens in the default mode. The left-side panel displays the ingested directories and sub-directories.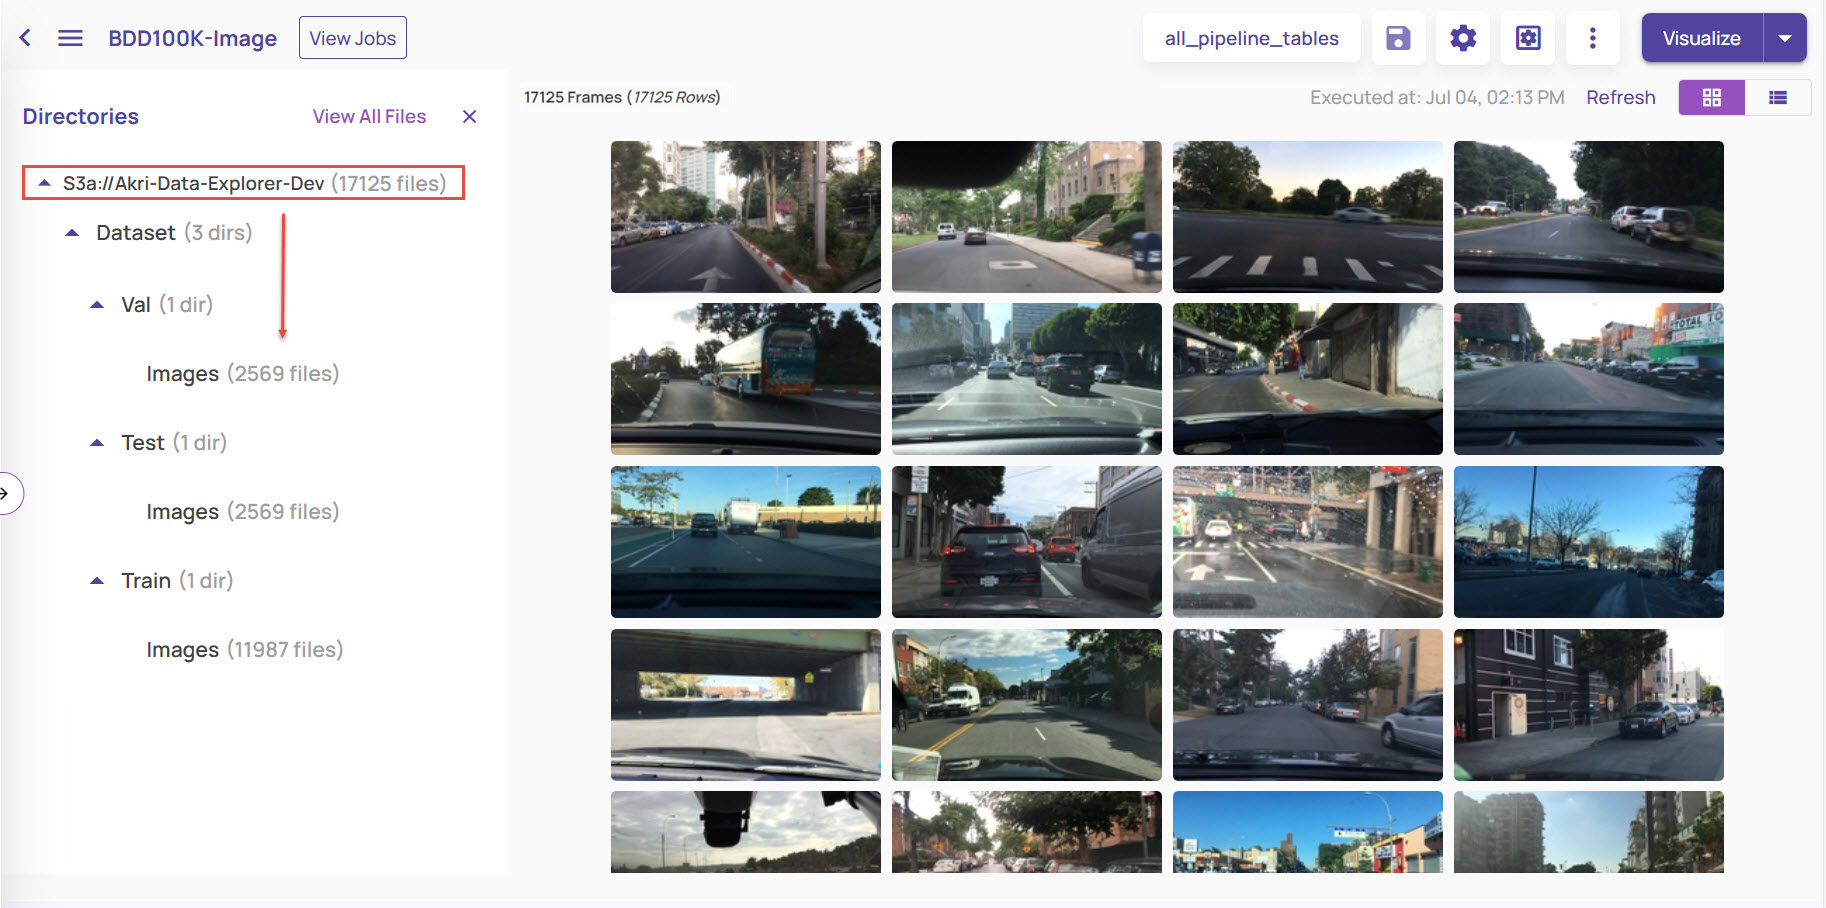
Click the directory to view all the sub-directories and the number of images under each directory.
You can click any subdirectory to view the images available only in that particular subdirectory.
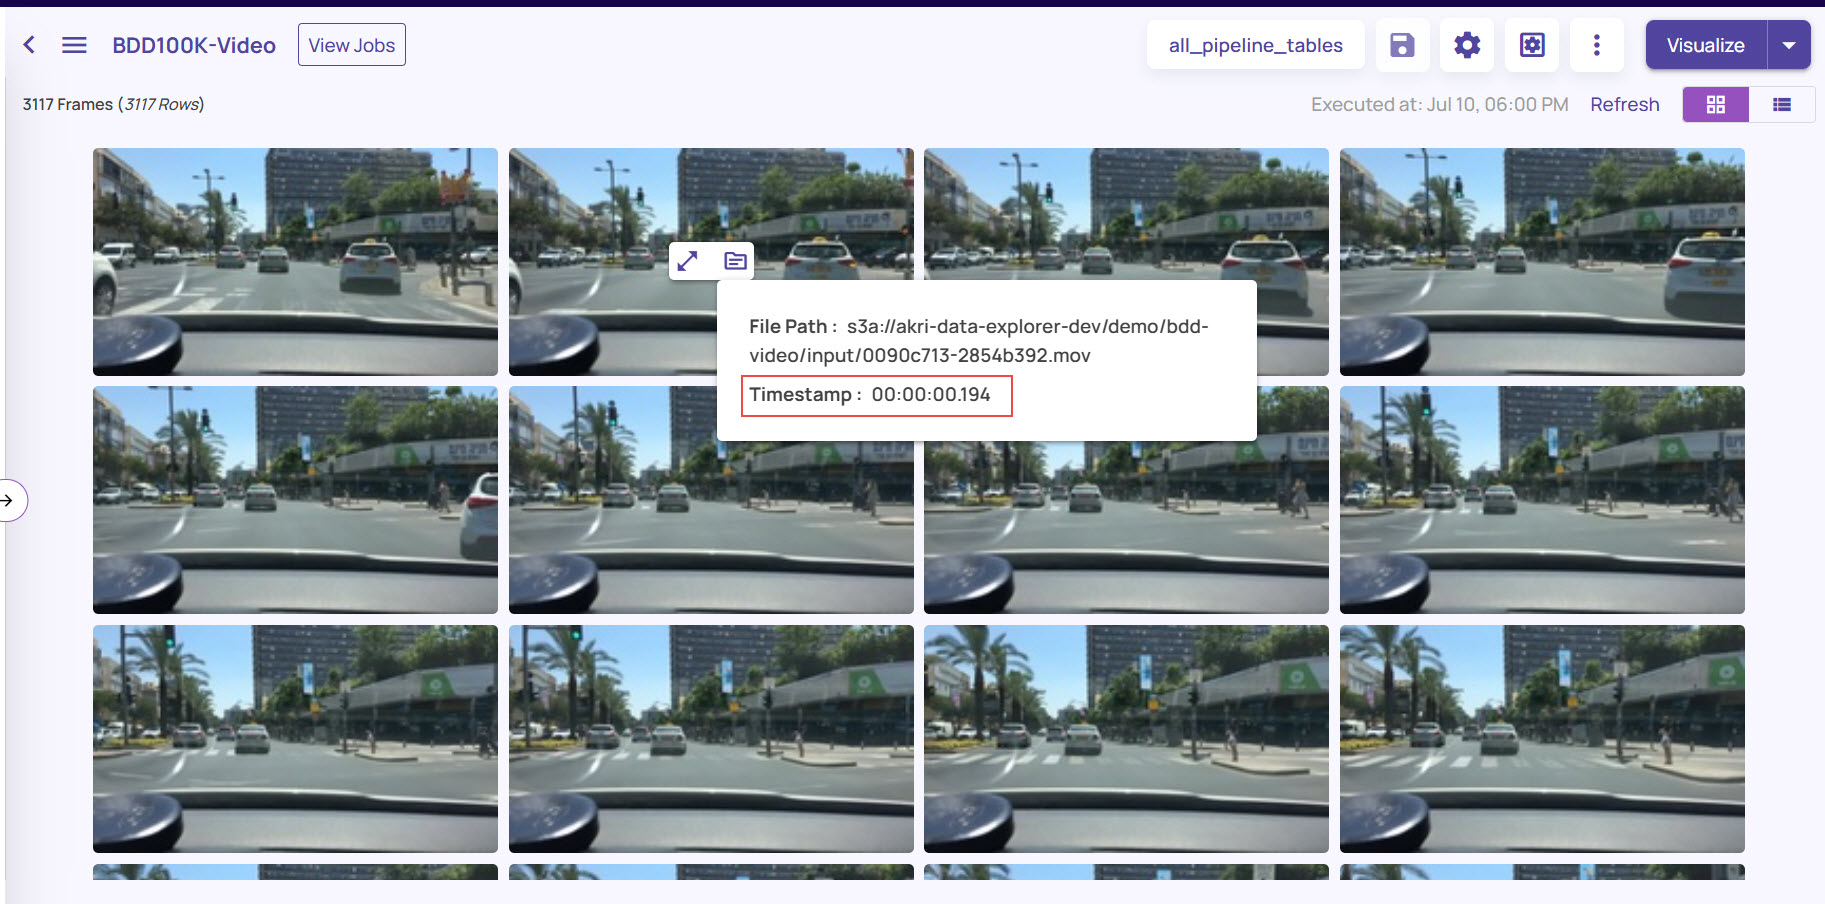
If you have created a dataset of the type video, click the folder icon on any image to view the filepath along with the timestamp of the frame within the video file.
Catalog actions
Display options
On the catalog page:
The left panel displays the directory path from where the image frames were ingested into the dataset. You can click the View All Files option to view all the image frames and hide the Directories left panel.
The right panel displays the image frames with the number of frames available, based on the last executed query.
On the top-right corner, the grid icon is selected by default. You can click the tabular icon adjacent to it to switch to a tabular format view.
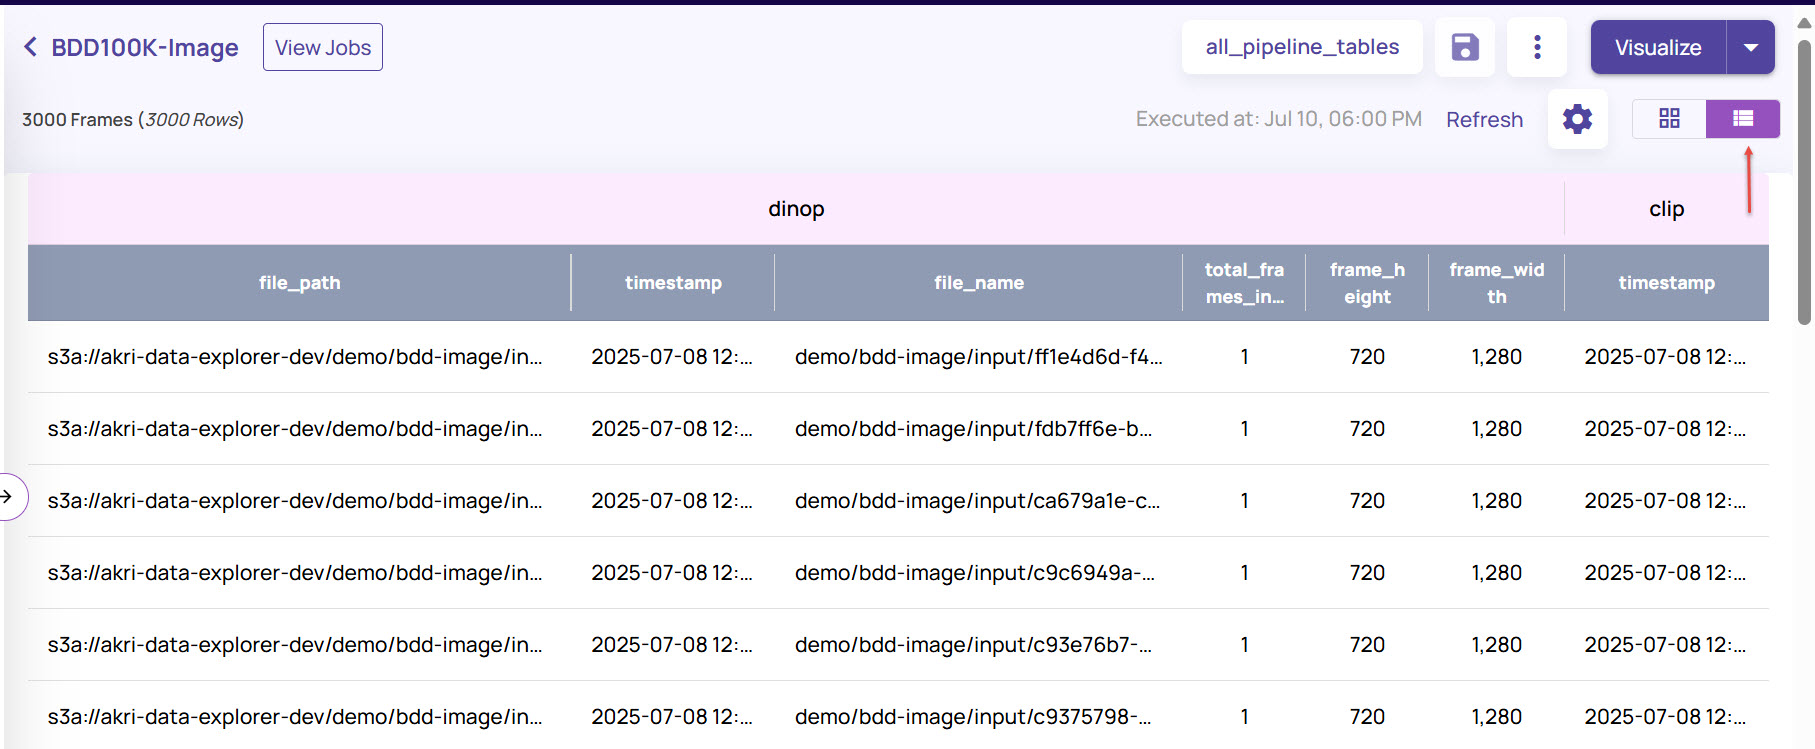
In the tabular view, click the Settings icon.
The Compact option is enabled by default. Disable the Compact option to view the complete details in each row.
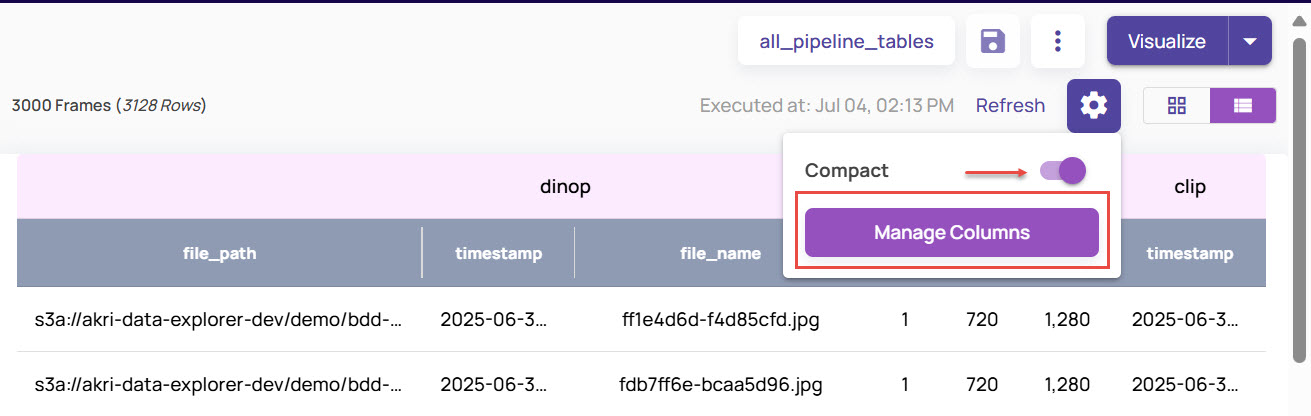
Note that the tabular view displays the table names corresponding to each column. It represents that the corresponding columns belong to that particular table.Under Manage Columns > Select Columns, select the columns that you want to see in the tabular view.
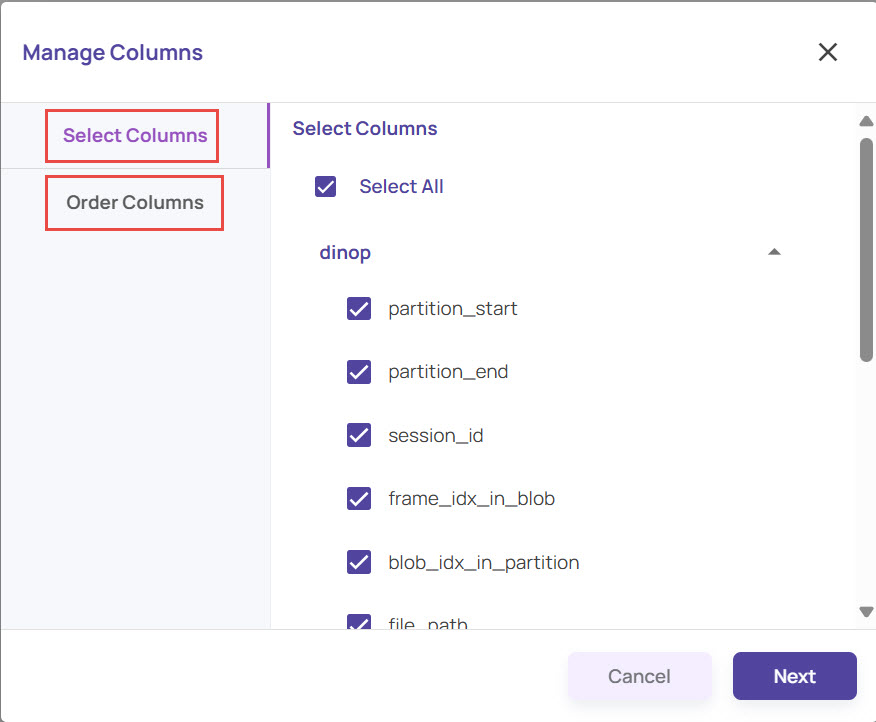
Similarly, select the Order Columns tab and drag the columns to set them in your preferred order in the table.
Actions on the 3-dot menu
.png "image(26).png")
Create Table: Create a new table to import the catalog. The Quick import catalog creates the table with auto-inferred types and is the recommended flow for most use cases. Use this option only for special situations where the auto-inferred type of the column needs to be overridden, or an explicit default value or non-null constraints are required.
.png")
Create View: A view combines multiple tables, allowing for flexible integration of catalog information across various tables. Refer to Catalog views for more details.
Create/Update Default View: Every dataset has a default view associated with it, which populates the default results shown on the catalog page. For datasets created before the 1.18 release, this default view may not exist. Use this action to create a default view or rerun the query against the default view to fetch the latest query results.
Queries: Lists query execution history and allows direct fetch of the results without rerunning the query. Refer to Queries for more details.
Import Catalog: Initiate a Quick Import Catalog.
Import Jobs: Track the status of import catalog jobs.
.png "image(28).png")
Table/View Actions: Lists all tables and views with actions against each table/view.
.png")
Dataset Tables
Import Catalog: Use this option to append new entries to the existing catalog table incrementally.
View Import Jobs: Track the status of import catalog jobs on a specific table.
Edit: Use this option to edit the table description and assign User-defined types(UDT) to the columns.

View Details: Shows a detailed view with description and column details.
Delete table: Delete the table with all its entries.
.png "image(30).png") If you had imported any features, the View Details screen displays the Import Feature Details, such as Number of Features and Grid Size, as shown below:
If you had imported any features, the View Details screen displays the Import Feature Details, such as Number of Features and Grid Size, as shown below: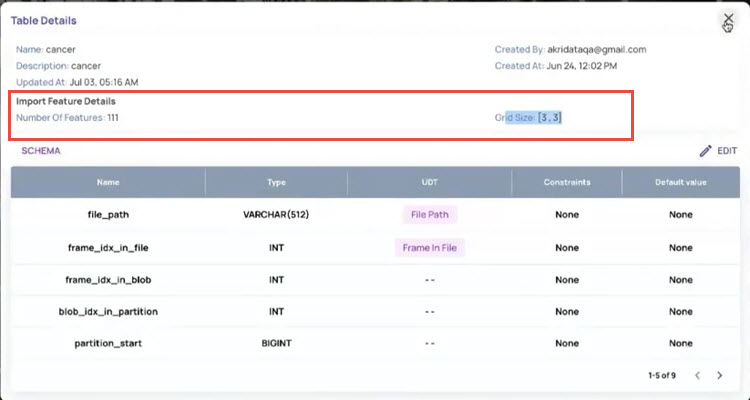
Views
Delete: Delete a view. This does not impact the entries in the underlying tables used to define the view.
Show Details: The read-only screen has details about the view.
.png "image(31).png")
Edit View: Edit properties of the view.
Download: Use this option to download the query results as a CSV file.