The Jobs page for different types of jobs is available on the left navigation menu.
An "Explore job" refers to a type of data exploration task designed to help you visually analyze and curate datasets, particularly image or video datasets. You can use an explore job to:
Visualize data from a selected dataset.
Focus on specific regions of interest within images using bounding boxes.
Apply tools such as clusterers and embedders to analyze patterns or groupings within the data.
An "Analyze job" is a specialized task designed to evaluate the performance of machine learning models, particularly for image classification, object detection, and segmentation. An Analyze job compares ground truth labels with model predictions and visualizes the results using features, such as:
Confusion matrices
Precision-recall curves
Confidence histograms
Cluster plots
You can click Explore or Analyze to view the specific jobs page. For illustrative purposes, the controls on the Explore Jobs page are described below.
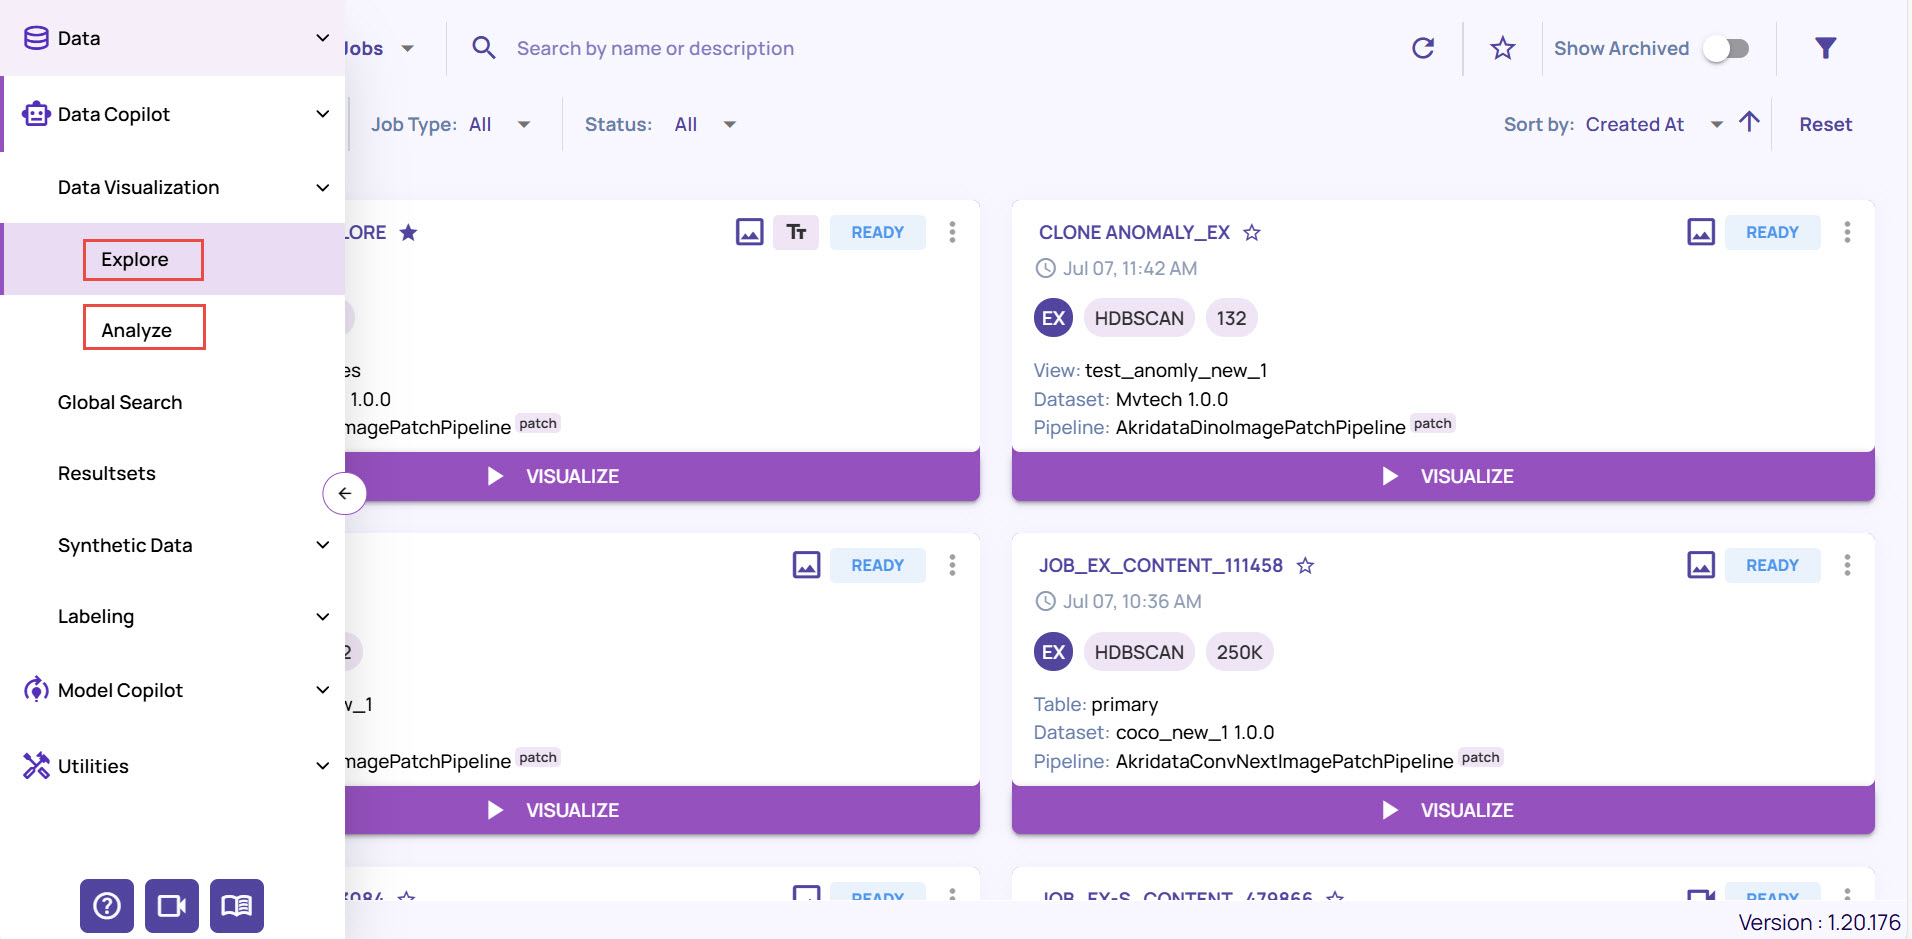
Explore Job Options
My jobs: Filter jobs created by the logged-in user or any user in the organization.
Common Filters: Filter by dataset type (Image/video), clusterer, tags, or pipelines.
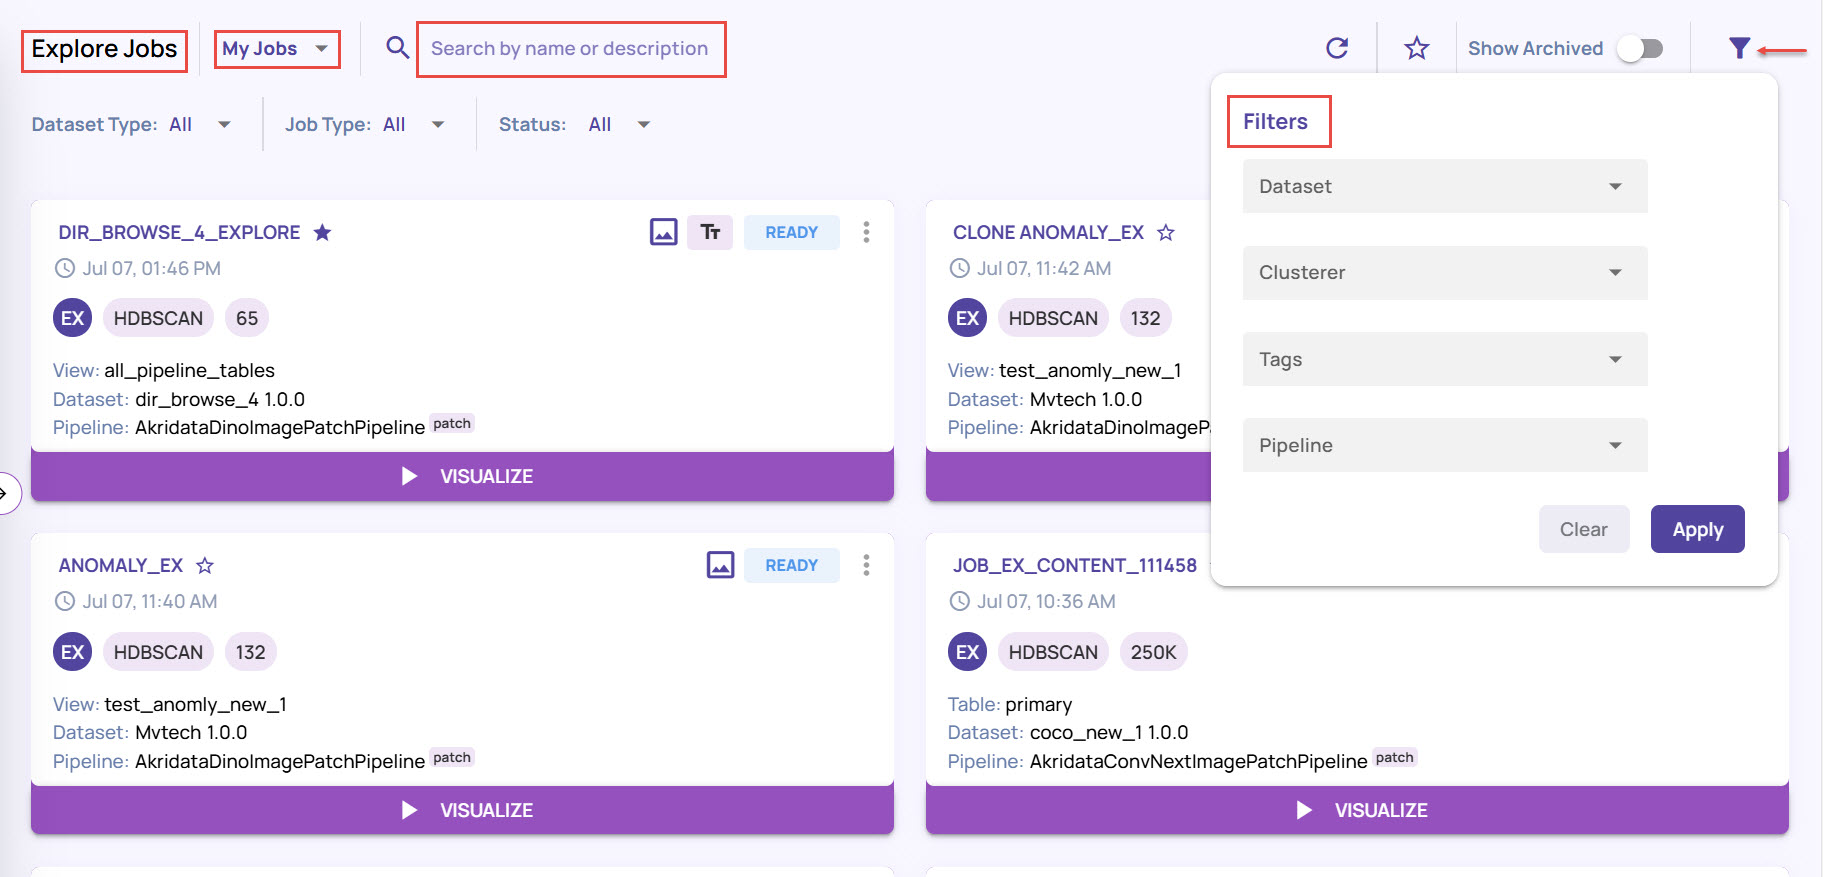 You can also search for a job by Name, Description, or tags, if needed.
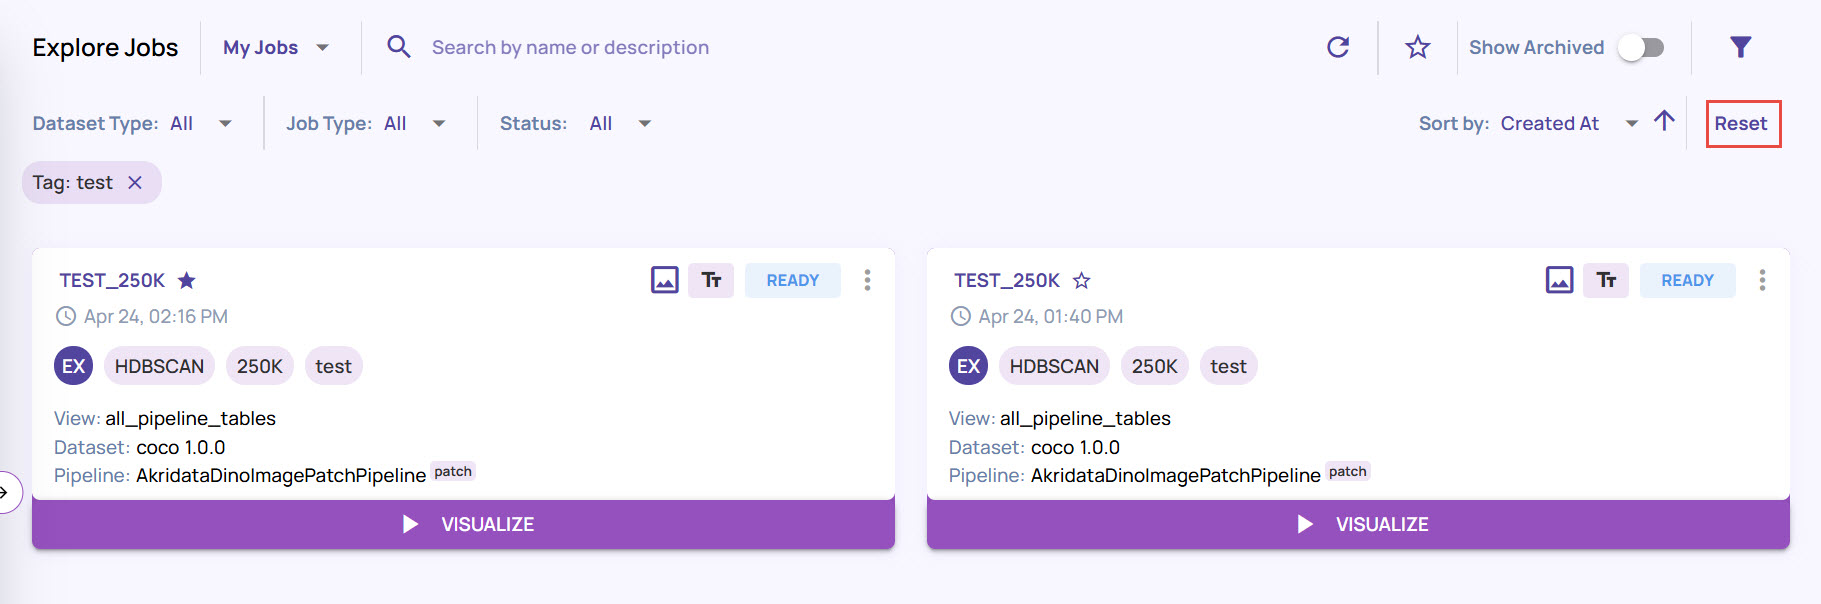
Filtered results are displayed with each filter parameter shown in the top-left corner above the search result.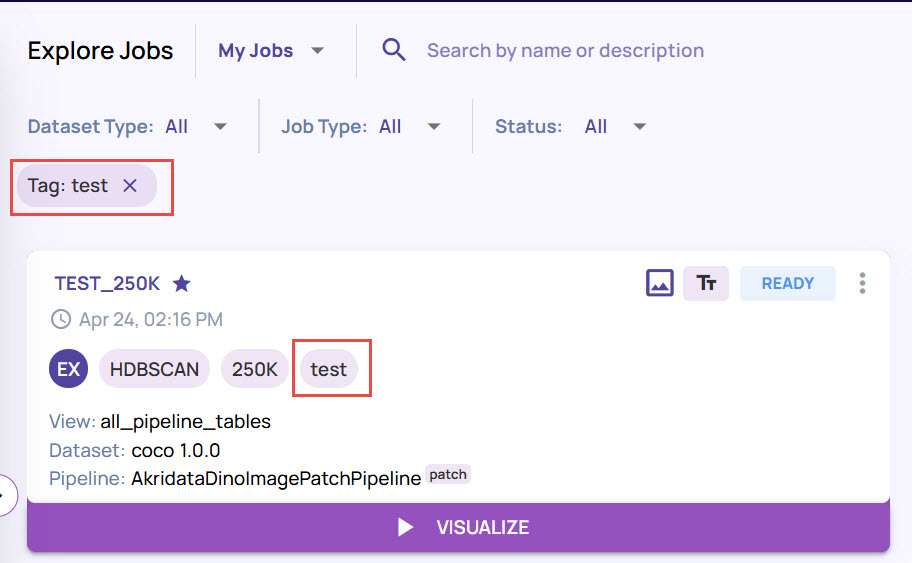
Notice that the tag name appears on the job card.
Click Reset on the top-right corner to remove the filter parameters and display the results.
You can also remove the filter by clicking Filter icon > Clear.
Other actions (left to right)
Refresh: Refresh the page
Star: Filter only starred jobs. You can 'star' your most relevant jobs and have them available for quick access.
Show Archived: Toggle to include archived jobs in the listing.
Additional filters: Apply filters such as specific datasets, attached pipelines, etc.
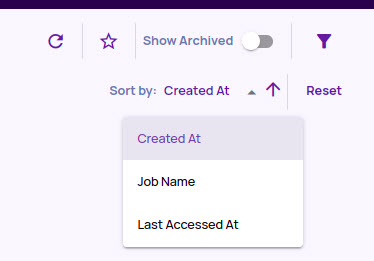
Sort controls: The default job listing is sorted by 'Creation date' in reverse chronological order. Use the sort controls to change the sorting order.
Reset: A button to clear all filtered settings and apply default filtering.
Job Card Controls
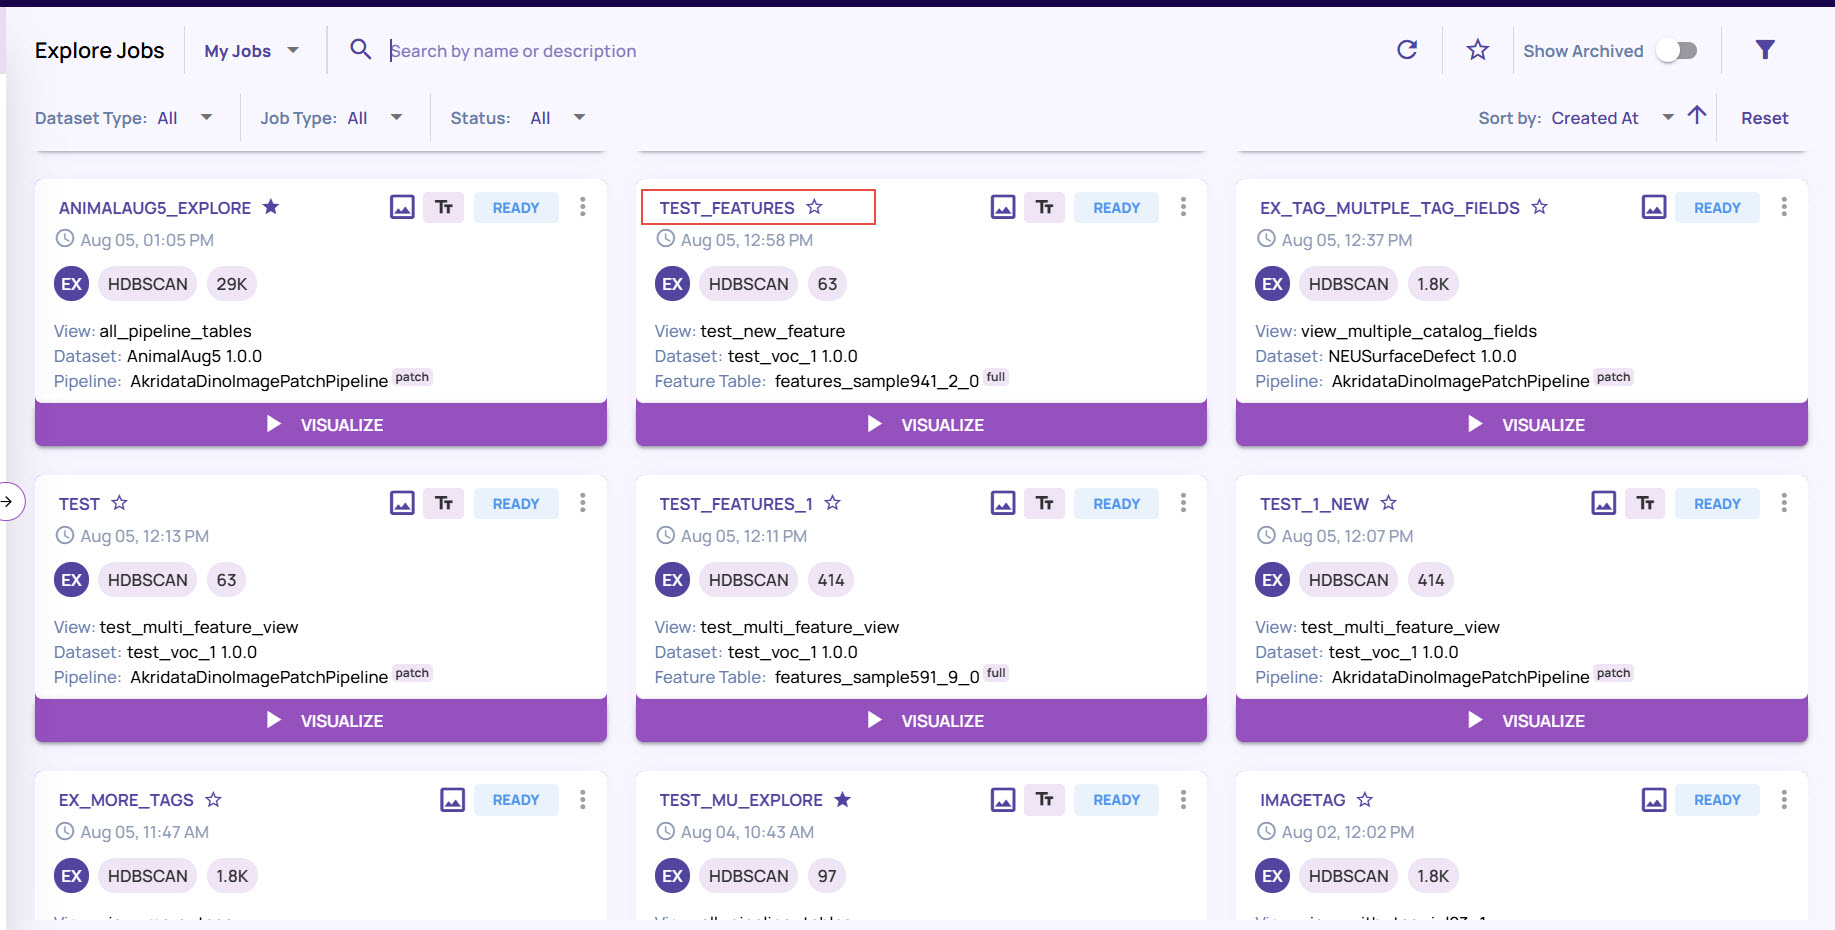
This location has the job name and creation timestamp.
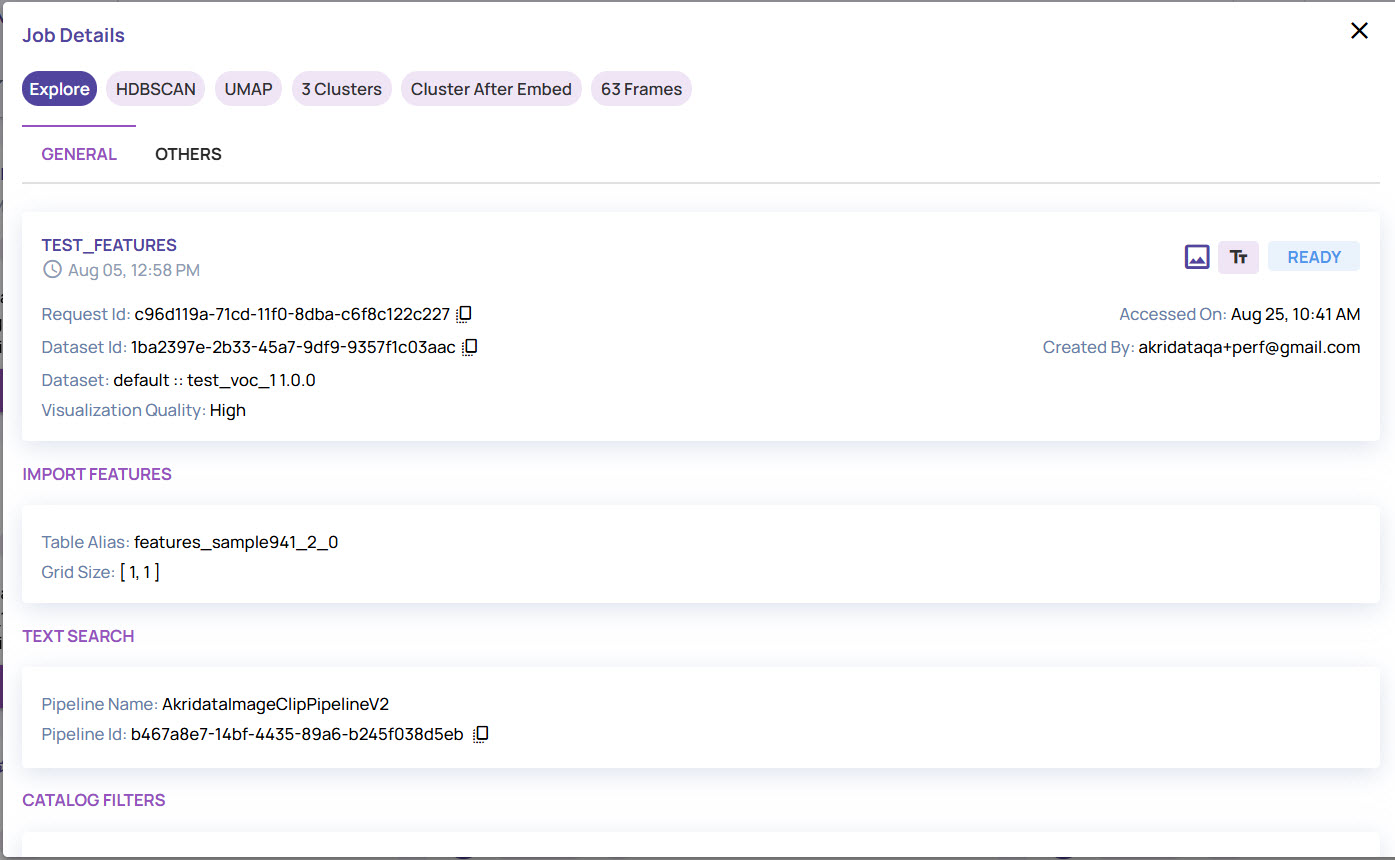
You can click on the job name to view the job details page, which shows all the job input parameters, as shown below.
The 'star' icon is a button to mark a job as a 'starred' or 'favorite' job. As described above, you can filter the starred jobs by clicking the star button at the top right of the job page.
The following are the icons in this area (from left to right).
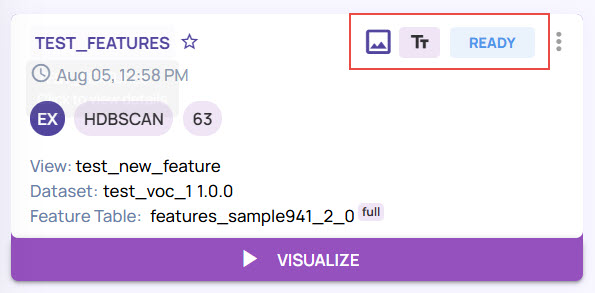
Data type: Image Vs. Video
An icon indicating text search support in this job.
Status of the job
The three-dot action menu presents other job actions, described later.
The following are the badges in this order (from left to right).
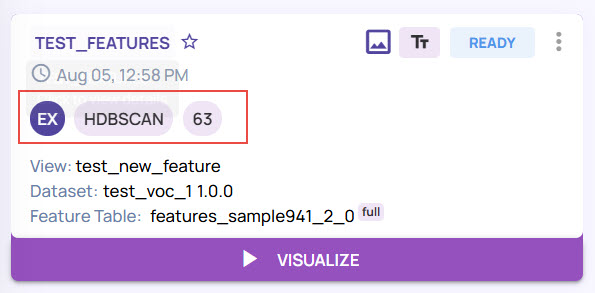
EX: A short name for the type of job. In this example, ‘EX’ stands for an explore job.
HDBSCAN: The clusterer for this job.
864: The number of images/video frames in this job.
This area has the following information.
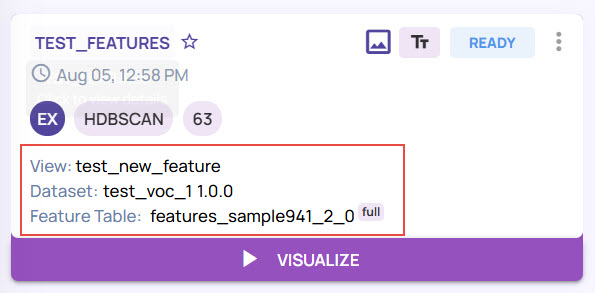
View/Table name on which the catalog query was run to select the images/video frames for this job.
Dataset name
Feature table whose output features (embeddings) are used to create this job.
Explore Job Card Actions
In addition to the options for searching jobs, you can perform different activities on a specific job.
On the job card, click the 3-dots icon to view all the available options.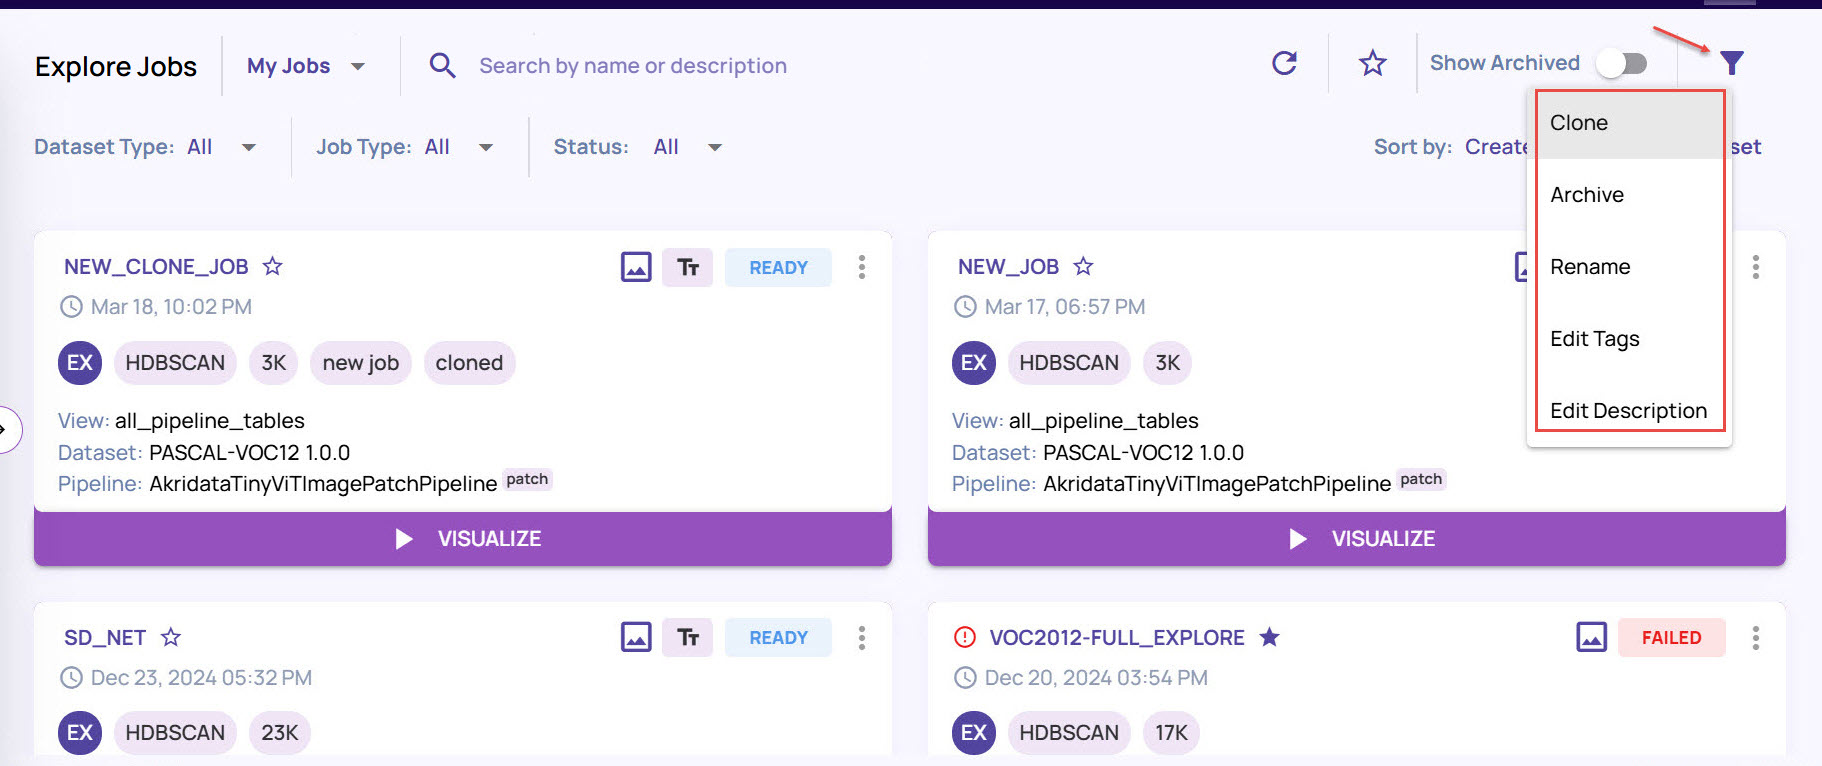
Clone: Select this option to clone an existing job. Enter the Name and Description for the job. The remaining options will be prefilled based on the job you have cloned from.
In case, you have images with custom tag in the existing job, you can enable the option Inherit custom tags to get the custom tags in the new cloned job.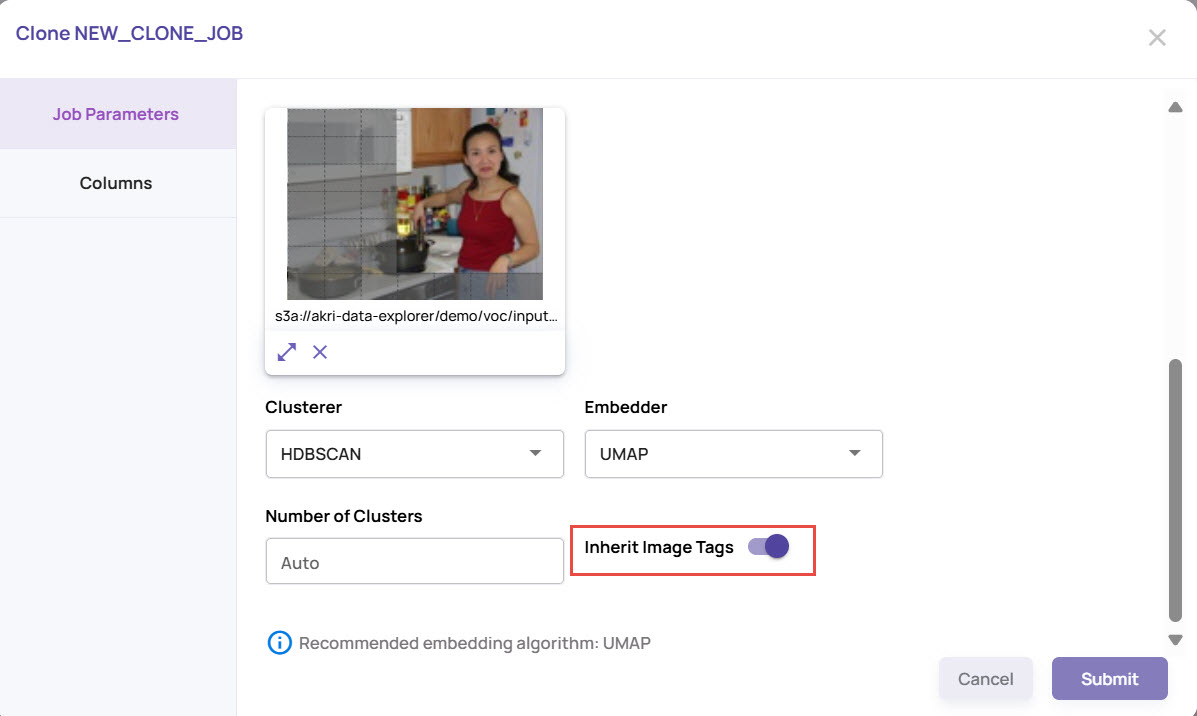
Archive: Select this option to archive the job. Once archived, the job will not appear by default on the page.
Enable the Show Archive option on the top-right corner to view the archived jobs.
Unarchive: To unarchive an already archived job, from the 3-dots icon menu for that job card, select Unarchive.
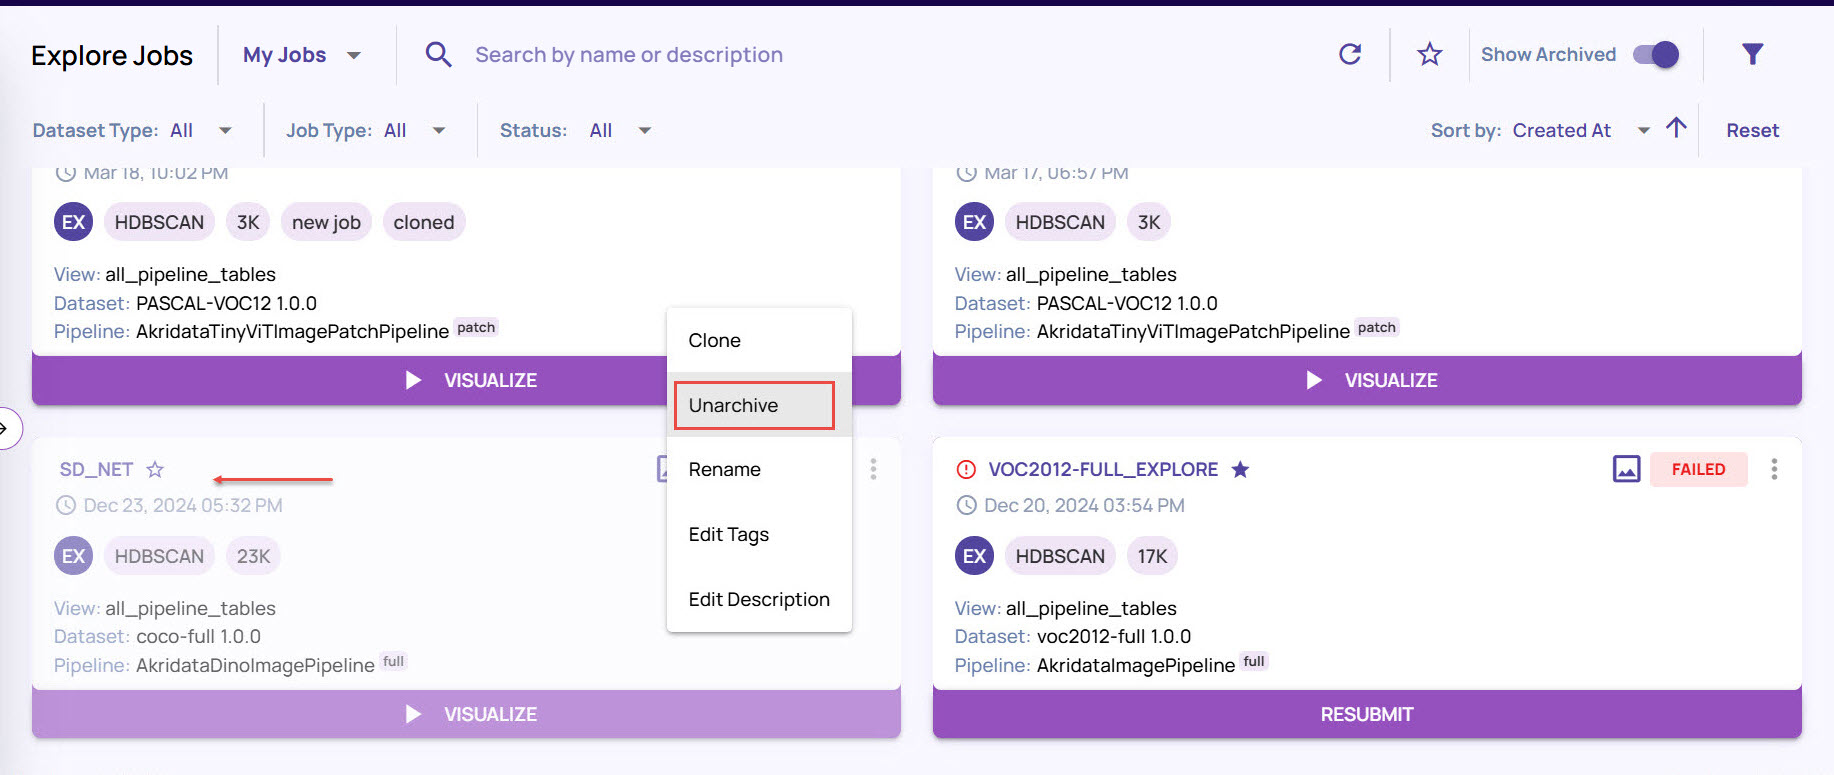 The job gets unarchived and starts appearing on the job page by default.
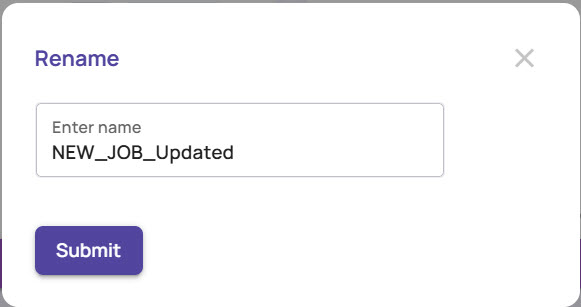
Rename: Click this option to change the name of the job.
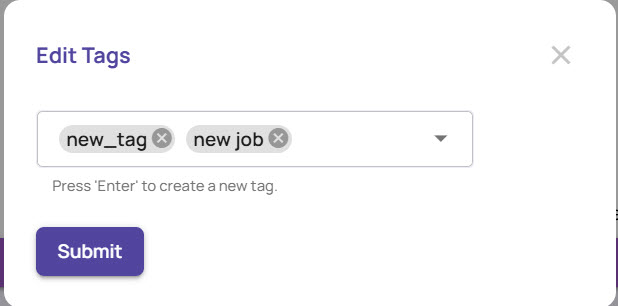
Edit tags: Click this option to modify the tags associated with the job. You can select a tag from the existing list or type a new tag and press Enter to add that tag.
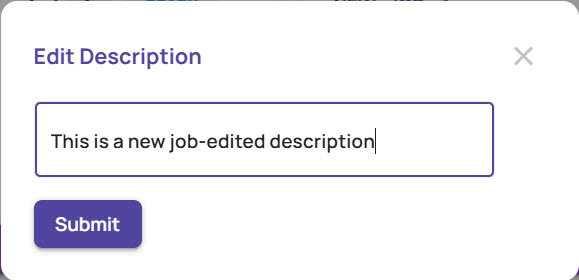
Edit Description: Click this option to edit the job description, and then click Submit. The description overrides any existing description for that job.