A Datagen project encapsulates the operations to track a synthetic data generation activity and store the output of the generation into a dataset for downstream operations like using these images for model training.
Refer to our guide below on creating a Datagen project.
Create a project
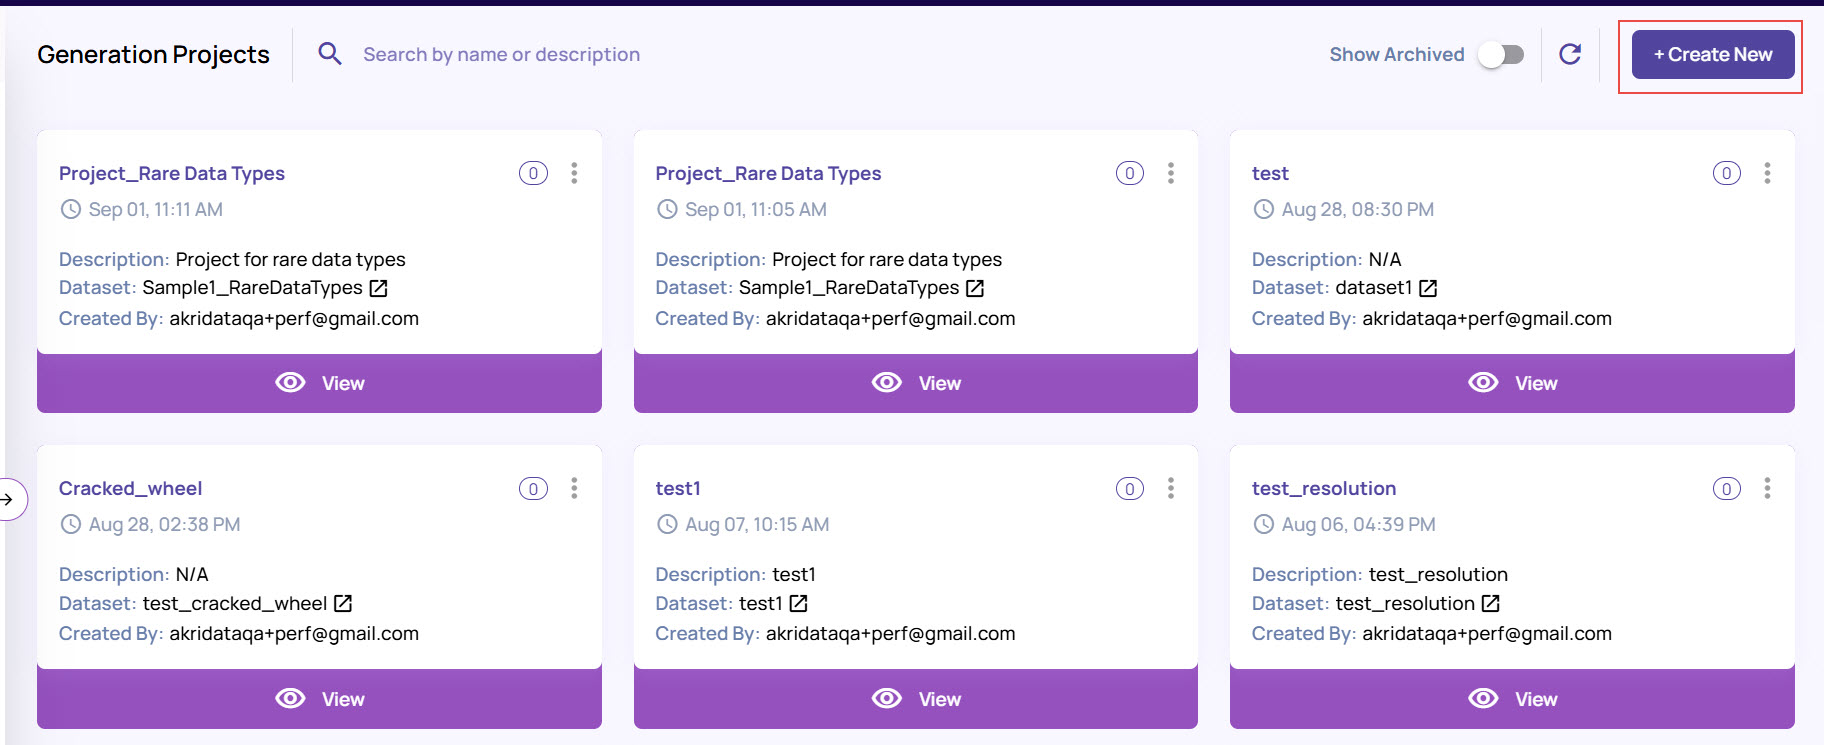
Select Data Copilot > Synthetic Data > Generation Projects from the left navigation pane.
In the Generation Projects screen, click Add Project.
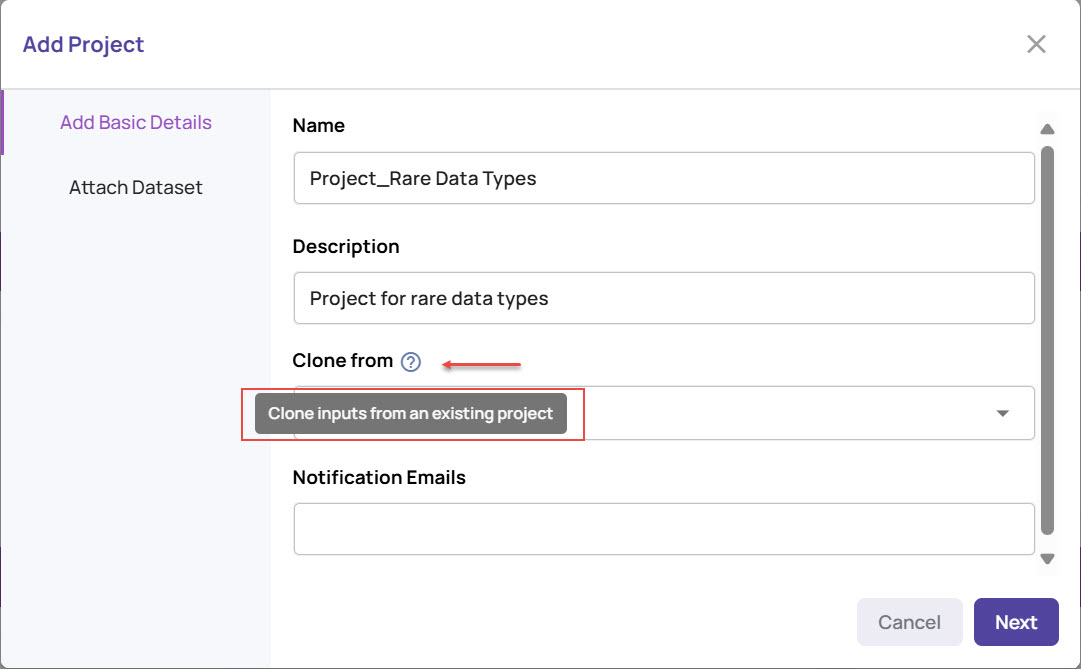
In the Add Project window, provide Name and Description.

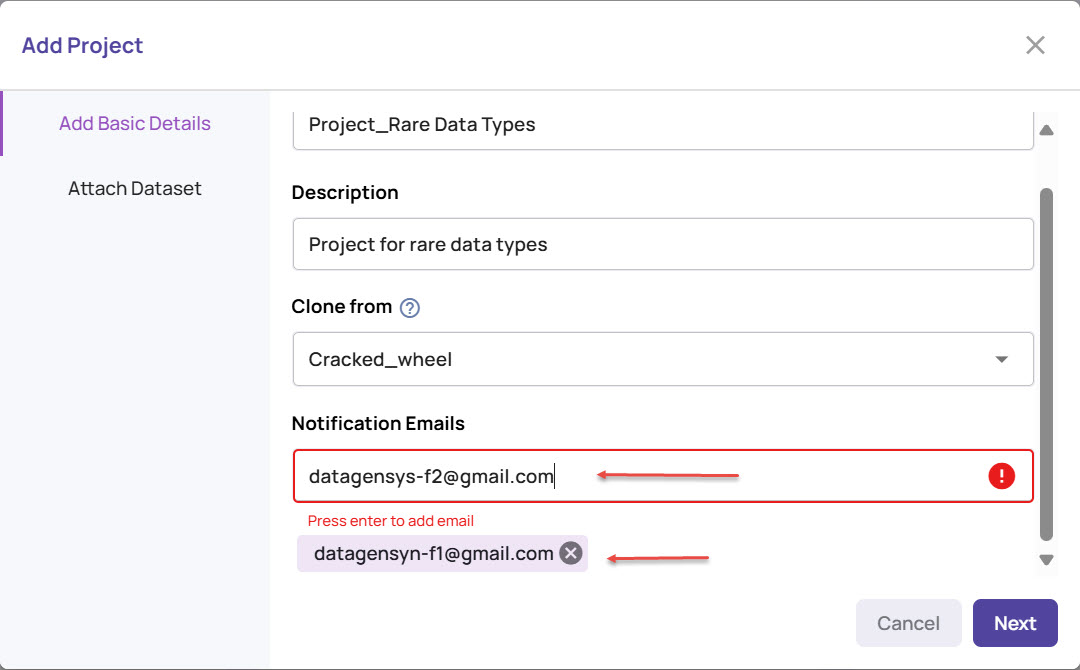
Select any existing project, if needed, based on which you want to clone the new project.
To receive notifications on training and generation session executions, enter one or more email addresses by entering the email address and pressing Enter. By default the email notifications will be sent to the user who is creating this project.
Click Next to add a dataset to the project. The generated images will be added to the attached dataset.
Under the Attach a dataset tab:
Create a new dataset and attach:
In the Attach Dataset window, click +Create New.
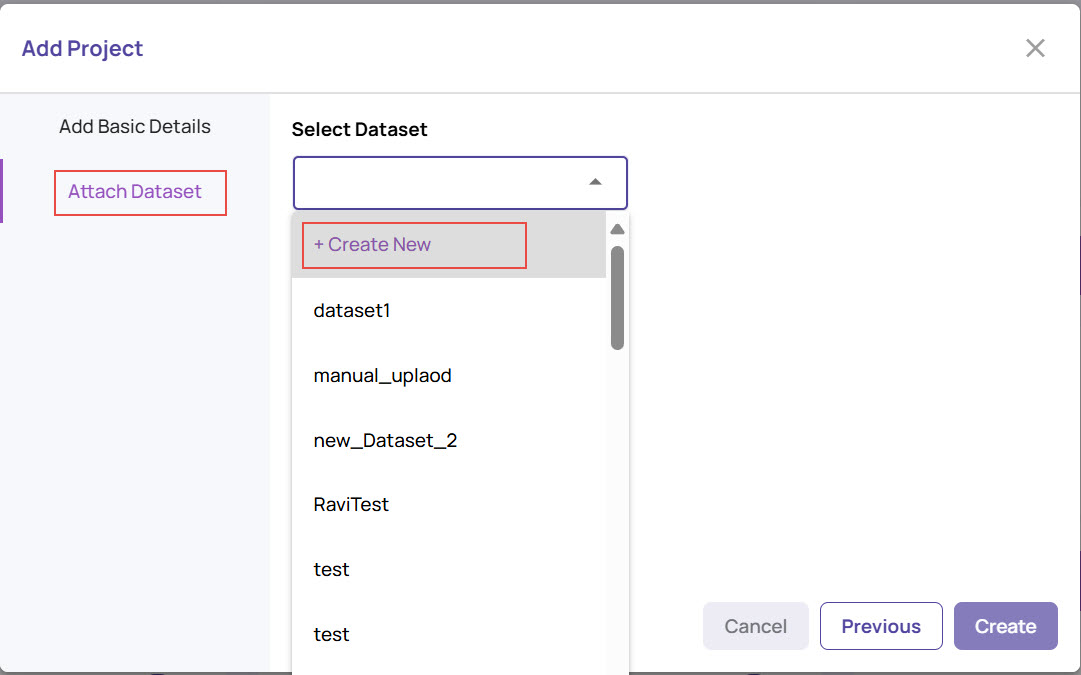
Enter a suitable Name for the dataset.
.jpg)
Review the Pipeline Summary, and customize it if needed. It is worth noting that only specific pipelines are eligible for attachment to a datagen project.
Under Accept License, review and accept.
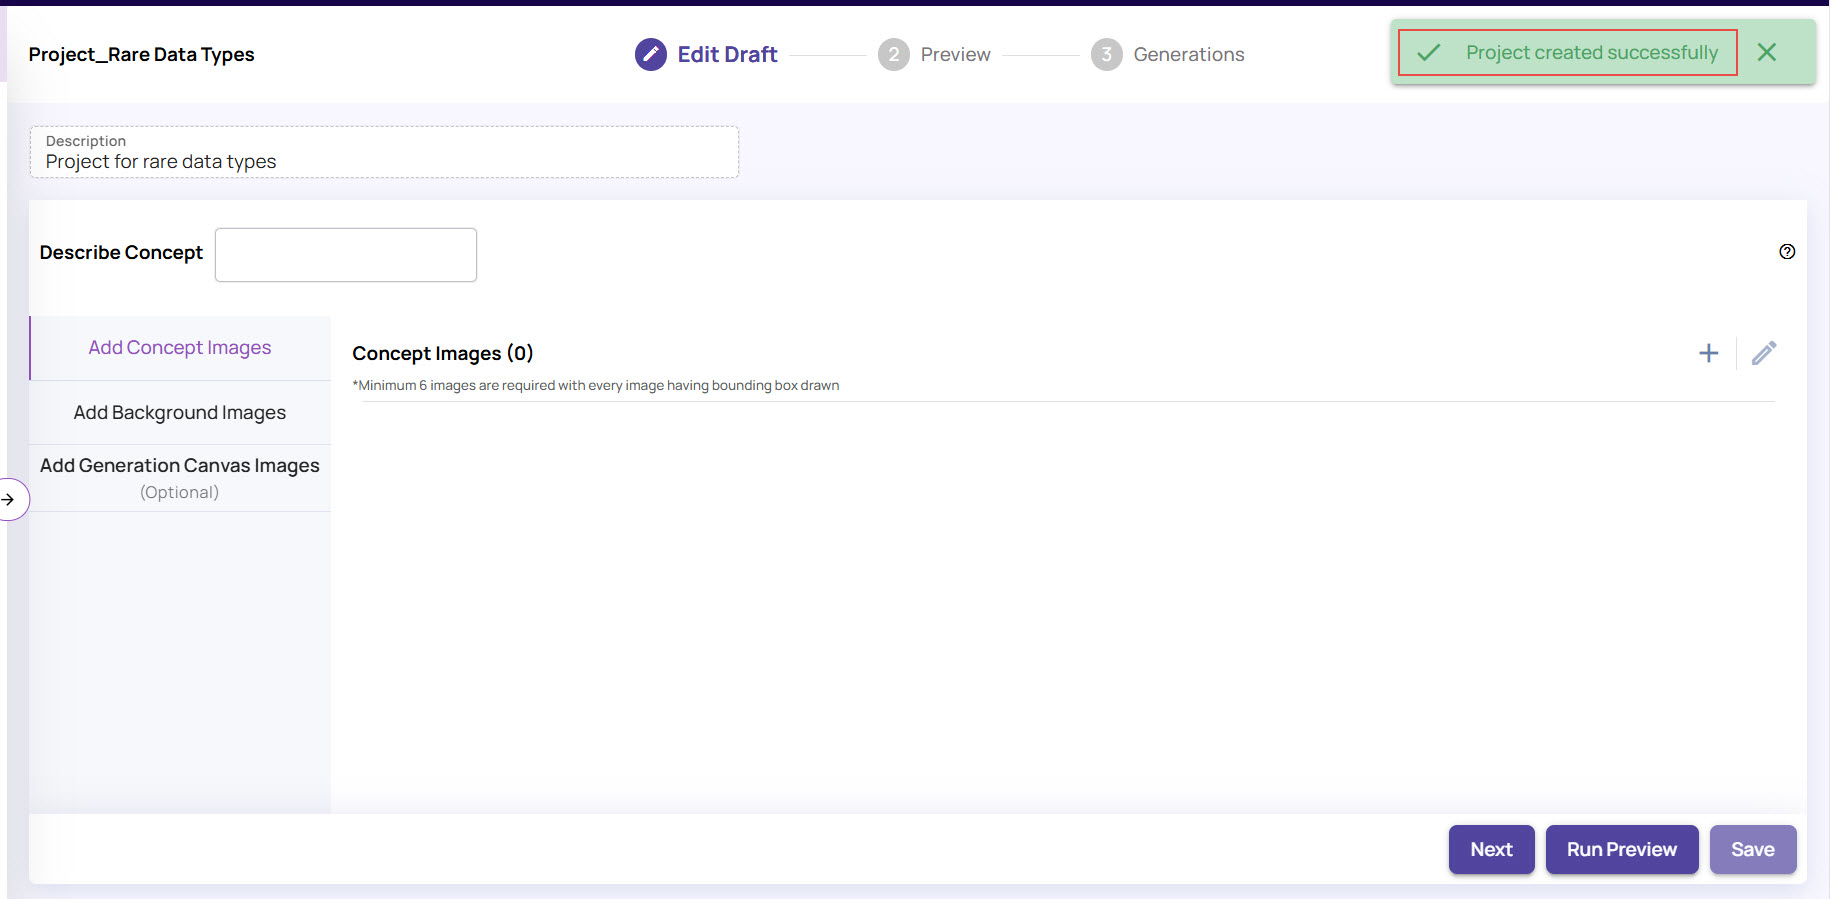
Click Create to create and attach the new dataset and create the new datagen project successfully.
If you had selected an existing project to clone the inputs from, the new project gets created with the data available in the existing project, as follows: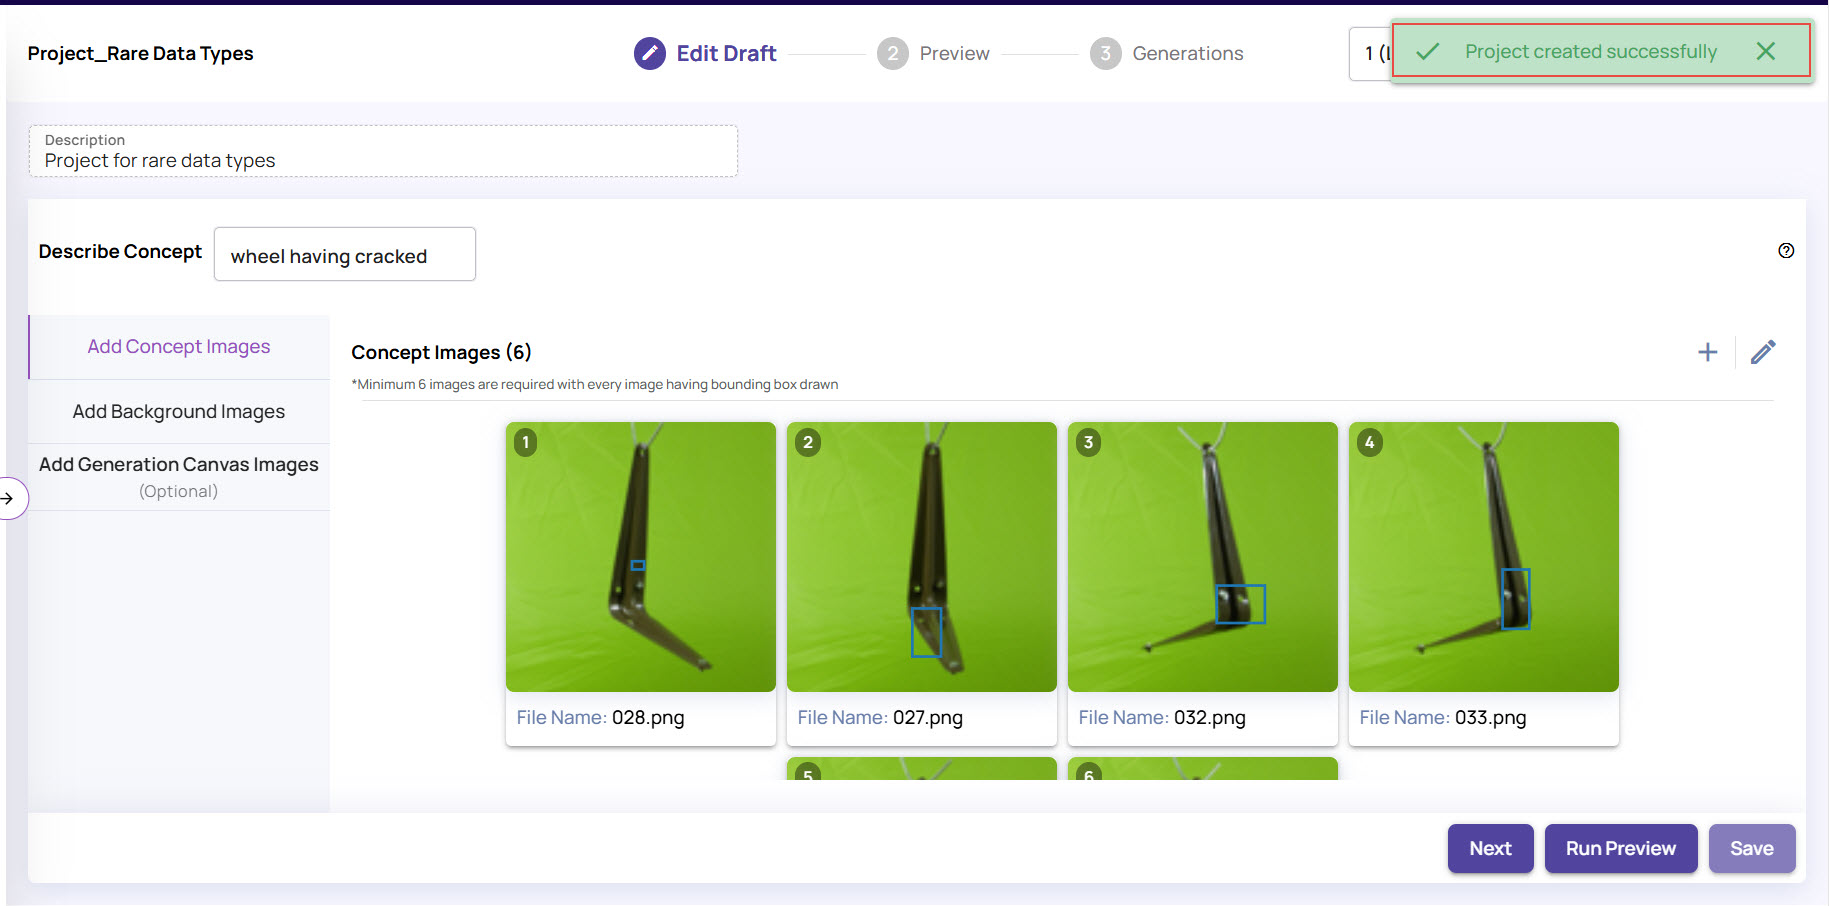
Attach an existing dataset:
Under the Attach Dataset tab, select a dataset from the Select Dataset drop-down.
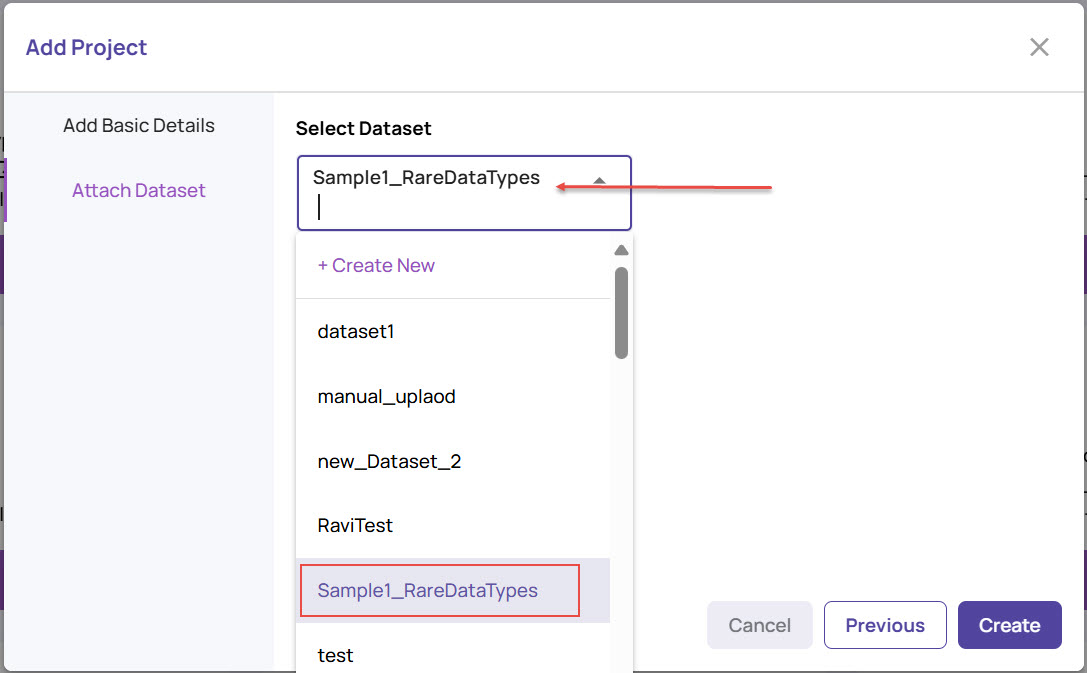
Click Create.
The dataset gets attached and the project gets created successfully.
Skip
You can click Skip to attach the dataset to your project anytime later.
Attach the dataset to an existing project
If you skipped attaching a dataset while creating a project, you can attach the dataset at any time later.
In the Generation Projects screen, on the project card, click the three dots.
Click Attach Dataset.
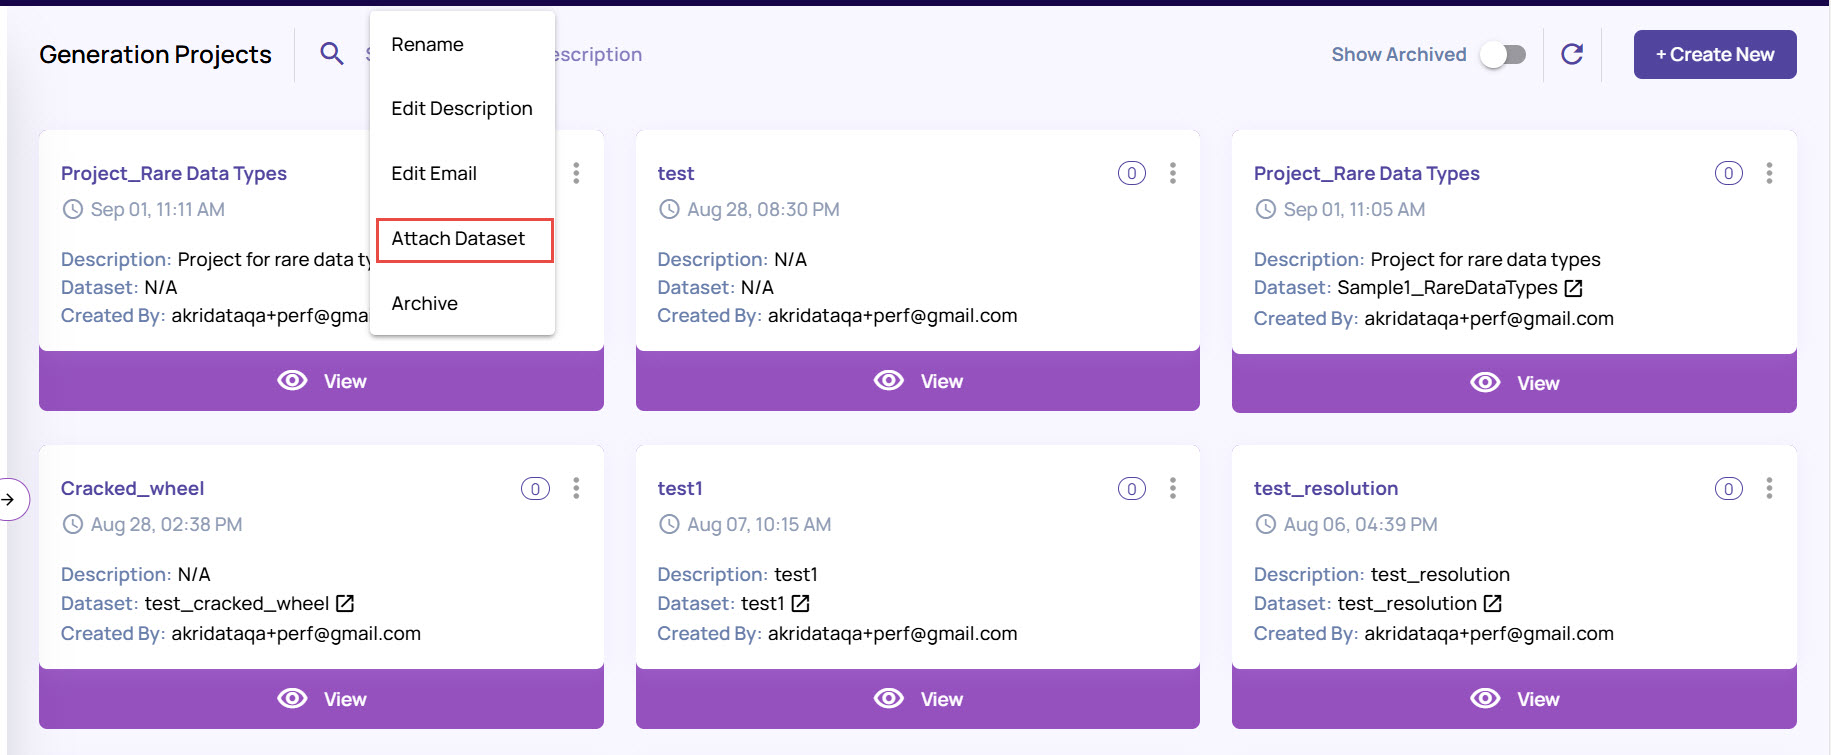
In the Attach Dataset window, attach a dataset the same way you did while creating a project.
Create a new dataset and attach it to the project.
Attach an existing dataset to the project.
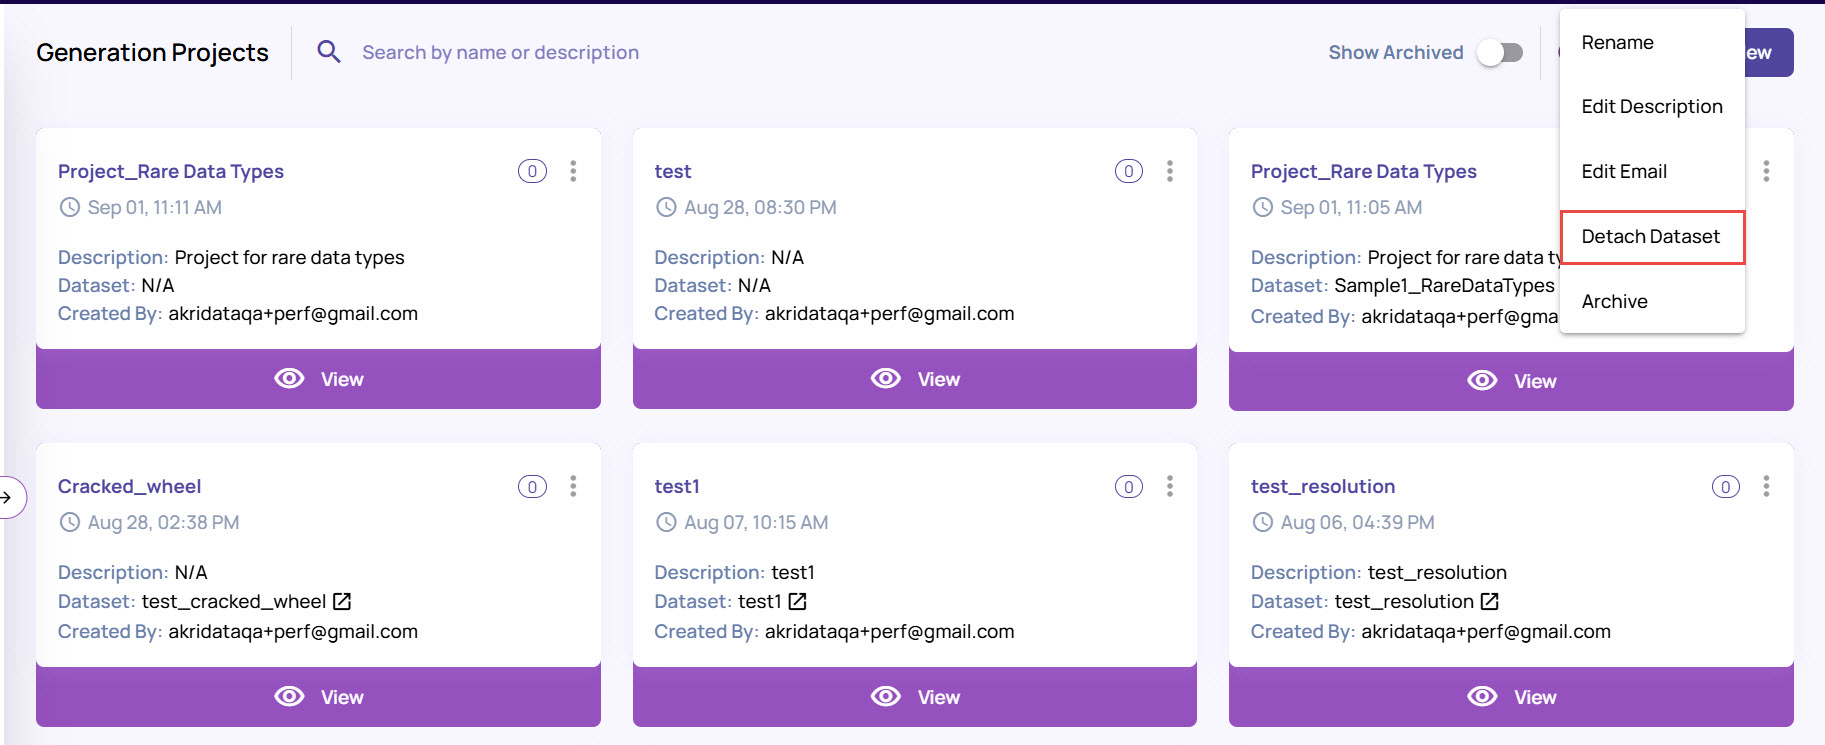
Detach dataset from a project
If you want to remove or detach a dataset from the project:
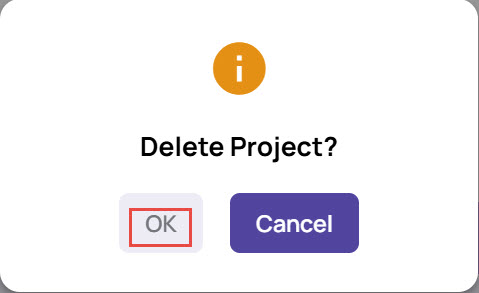
On the project card, click the three dots, and click Detach Dataset.
Click OK to confirm.
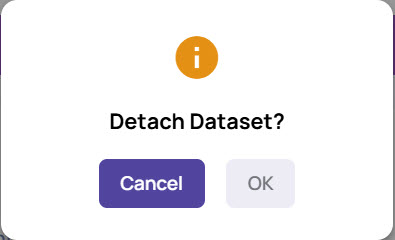
The dataset gets detached from the project.
Explore Datagen Project Actions
You can make necessary changes to a datagen project once it is created.
To rename a datagen project
From the left navigation panel, open the Datagen Projects page, and locate the project card.
Click the 3-dots icon, and click Rename.
.jpg)
In the Rename window, update the project name and click Submit.
The Project card appears with the updated name.
To edit the project description
From the left navigation panel, open Datagen Projects page, and locate the project card.
Click the 3-dots icon, and click Edit Description.
.jpg)
In the Edit Description window, update the description and click Submit.
The project card appears with the updated description.
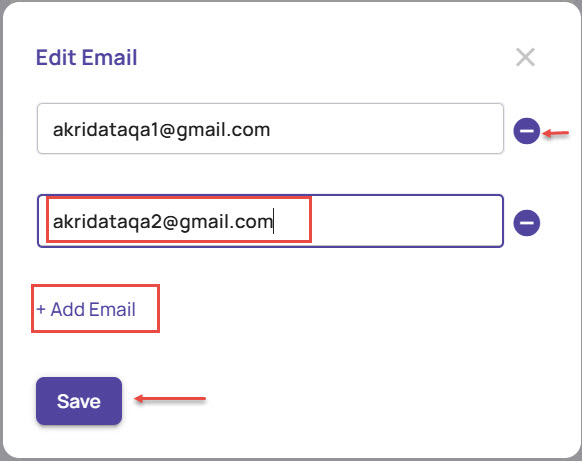
To edit the notifications e-mail
From the left navigation panel, open the Datagen Projects page, and locate the project card.
Click the 3-dots icon, and click Edit Email.
.jpg)
In the Edit Email screen, you can add additional e-mails or remove the existing ones and save.
Archiving a project removes the project from the default display but is available to unarchive at any future point. To archive/unarchive the datagen project
From the left navigation panel, open the Datagen Projects page, and locate the project card.
Click the 3-dots icon, and click Archive.
.jpg)
The project gets archived and is not displayed in the Datagen Projects page.
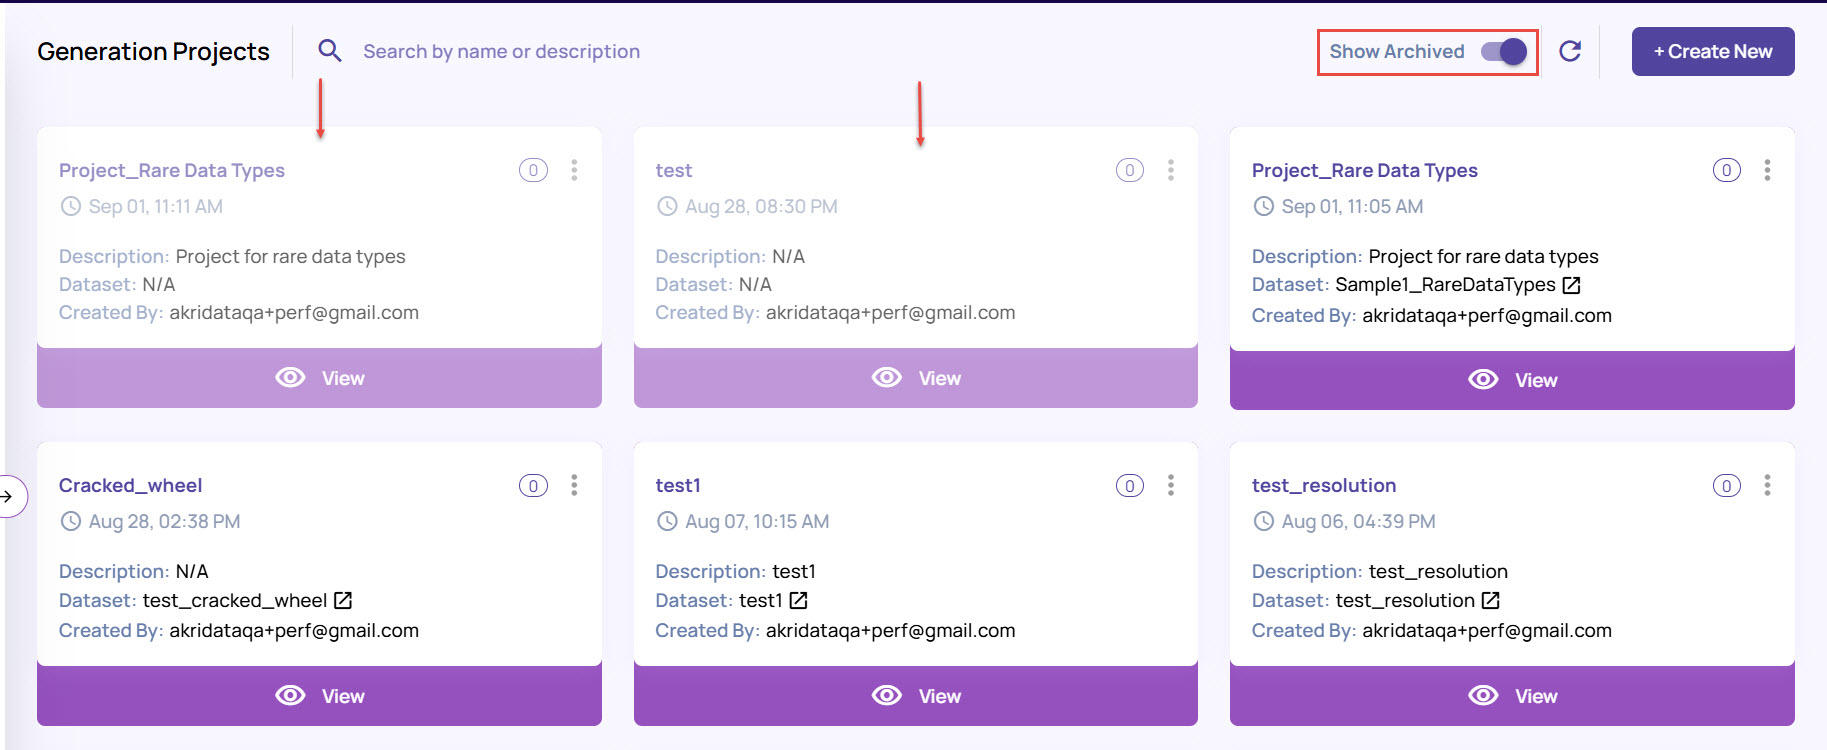
To view the archived projects, on the Datagen Projects page, enable the Show Archived option on the top-right corner.
To unarchive the project, on the project card, click the 3-dots icon, and click Unarchive.
.jpg)
The project card is unarchived and appears on the Datagen Projects page.
Delete an archived project.
On the 3-dots menu, click Delete.
.jpg)
Click OK to confirm deletion.