Label specs support image samples to be provided for classes that cannot be described well with text. You can create classes for the label spec by uploading images locally or importing images from different sources. This article explains how to create a label spec using sample images for classes.
Create label spec using sample images
On the left navigation pane, navigate to Labeling > Specs.
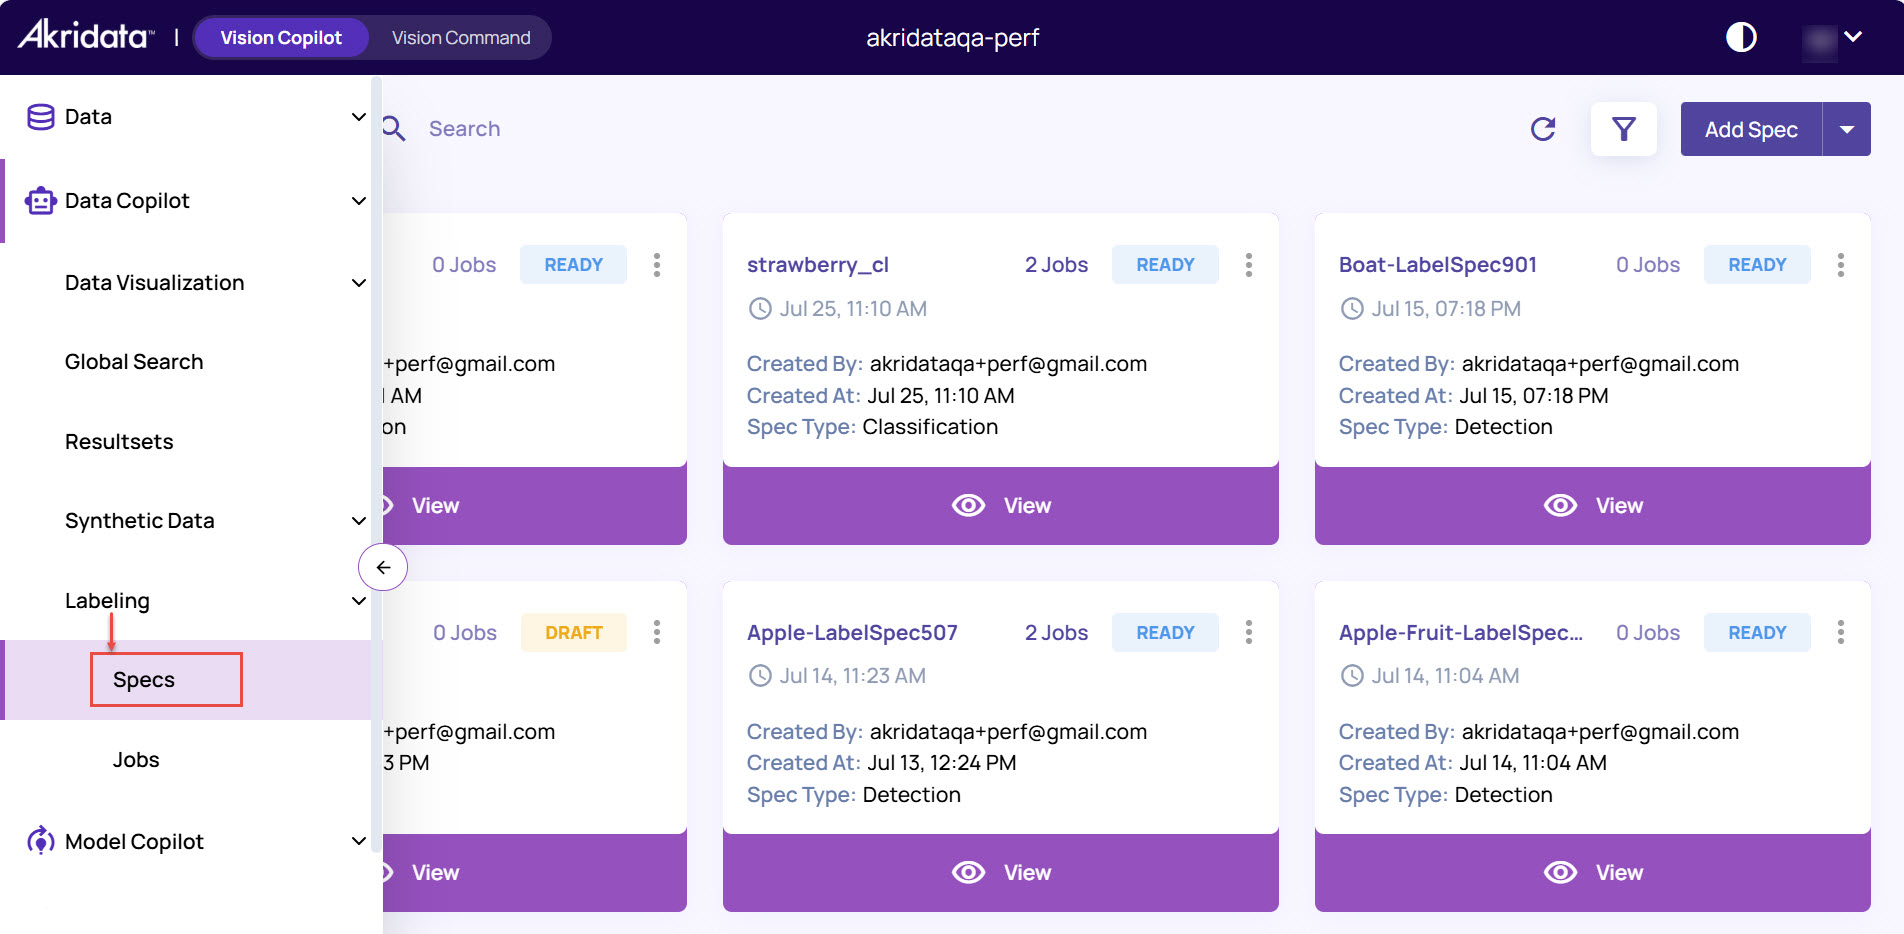
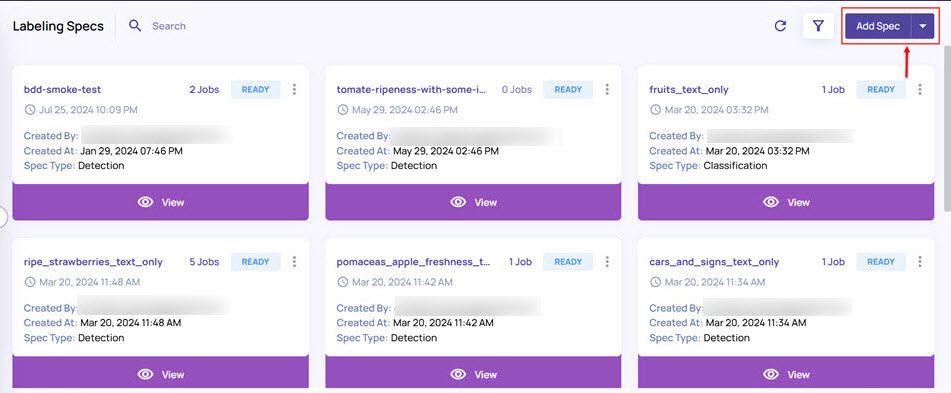
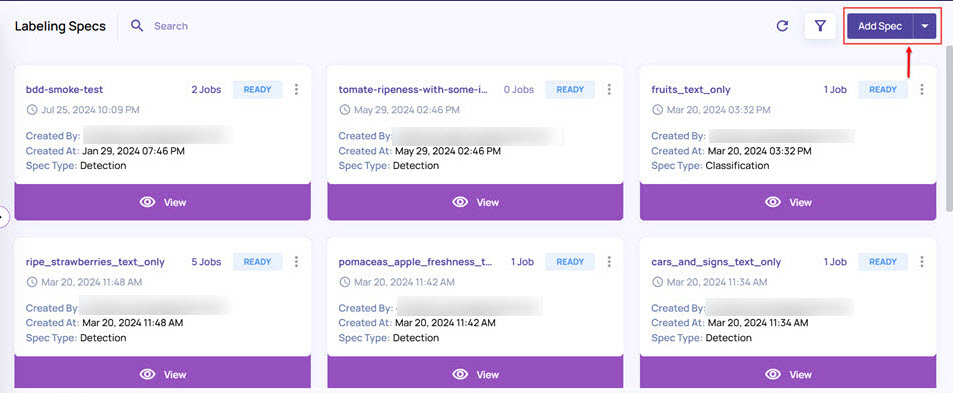
Click the Add Spec button on the top-right corner.
In the Spec Type window, select Classification or Detection, and click Submit.
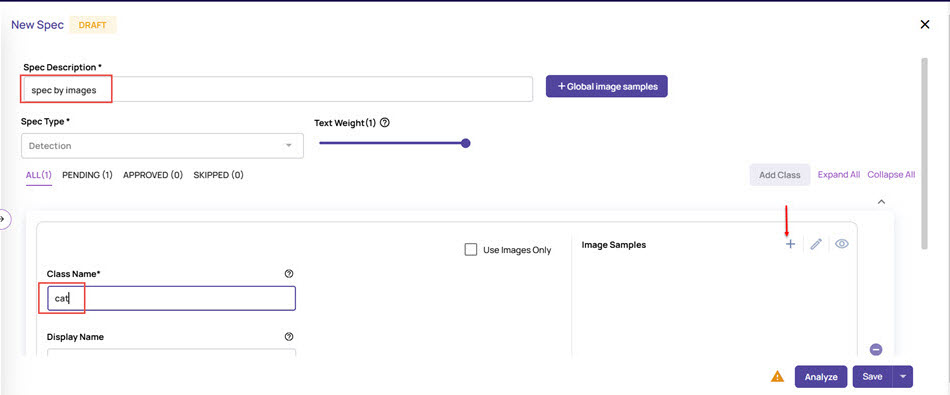
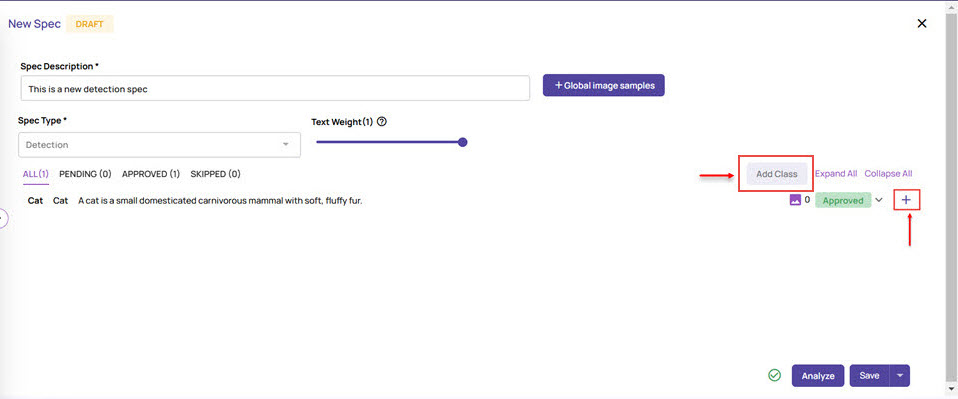
In the New Spec screen, enter Spec Description.
Spec Type is pre-filled based on your selection in the previous step.Under the class section, click Add Class to add a class.
You can add a class using text parameters, images, or both.Enter a Class Name.
Click the + (plus) icon on the right side of Image Samples section.
Select one of the following ways to add the sample images:
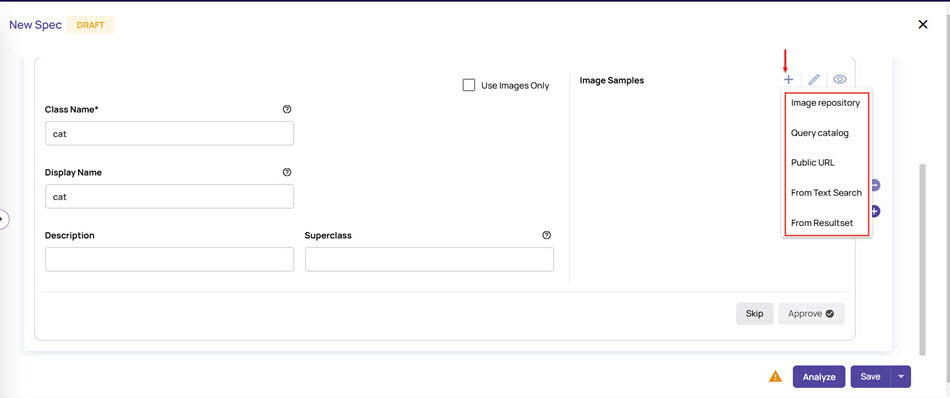
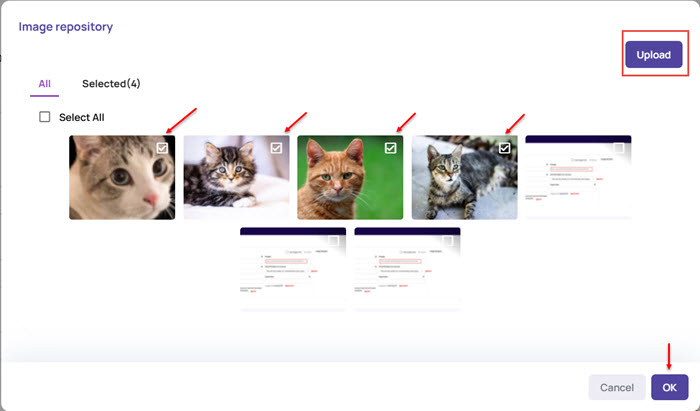
Image repository
Click to browse and Upload images from your local system to the repository
Select the images required as sample images for the class, and click OK.
Query catalog
Click to import images from the catalog based on the selected Dataset and Table/View.
Select the required sample images and click Add.

Public URL: You can upload images directly from the image website URL with public access.
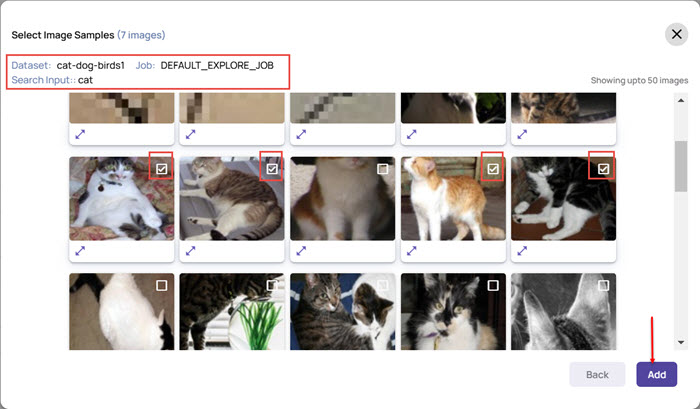
From Text Search: Use this option to search for images using text.
Select the DataSet and Job.
Enter the text (for example, cat) that you want to be used for searching images, and click Search.

Select the images that you want to add as samples and click Add.
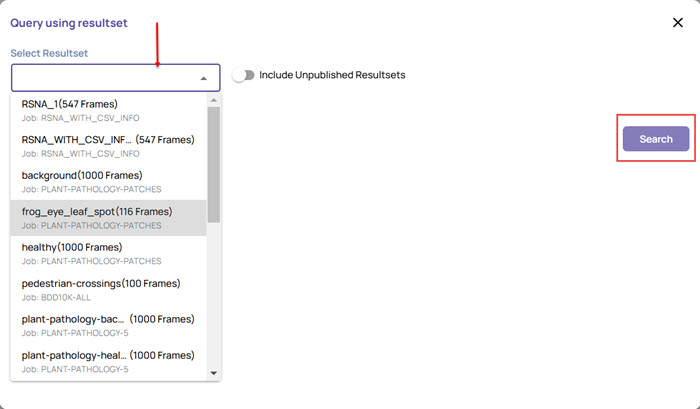
From Resultset: You can query for images by selecting a result set created earlier.
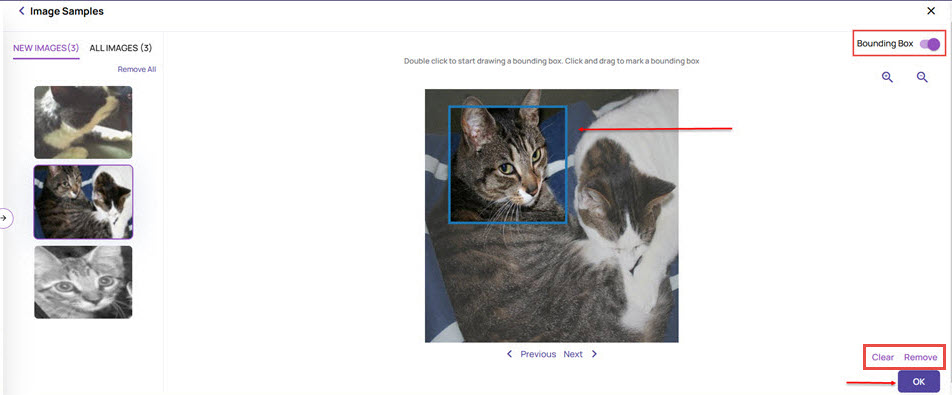
Once you add the images, you can review and update the images on the Sample Images screen, as needed, and click OK.
Enable the Bounding Box option on the top-right corner to draw an area on this image that should be considered for labeling.
Click Clear at the bottom-right corner to clear the bounding box from the image.
Click Remove at the bottom-right corner to delete the sample image.
The images samples are added to the class. You can click the + (plus) icon to add more images, or click the pen or eye icons to review and update the images.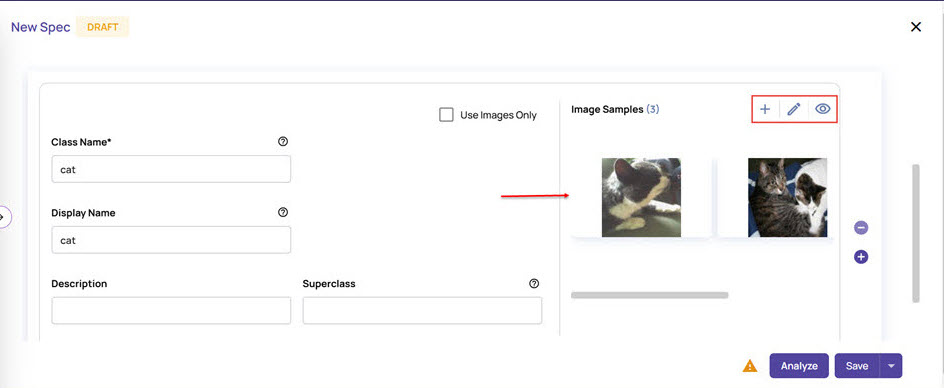
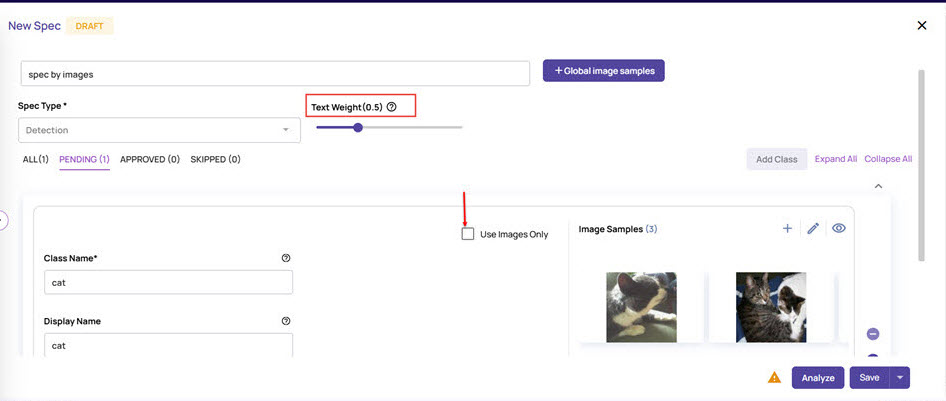
Specify the text versus image weightage using the ‘Text weight’ slider.
For a class, you can do one of the following:Set the Text Weight slider to specify the weightage of text prompts to be considered.
Ignore the text prompt and select the Use Images Only check box to consider only the image samples.
Uncheck the Use Images Only check box, and set the Text Weight slider to specify the weightage for that specific class to override the spec level Text Weight setting.
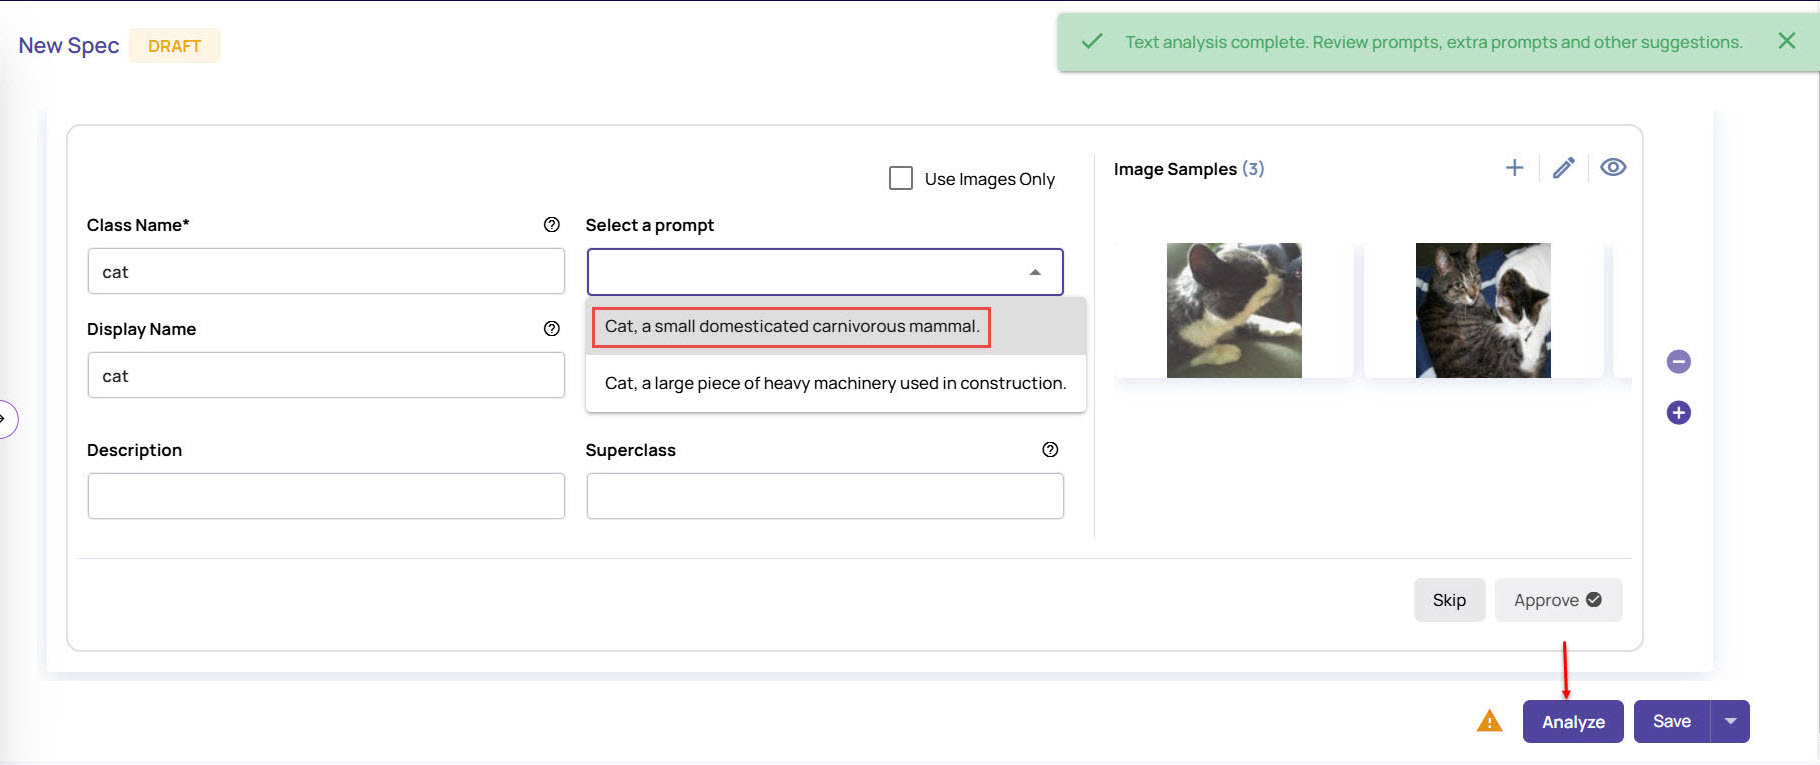
Click the Analyze button to autogenerate the prompts.
Select a Prompt that best matches the details and click Analyze again to autogenerate the extra prompts.
The extra prompts are pre-selected by default.Click and unselect the prompts as needed.
Click the thumbs-up icon against the suggested Description and Superclass.
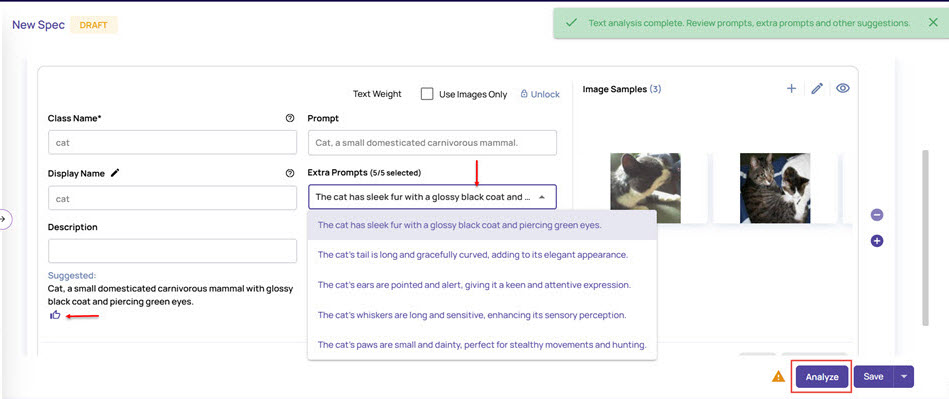
Click Approve.
.jpg)
The class will appear under the Approved tab, which displays the count of approved classes.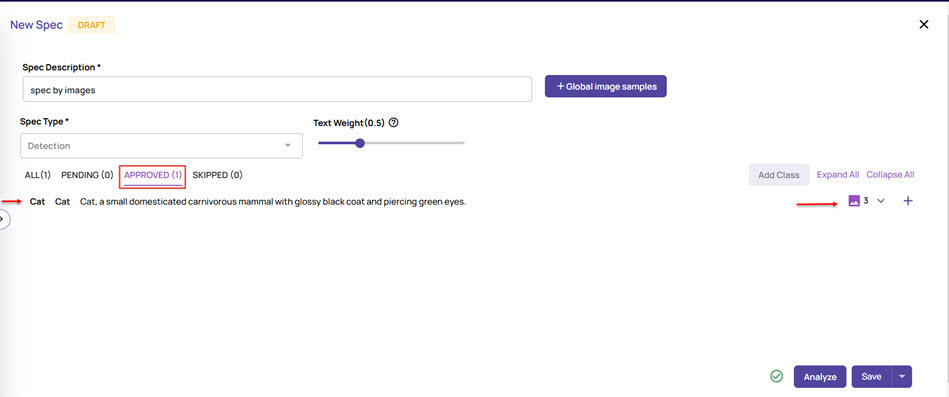
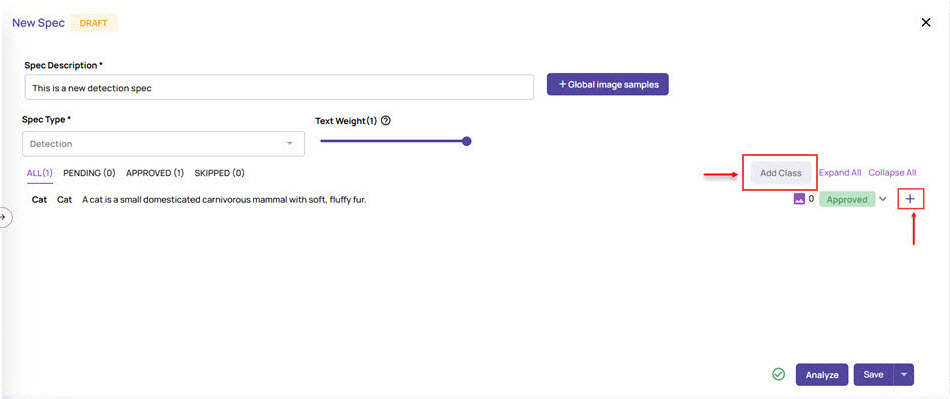
Add more than one class for labeling, if needed.
Click Add Class or the + (plus) sign, as shown.
Repeat the steps to add more than one class to the page based on your image data.
Click the Approve button.
.jpg)
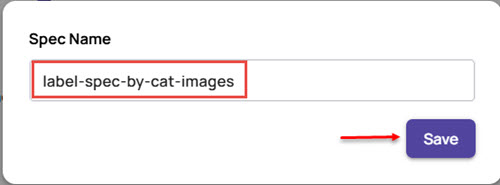
Click Save, enter a Spec Name and click the Save button.
The label spec will now be listed under the Labeling Spec page.
Create label spec using Global Image Samples
The previous section discussed adding image samples on a per-class basis. An alternate way to add sample images is to select and use the annotations(class names or bounding boxes) for all classes from these images.
On the left navigation pane, navigate to Labeling > Specs.
.jpg)
Click the Add Spec button on the top-right corner.
In the Spec Type window, select Classification or Detection, and click Submit.
In the spec screen, enter Spec Description.
Spec Type is prefilled based on your selection in the previous step.Click the Global Image Samples button.
In the Add Global Image Prompts window, select the Dataset and View for which the label is set to boundingbox2dgt or boundingbox2dpred. For a classification job, the column types supported are classlabelgt and classlabelpred.
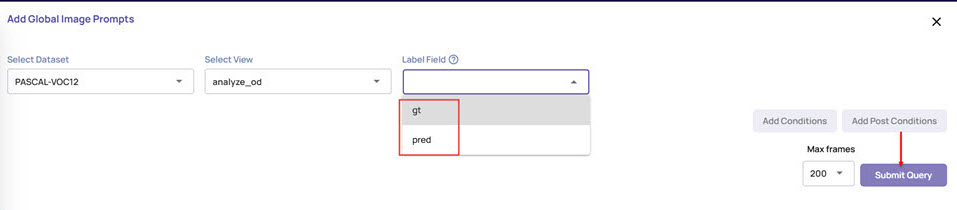
Add the conditions to search for the images and click Submit Query if needed.
The images are populated on the Add Global Image Prompts window.Click the filter icon on the top-right corner to add more conditions and tune the search.
Click the Add button at the top-right corner.
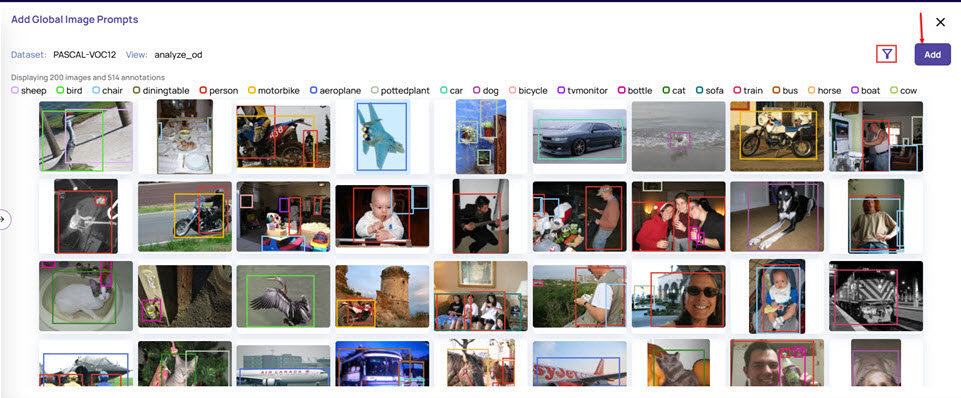
If a class corresponds to any of the global images, those images will automatically get added as sample images for the class.
The display name is used to match the class name.
Click Approve and then Save.