The guide below describes creating a data exploration(EXPLORE) job. It uses PASCAL-VOC12 as an example public dataset. This public dataset can be imported as per the instructions in Import public dataset.
The following video explains the steps to creating an explore job.
Create an Explore Job
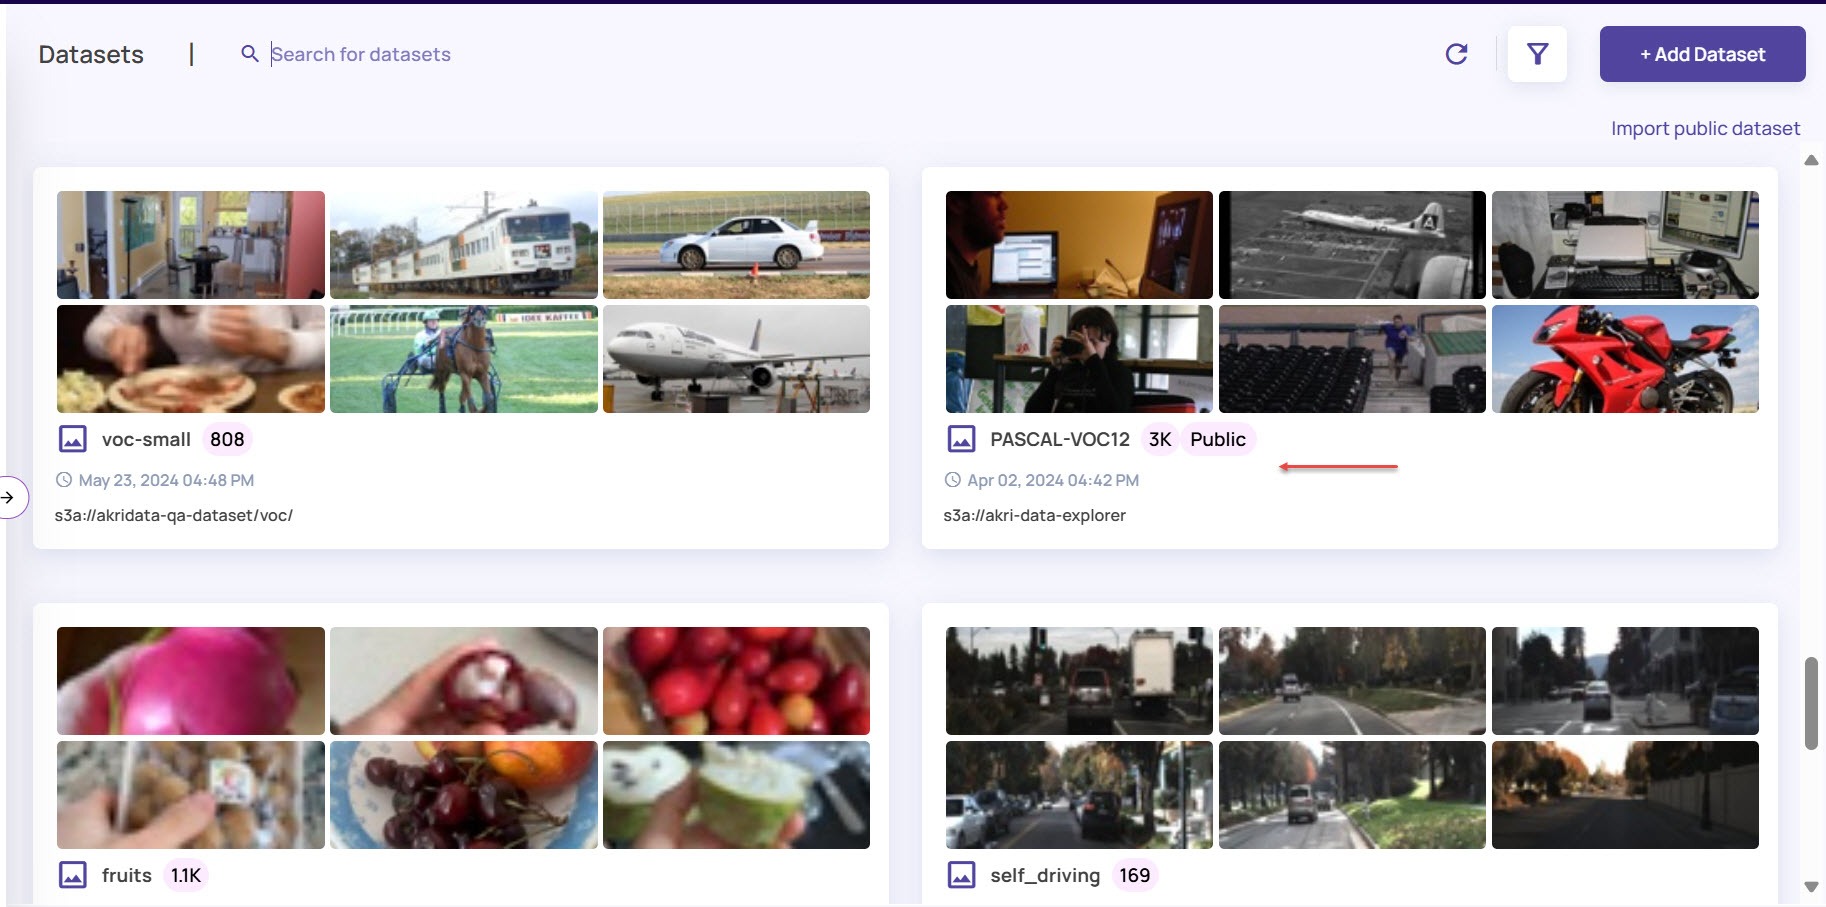
In the left navigation pane, click Data > Datasets.
.jpg)
Select a dataset card and click the card to open the dataset page.
For illustration purposes, let's consider creating an analyze job for the “PASCAL-VOC12” dataset.On the dataset page, click the Catalog button to open the catalog page.
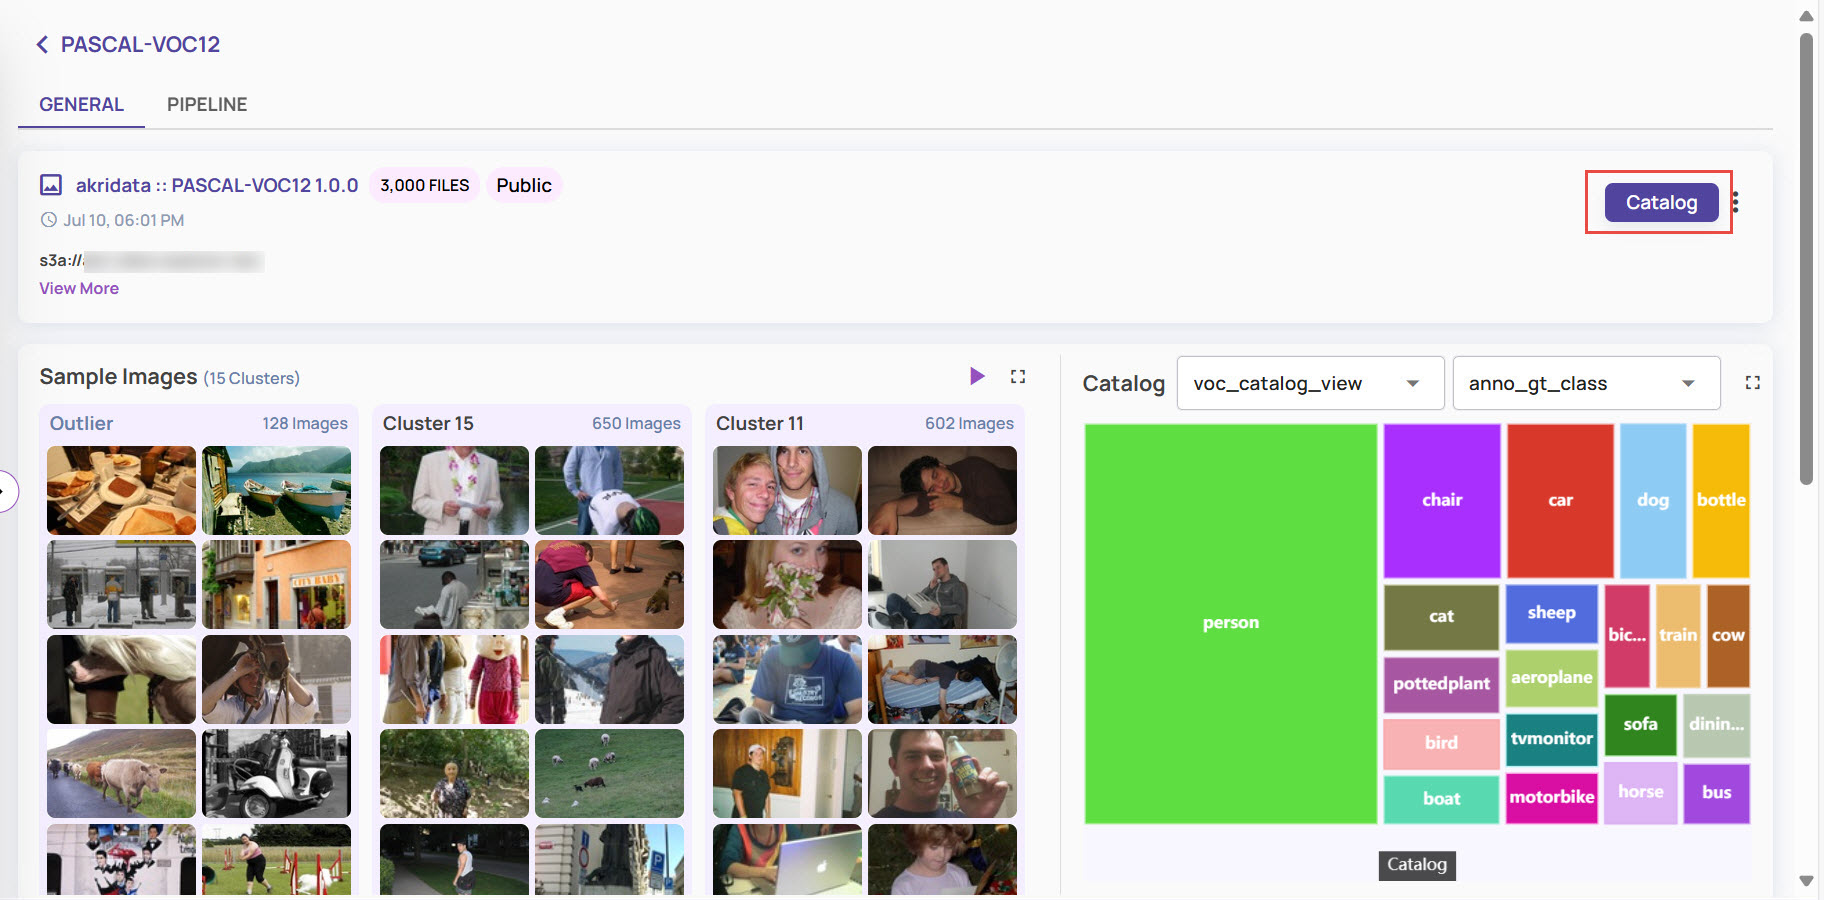
On the catalog page, click the Visualize button in the top-right corner, as shown.

You can customize the table view as needed.
In the New Visualization Job window, fill in the Job Name and Description.
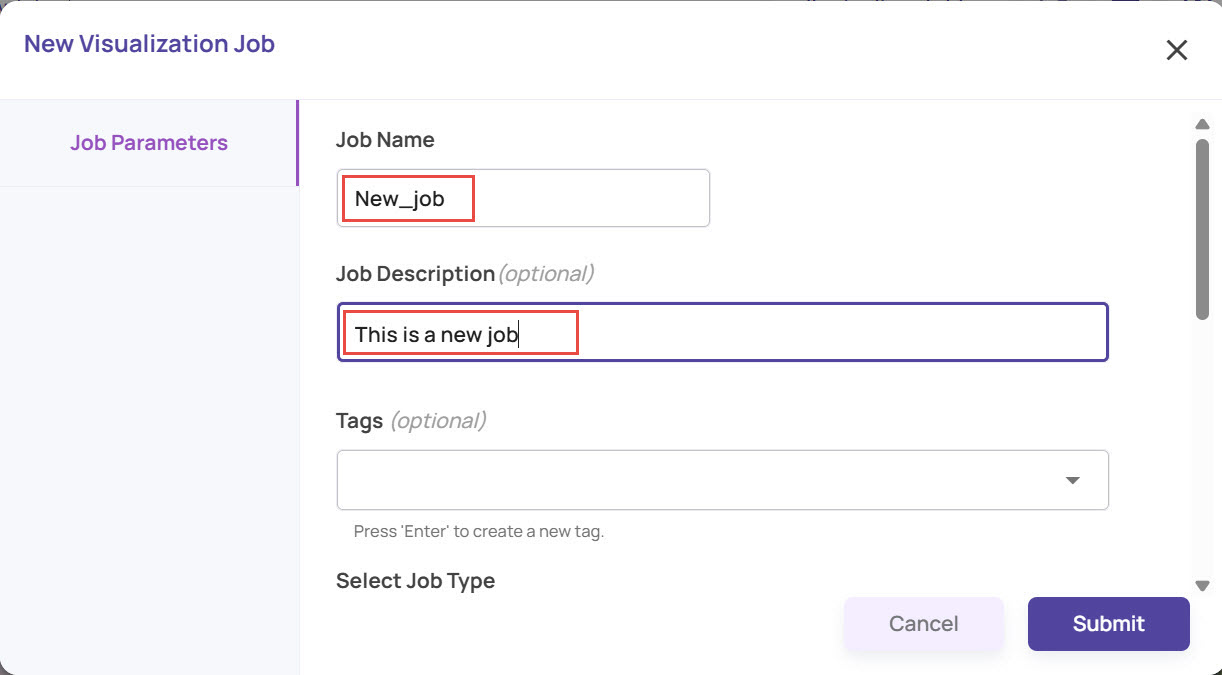
Select the Job Type.
Optionally, enable the Region of Interest option to draw the bounding box in the image based on the area you are interested in for the job. Only the portion of the image within the bounding box will be considered to create the job. This is useful for cases where only a portion of the image has the entity that is of interest for analysis.
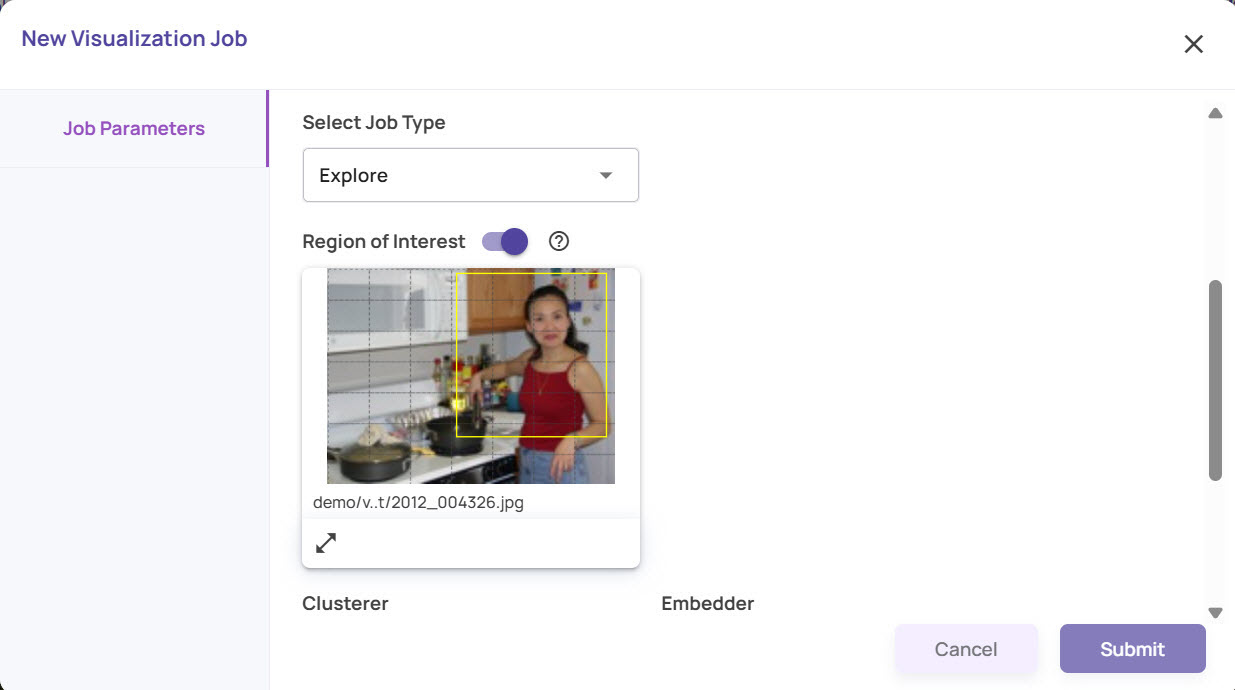
Notice that based on the bounding box you draw, the selected area is highlighted and the area outside the box is greyed out.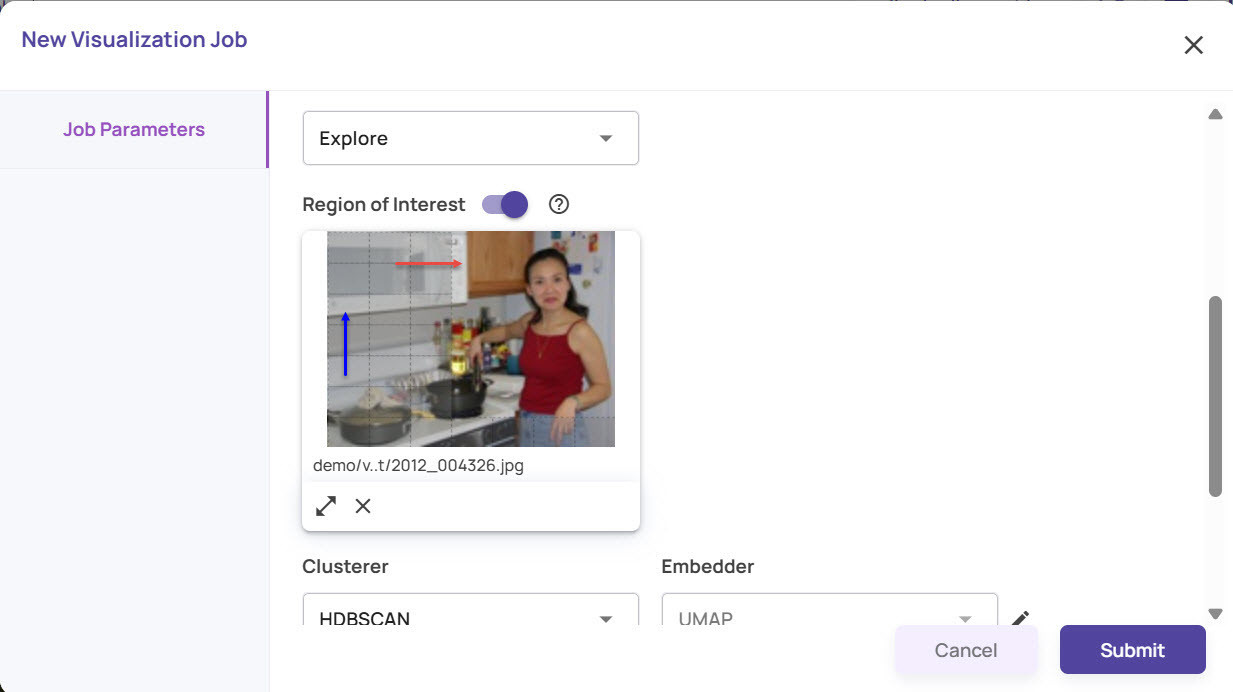
Enter other details, such as Clusterer, Embedder, and others, as needed.
Click Submit to create the Visualization job.
Click the View Jobs link on the Notification.
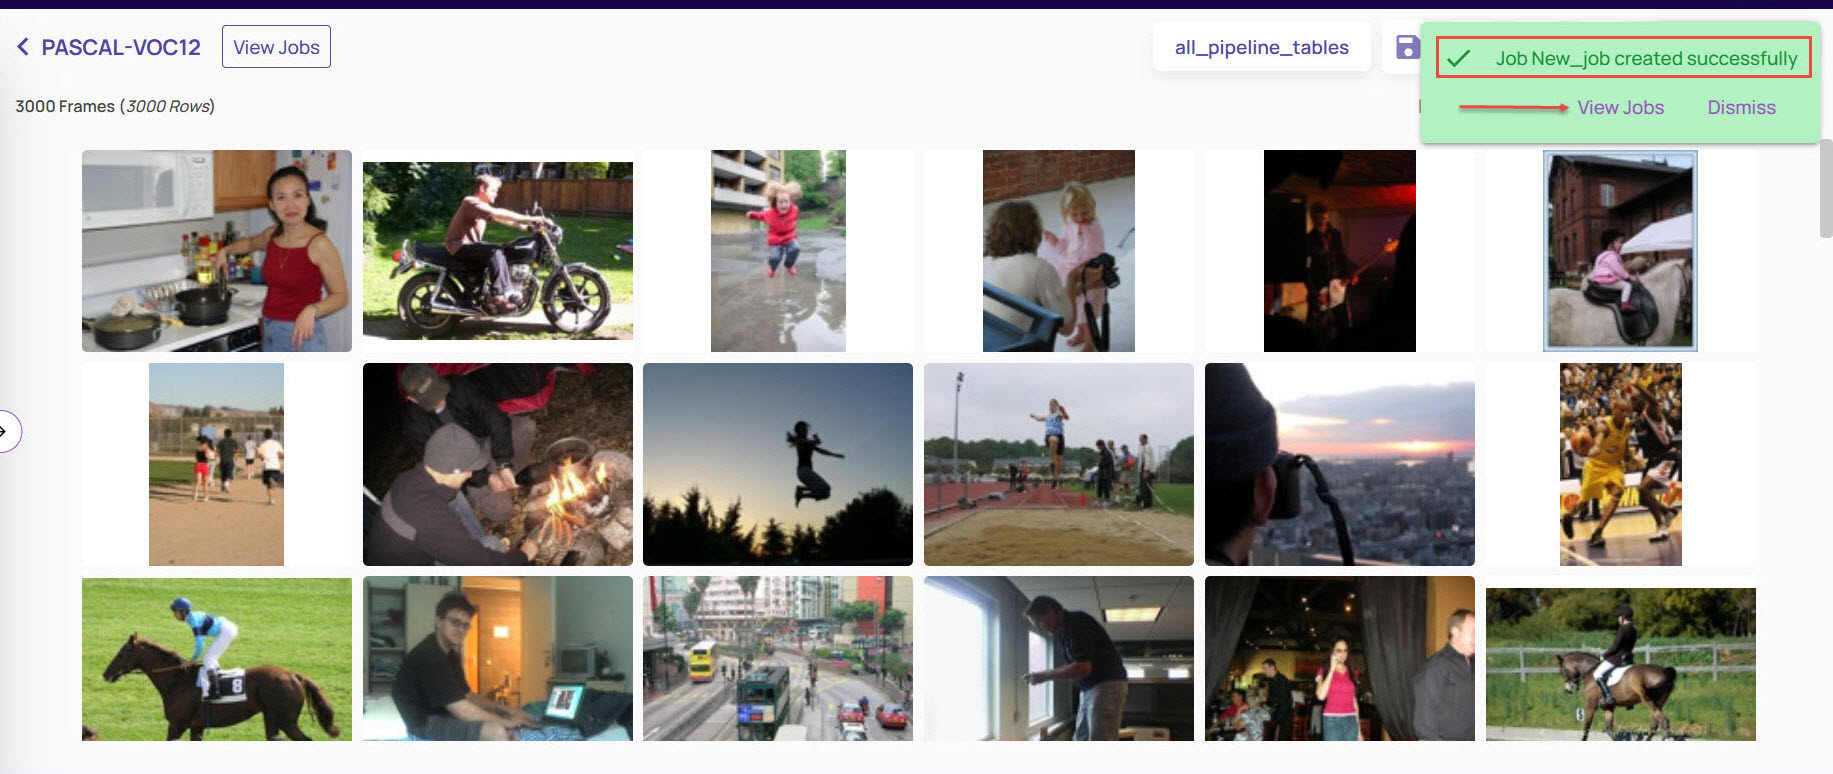
Alternatively, navigate from the left navigation panel. Depending on the job type you had selected the new job will be listed as Created in the respective job page. Once the job creation is complete, the status changes to 'Ready'.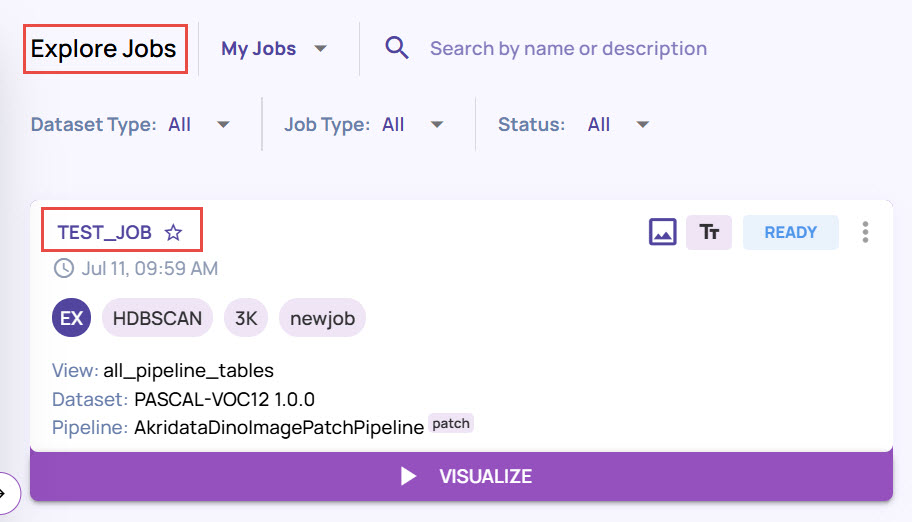
View Explore Jobs
Once you create an explore job, you can view it based on various actions.
Search jobs
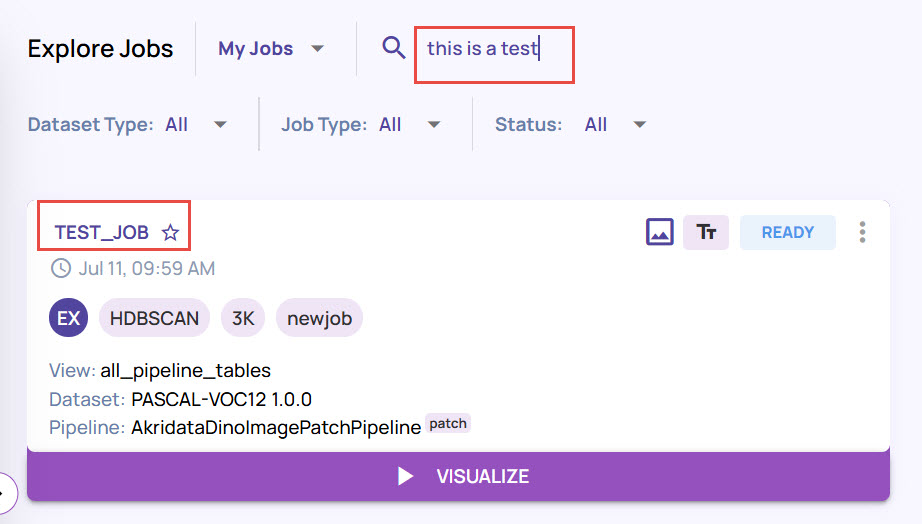
On the top bar, enter the name or description of a job to search for the explore job.
To search for a job based on job type, select "Explore" from the Job Type drop-down.
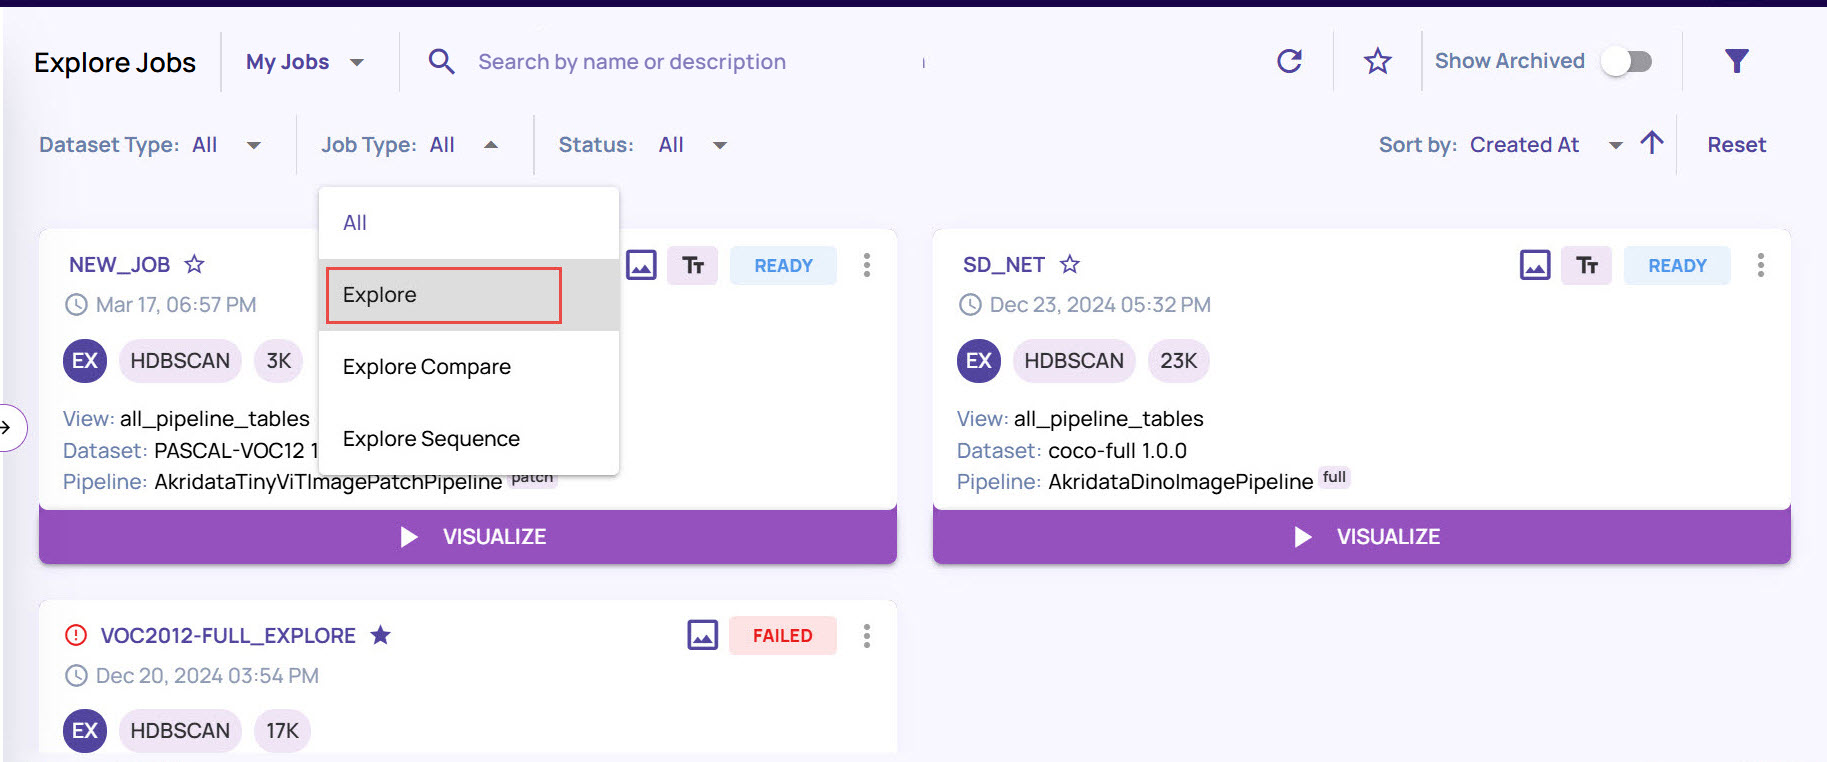 The Jobs page will display all the jobs of the type “Explore”.
To search for a job based on the status, select the required option from the Status drop-down.
You can search jobs with the following statuses:
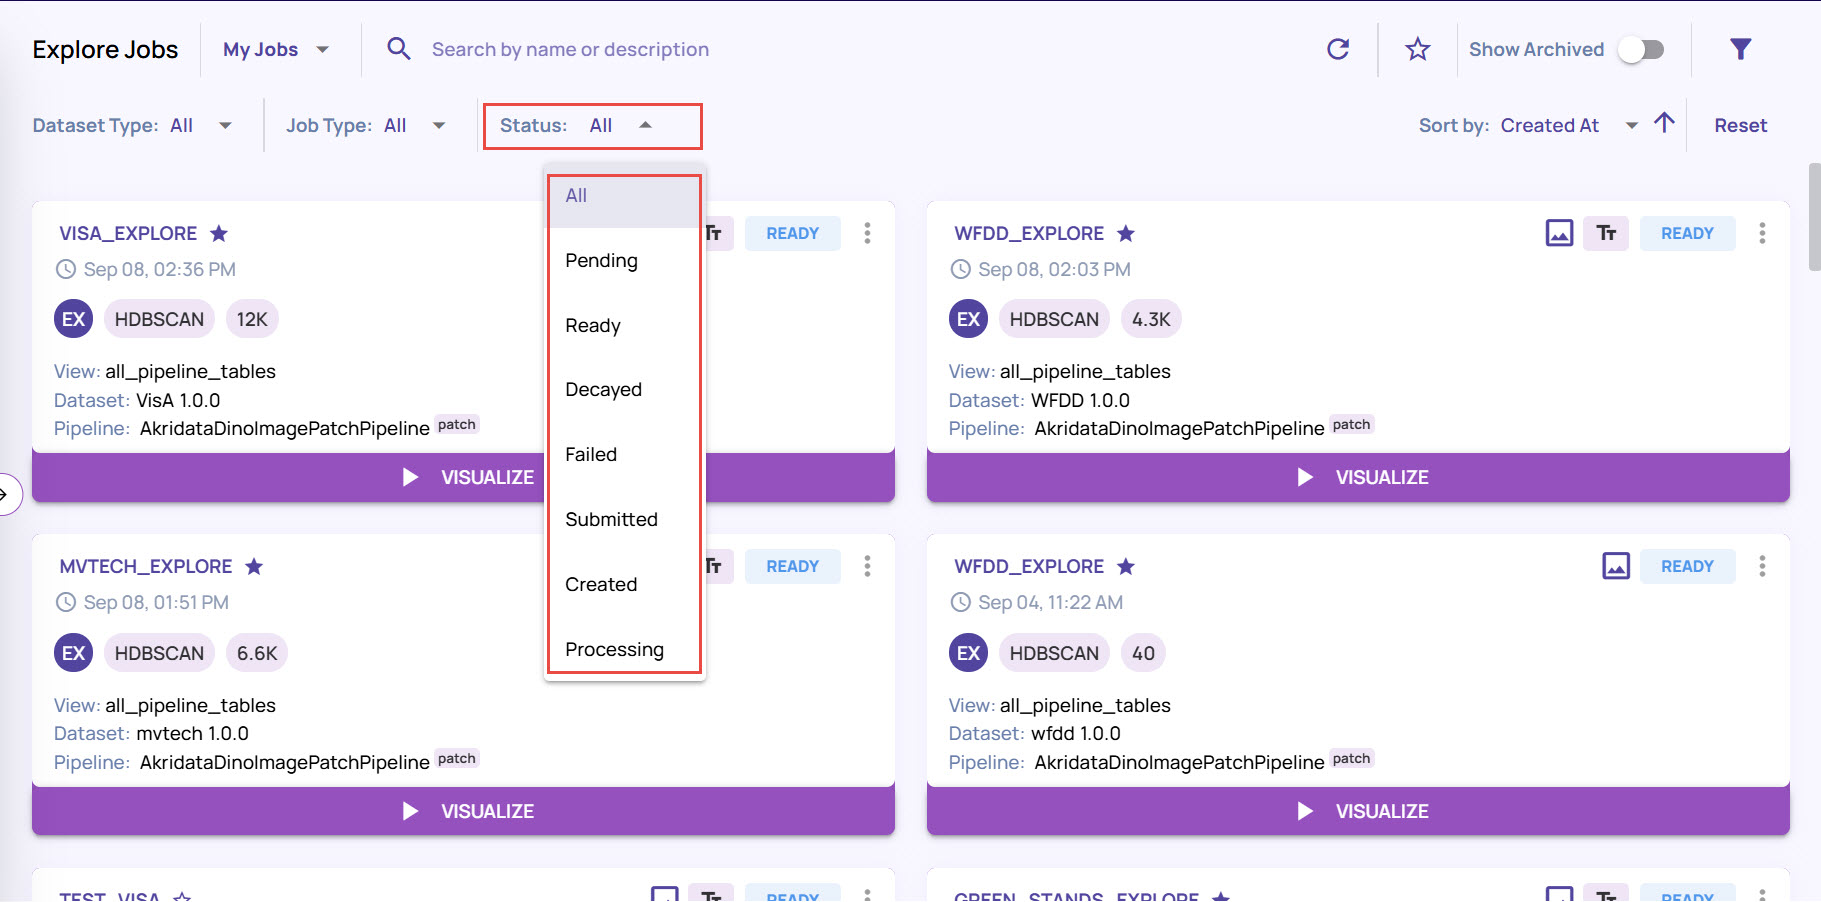
Created: A job entity has been created.
Submitted: The job is queued for processing.
Processing: The job is being processed. In this state, the progress indicator provides a progress indication.
Ready: The job is ready to visualize.
Pending: When the job has been processed and is attempting to finalize it to move to the Ready status.
Decayed: When a job is no longer compatible with the existing models on which the job was created and requires a resubmission to activate.
Failed: During the processing stage, if the job encounters an error that prevents the processing from continuing, the job moves to the Failed stage. You can resubmit the job and restart processing.
To search for a job based on the filter options, click the Filter icon on the top-right corner, and select the parameters.
Dataset: Select the dataset attached to the job.
Clusterer: Select the clusterer name that was used for creating the job.
Tags: Select one or more tags if you had added tags while creating the job.
Pipeline: Select the required pipeline to filter by the featurizer that is used to create the job.
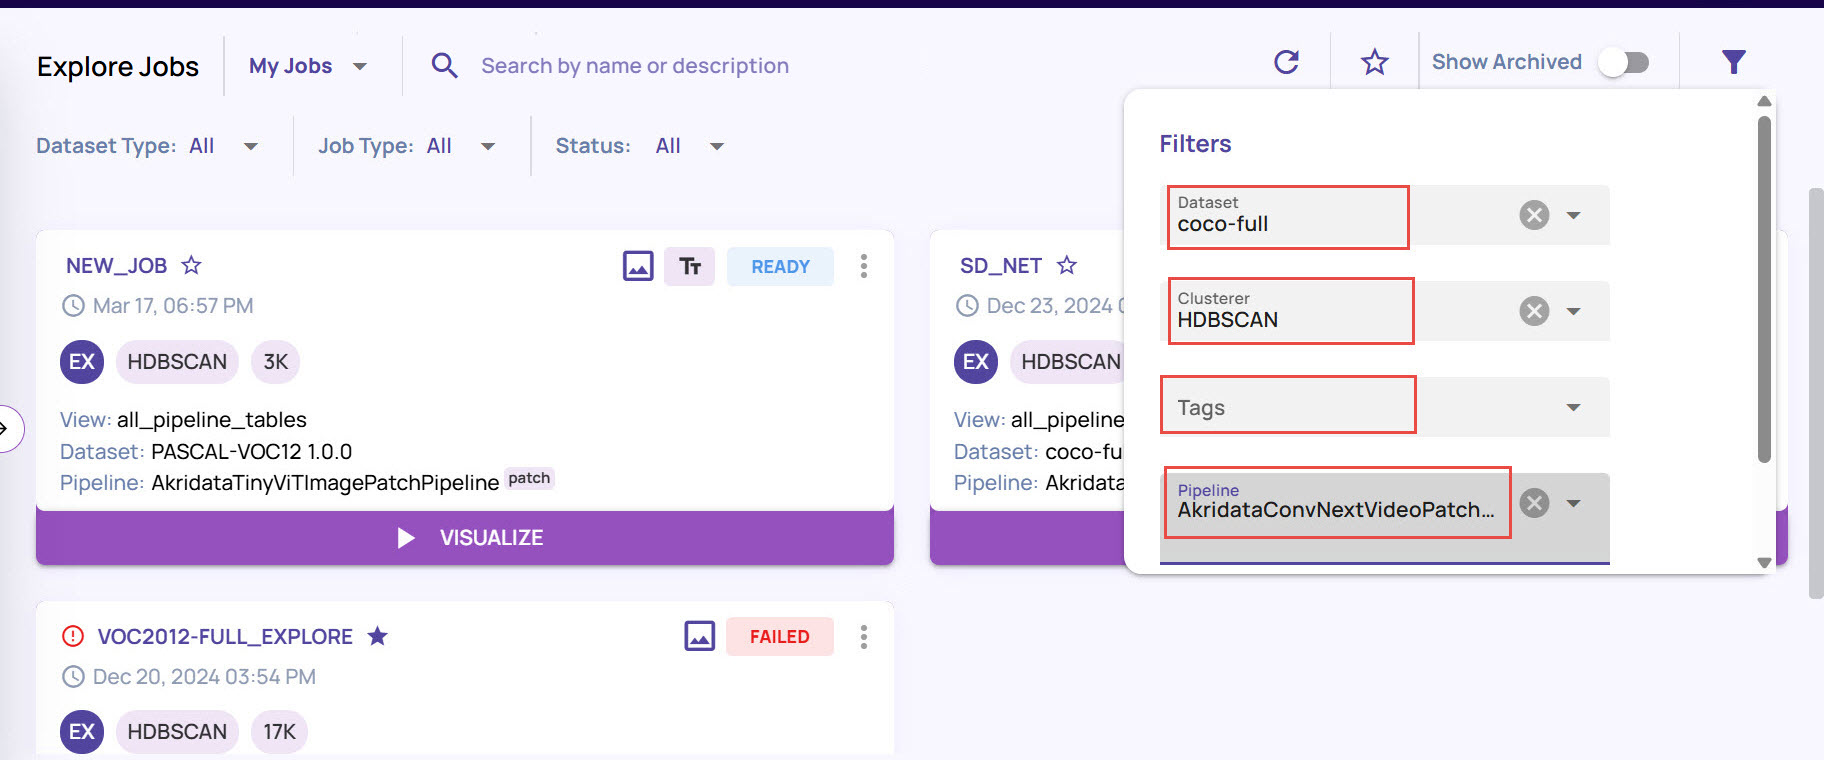 You can use one or more parameters in the Filter window to search for the jobs.