A dataset is a collection of images or video files hosted on a cloud bucket(S3, Azure or Google Cloud) or present on your local machine. The dataset registration records the URL (or path) to the data and the credentials required to access it. The data processing on a dataset is encapsulated as a pipeline attached to the dataset. The dataset registration and pipeline attachments have the following variants.
Fully managed mode(Recommended): Data is on a cloud bucket connected to Data Explorer, and the pipelines are executed on compute resources that are automatically provisioned. The data can also be uploaded through the browser.
adectl command-line tool: If data is present on your machine or security policies disallow data access over the Internet, you can process it using the adectl command-line tool. adectl is supported on Linux and Mac systems and requires docker runtime. Please see adectl for more details.
Python SDK: Data Explorer Python SDK is provided for similar environments as targeted by the adectl command-line tool, with the distinction of having a Python programmatic interface rather than a command-line tool. This mode supports an essential subset of pipelines. Please see SDK for more details.
The video below demonstrates the steps for registering dataset.
Register Datasets
You can also register a fully managed dataset by an OrganizationAdmin user who can create containers and secrets inline. If you don't have OrganizationAdmin privileges, your organization admin must register a container(data bucket) before registering a dataset.
Detailed steps
To register a dataset, click the '+Add Dataset' button on the top right of the Datasets page.

The Add Dataset page opens.
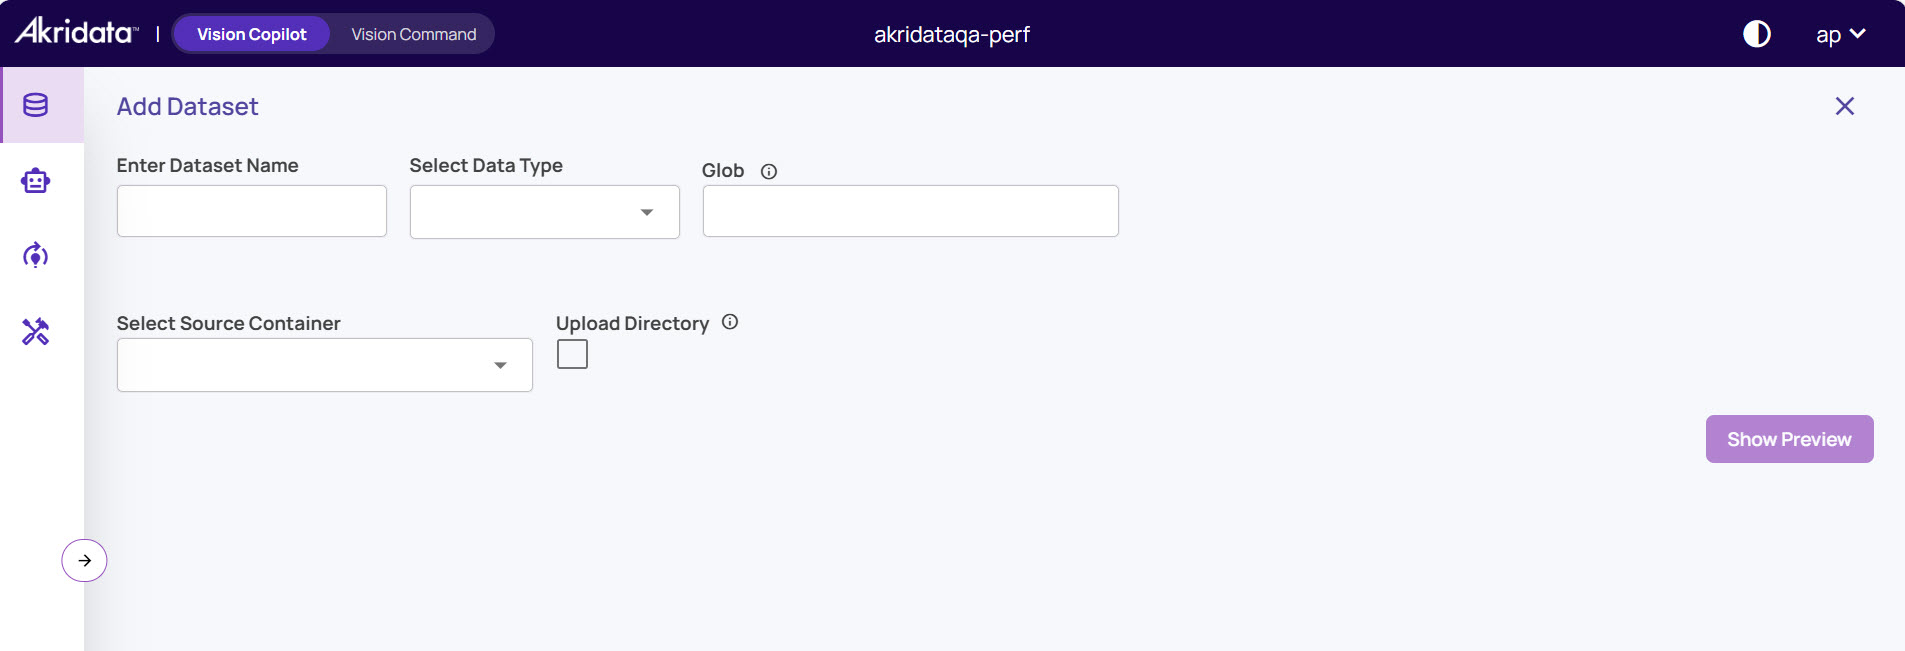
Enter the fields described below.
Dataset Name: An identifiable name for the dataset.
Data Type
Select Image or Video as the type of data in the dataset. This will prefill the 'Glob' field with a pattern capturing the common file extensions for an image. Edit the 'Glob' field if you have files with an extension not covered by the default value.
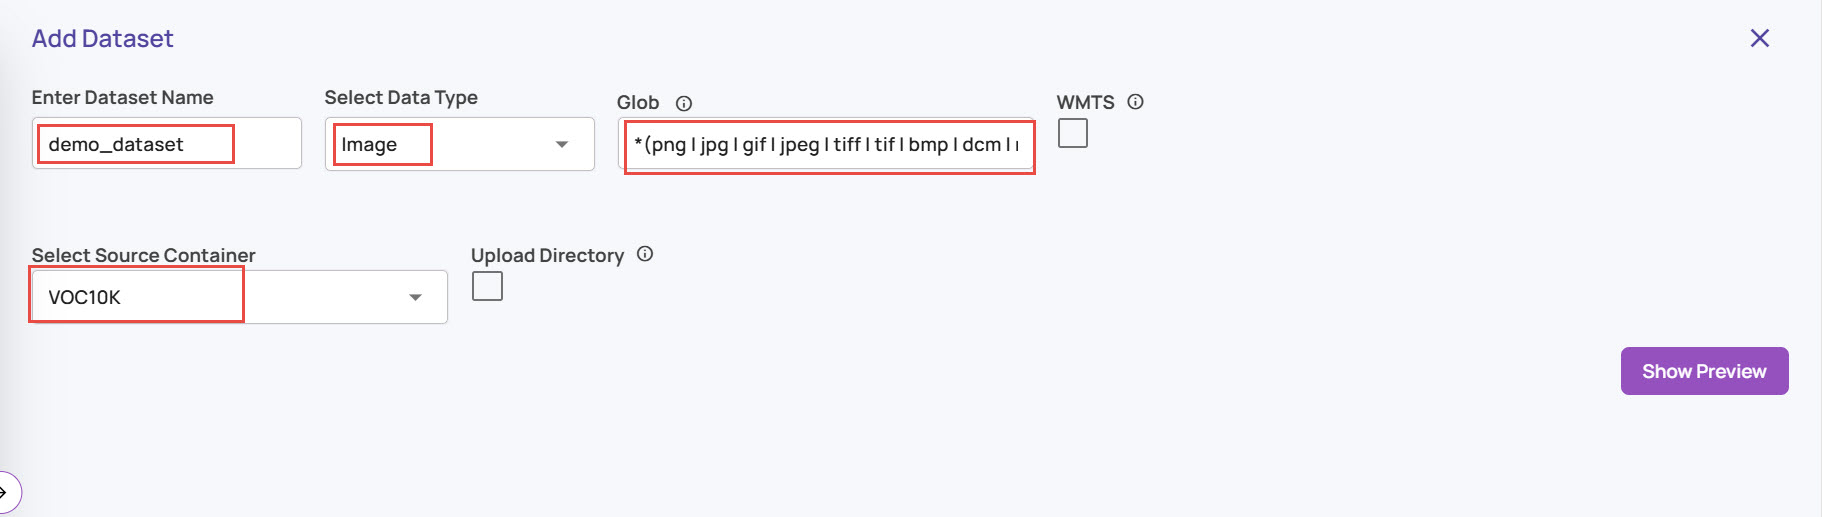
Select Source Container: This container represents the source data location like an S3 bucket, Azure Blob Store bucket, etc. The list of containers registered is presented as a drop-down to select an existing container.
If you have OrganizationAdmin privileges, you can register a new container inline using the '+Add Container' option from the dropdown.
You can alternatively perform a manual upload by clicking Upload Directory option and uploading images from your local system to add to the database..jpg)
Enter an identifiable name for the container.
Select store type from the drop-down list.
Enter the URI to the bucket's top-level data directory. All files that match the glob pattern in this directory will be included in the dataset.
Select a secret that holds the access credentials. If you have Organization Admin privilege, you can add a secret inline. Please refer to the Secrets page for the fields expected for each type of cloud.

For data that is present on the local file system and intended to be ingested using adectl tool, use the '+Add Local Container' option from the 'Select Container' dropdown.

The other fields are specific to the data type and use cases described below.
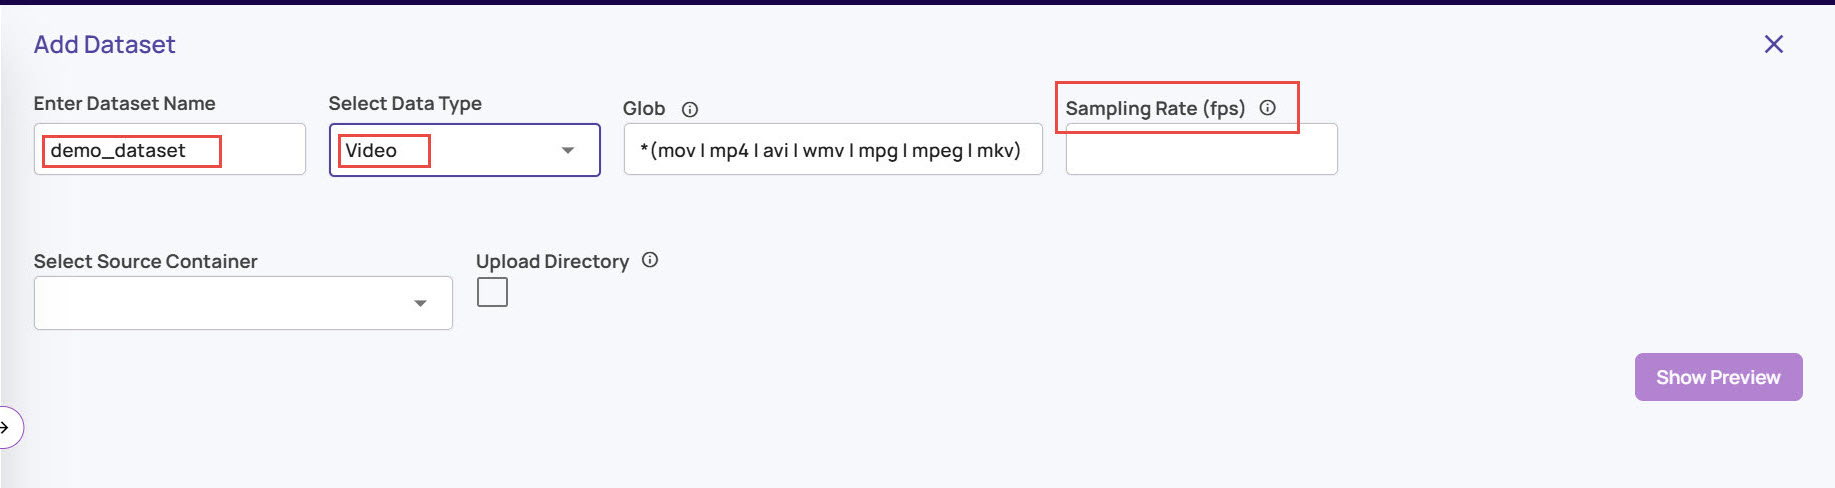
Sampling rate
For the video type of dataset, enter 'Sampling rate (fps)' with a frames-per-second value to sample frames from the video. By default, all frames will be sampled. A lower sampling rate will cover a larger duration of video within the system limits, like the maximum number of frames that can be registered, the maximum number of frames in a visualization job, etc. A sampling rate of <=5fps is sufficient for typical use cases.
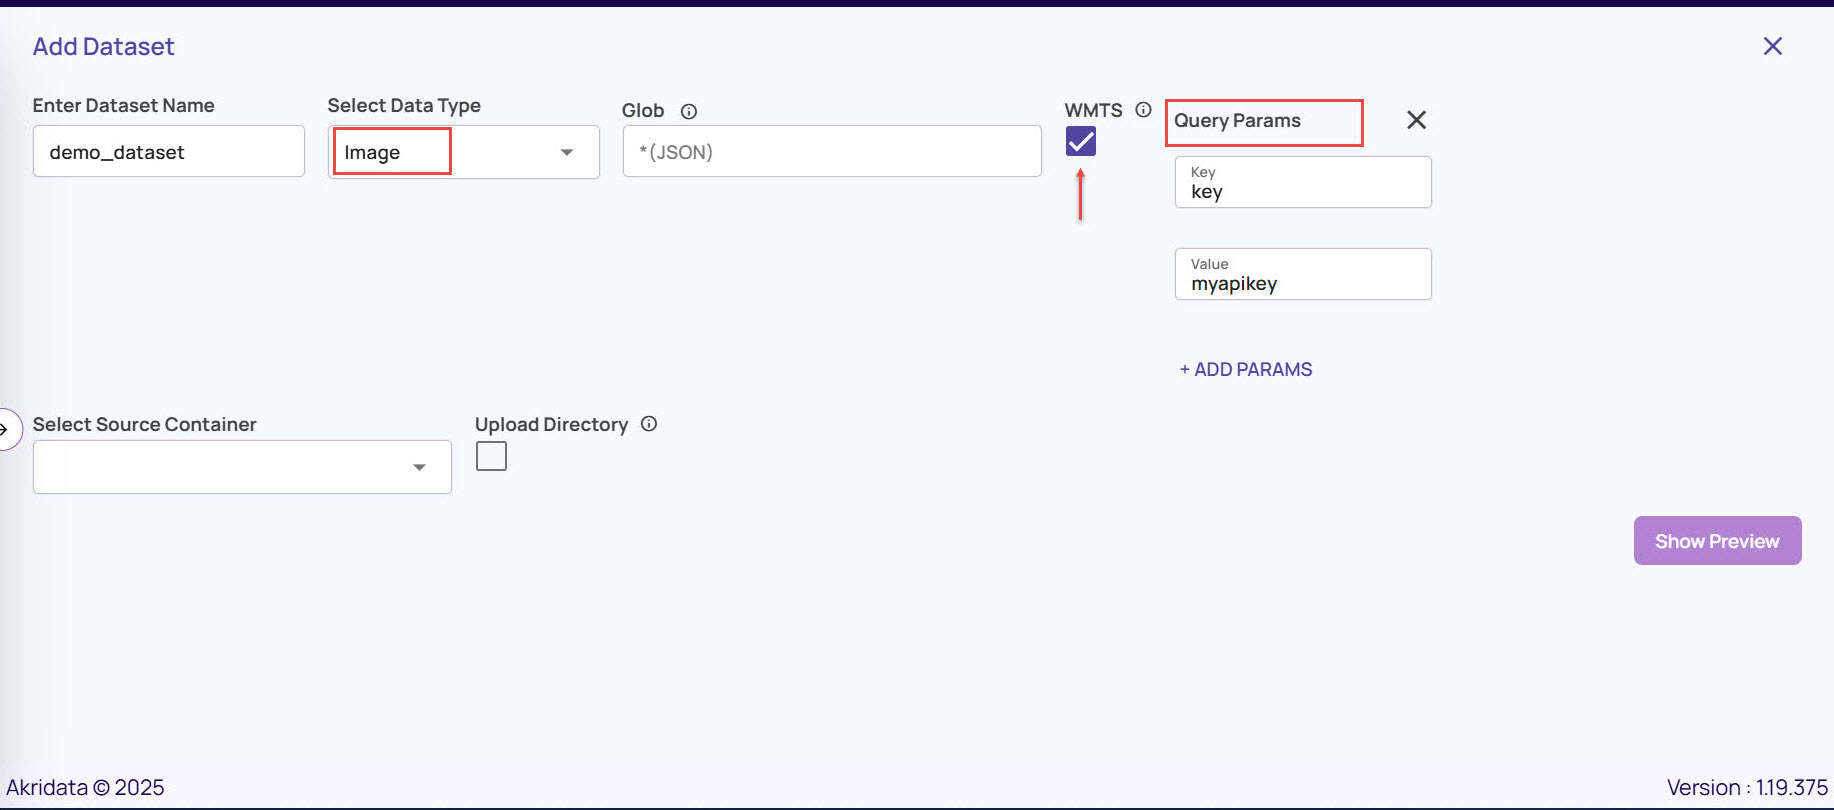
WMTS: The Web Map Tile Service (WMTS) option is available if the Select Data Type is Image. This allows the input to be specified as a JSON file with URLs hosted by a WMTS service. For WMTS, additional query parameters that will be appended to the image URL can be provided. This typically specifies the API key passed to WMTS as a query parameter after the URL. For example, suppose a WMTS service has a URL convention https://mytile123&key=myapikey. In this case,
Key: The value specified in this field should be 'key'
Value: The value specified in this field should be 'myapikey'.
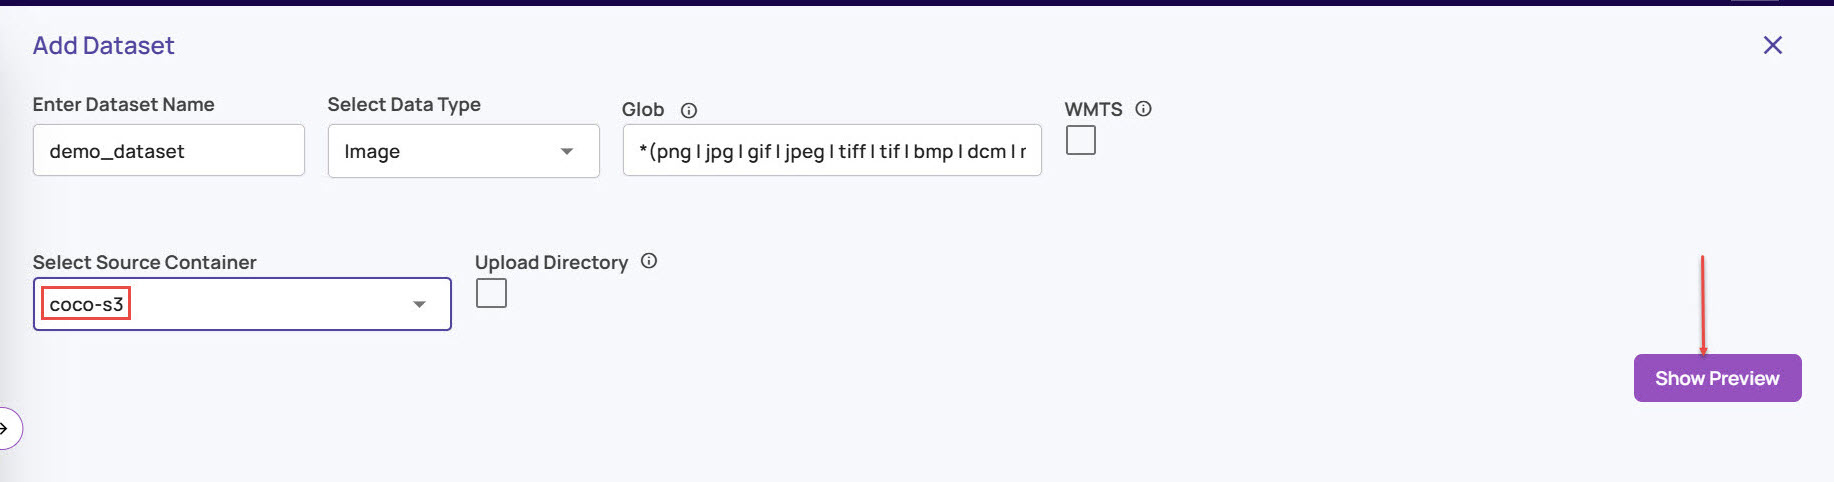
A preview functionality is available for datasets defined on containers that point to cloud-hosted buckets. Click on the 'Show Preview' button shown below.
Review the file sample list. As shown below, a pre-defined set of pipelines is recommended by default. Click on 'Customize' to modify the pipelines to be attached.
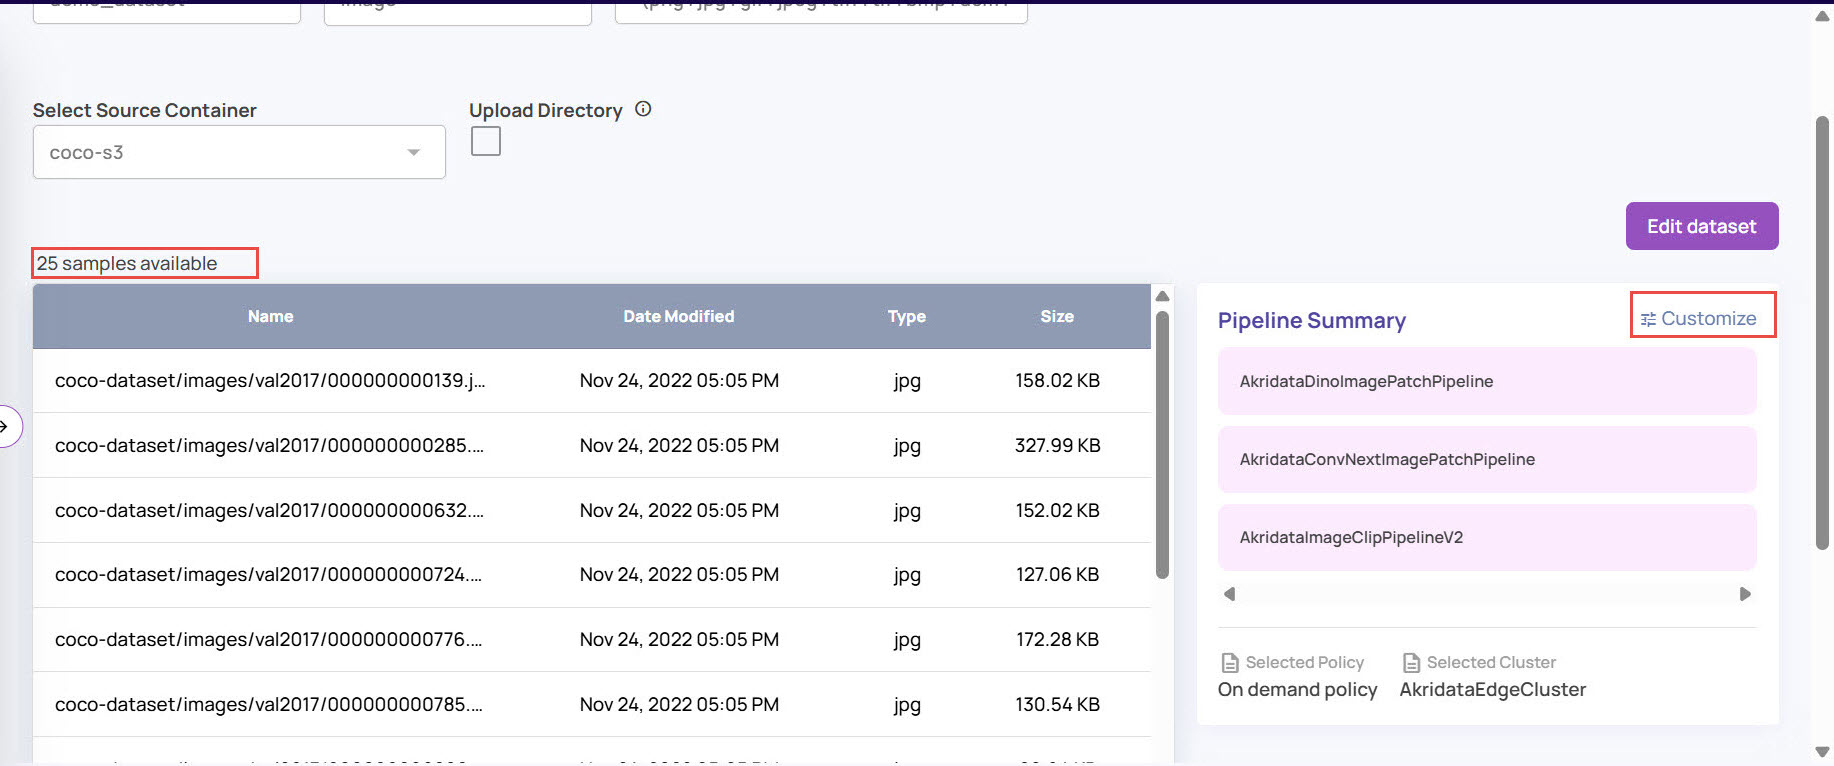
On clicking 'Customize', the following screen is presented.
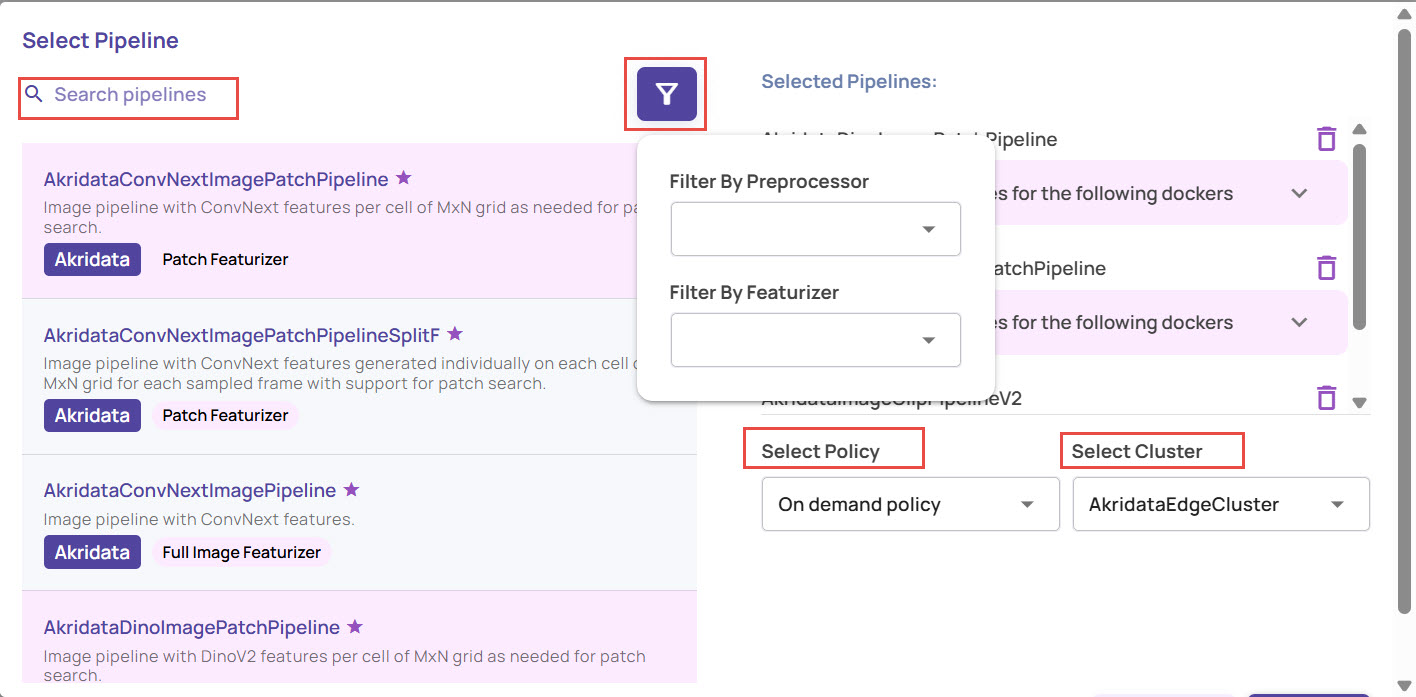
Select one or more pipelines from the available list.
The 'starred' pipelines are the recommended pipelines.
Use 'preprocessor' or 'Featurizer' filtering to narrow down to a specific pipeline.
The badges 'Patch Featurizer' and 'Full Image Featurizer' indicate whether or not the pipeline produces features that support patch search.
Once the pipelines are selected, select the policy for ingestion.
Schedule policy: The ingestion will be triggered according to the selected cluster's provided schedule. Currently, only one pre-provisioned cluster, 'AkridataEdgeCluster', is available for selection; however, this list will be extended to include user-registered clusters in the future. The schedule is specified using a cron string.

On-demand policy: In this mode, the user triggers ingestion as needed on the selected cluster.
Manual adectl run: In this mode, the user is responsible for provisioning the compute resource for ingestion, and ingestion must be triggered using the adectl command-line utility.
Changing ingestion modes
If the ingestion policy is set to Schedule/On-demand, the selected pipeline attachments cannot be changed to 'Manual adectl run' and vice-versa.
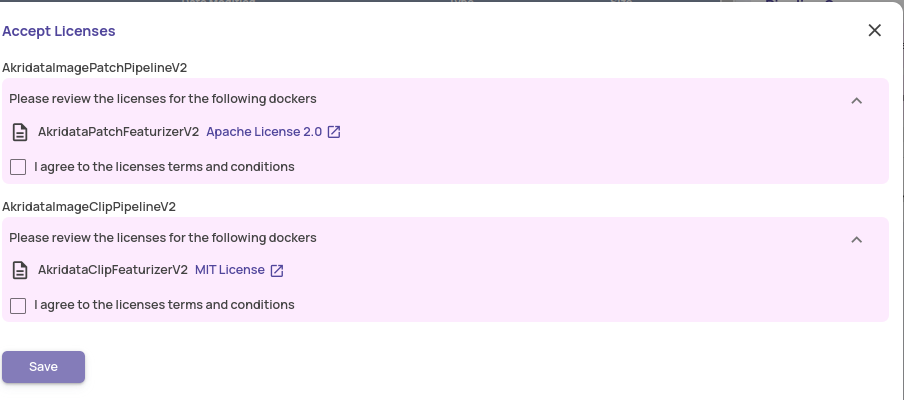
Review and accept the license terms and conditions.
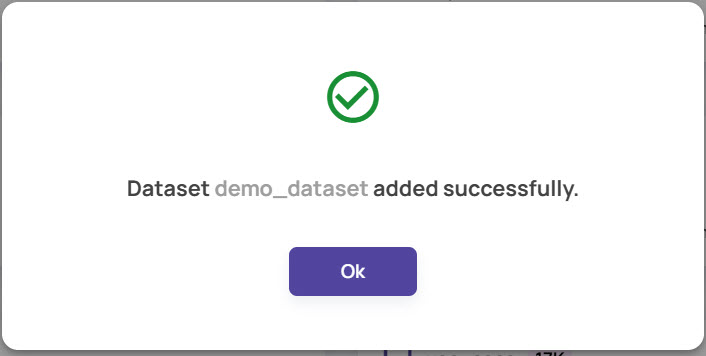
On successful registration of the dataset, the following popup is presented.
The dataset with the pipelines executed on the files gets added to the Datasets page. You can now view the dataset card on the main Datasets page..jpg)
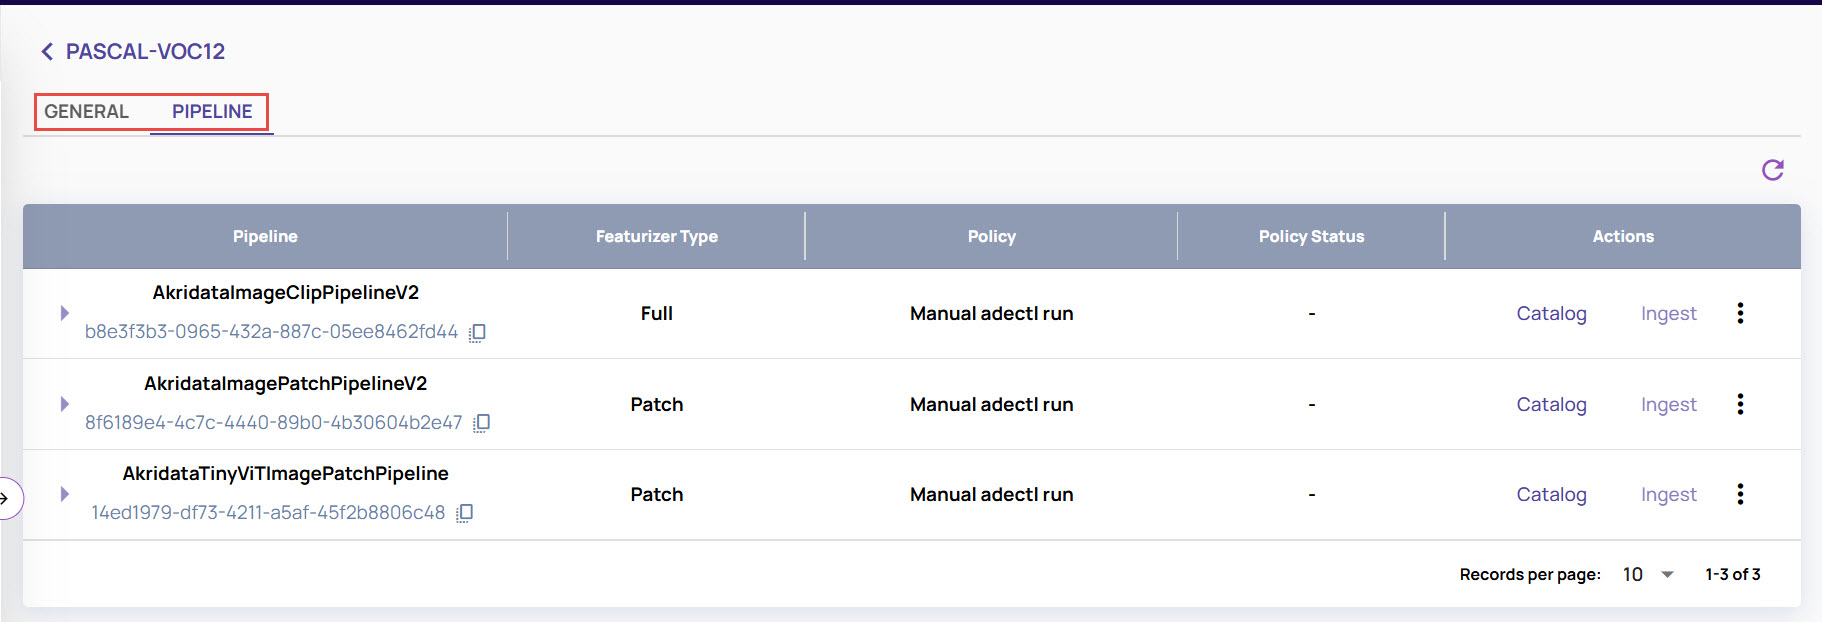
Once a dataset is ready, the dataset card appears with the sample images as shown: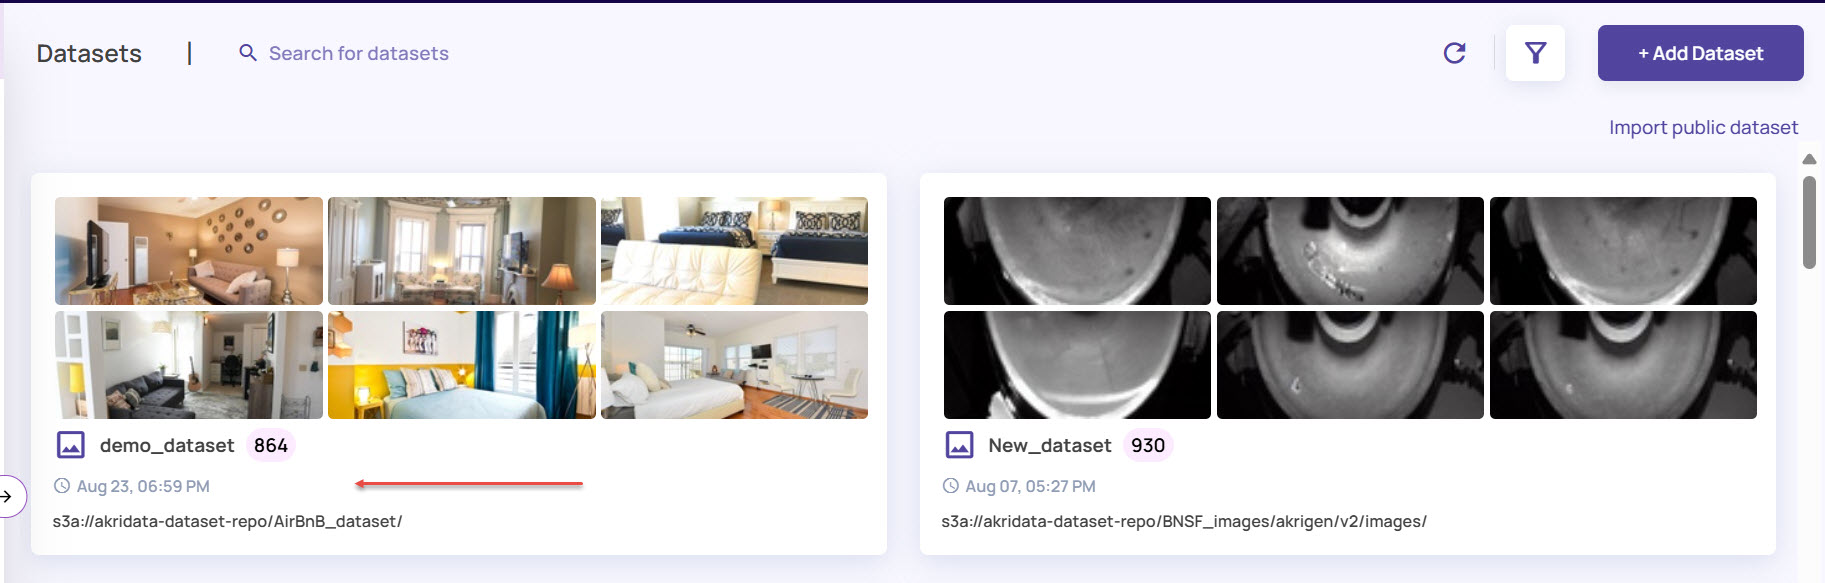
You can click the dataset card directly to open the general details and the associated pipelines.